Table of Contents

Summary of Contents for ASI TURBO Swift 0192-1-93
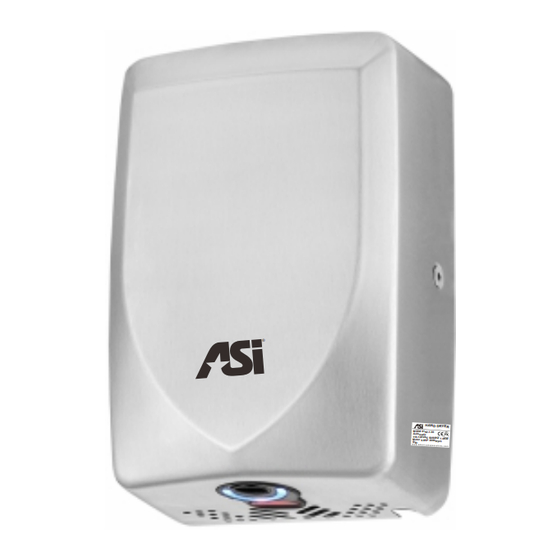
- Page 1 ® 110-120V 60Hz Model No.: 0192-1-93 4" [102] TURBO Swift ADA COMPLIANT HAND DRYER 1903281349 Rev. A 3 Apr 2019 PLEASE READ CAREFULLY THROUGH THIS MANUAL BEFORE USING THE PRODUCT, OBSERVING ALL SAFETY INFORMATION, CAUTIONS, WARNINGS.
-
Page 2: Safety Warnings
SAFETY WARNINGS Before installing, be sure to read this installation manual and retain for future reference. This product must be installed by qualified personnel in accordance with the instructions given in this manual and installation must comply with all applicable regulations, national security standards and laws in force in the country where the product is installed. -
Page 3: Packing List
PACKING LIST Fig.1 ITEM KEY PC’S DESCRIPTION Hand Dryer Unit Complete Owner Manual (OM -This Booklet) Mounting Template (MT) Wall Anchors 5/16" Dia.×1-1/2" [Φ8x38] Self-Threading PPHS No.10AB×1-3/16" [M5 x 36] Flat Washer for No.10AB [M5] PPHS Hex Key 5/32" [4] Fig.2 ®... -
Page 4: Before Installation
ITEM CATEGORY DESCRIPTION Protection Level IP 23 Electrical Isolation Class 1 Cover & Cabinet Stainless Steel Type 304 Finish on Cover Satin Net Weight 5.5 lb [2.5 Kg] Shipping Weight 6.6 lb [3.0 Kg] 6-27/32" W × 10-1/16" H × 3-31/32" D [174 × 256 × 101] Unit Size BEFORE INSTALLATION Installation must be carried out in accordance with the current edition of the local wiring regulations... -
Page 5: Installation
INSTALLATION 1. Make sure power supply breaker is switched off. Installation must adhere to the regulations of the current edition of the local wiring code having jurisdiction. Installation should be performed only by a qualified electrician. 2. Place template against wall at desired height (see mounting height recommendations on MT) and mark location of four (4) mounting holes and wire service entry at knockout (KO) location if unit is to be hardwired. - Page 6 Fig.4 Circuit Breaker (By others) 5/16" Dia.[Φ8] 5/32" [4] Page 6 of 10...
- Page 7 Fig.5 HOT AIR ON/OFF (Selection) SENSOR RANGE SETTING Sensor VR Turn CCW Turn CW ON-OFF SELECTOR SWITCH Circuit Breaker (By others) Page 7 of 10...
-
Page 8: Operation
OPERATION No-touch operation. There is a blue LED light to guide user to the air flow. Shake excess water from hands. Place hands under the outlet to start operation. Rub hands lightly and rapidly under the nozzle outlet. Stops automatically after hands are removed or if maximum time is reached. Fig.6 Basic use Operation without touching,... -
Page 9: Maintenance
Parts damaged during the installation are the purchaser’s responsibility. ASI’s warranty covers defects exclusively, and only liability for the replacement of defective parts will be accepted. This warranty does not cover wear and tear, or misuse and abuse. - Page 10 Black...
- Page 11 HAND DRYER CIRCUIT DIAGRAM Fig.8 Sensor Assembly Power (Hardwired or Plug into Socket) : 110V-120V 60Hz See owner Grounding adjustments Heat Element Yellow HOT/COLD Switch Terminal Block See owner Black adjustments Main Fuse air step (A) Blue Motor Brown LED Light Assembly(Selection) Page 10 of 10...


Need help?
Do you have a question about the TURBO Swift 0192-1-93 and is the answer not in the manual?
Questions and answers