Table of Contents
Advertisement
Quick Links
Advertisement
Table of Contents

Related Manuals for Viewtech VJ-3

Summary of Contents for Viewtech VJ-3
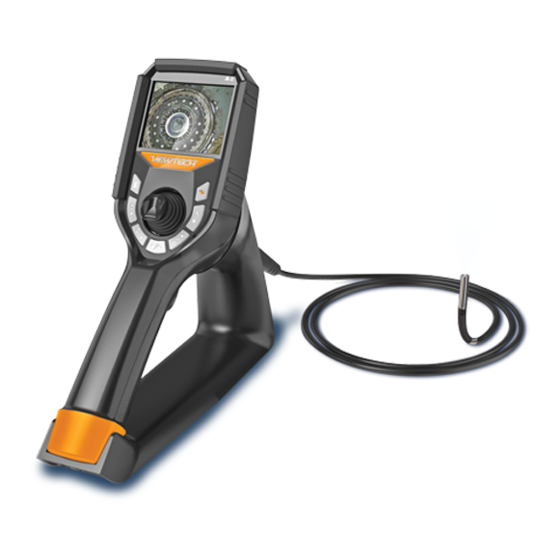
- Page 1 VJ-3 MECHANIC AL ARTICUL ATING VIDEO BORESCOPE USER MANUAL...
-
Page 2: Table Of Contents
Cleaning wiring. Repacking 3. Only use the power adapter provided by ViewTech. Storage 4. DO NOT yank or attempt to forcefully remove the insertion tube if it becomes stuck inside the equipment being borescoped. When extracting... - Page 3 6. NOTE the following regarding the tip of the insertion tube, which is WARNING the most delicate part of this video borescope: 1. Use only 3.6V lithium batteries, model 18650B with PCB-protection a. Do not impact the tip of the insertion tube while inserting or maneuvering inside the equipment being borescoped.
-
Page 4: Product Specifications
PRODUCT SPECIFICATIONS 2.8mm 3.9mm 6.0mm Outer Diameter 2.8mm 3.9mm 6.0mm 1.5m, 1.5m ST,3.0m, Length 1.0m, 2.0m 1.5m, 3.0m, 5.0m, 8.0m 3.0m ST Insertion Tube Exterior Material Tungsten EasyGlide, crush-resistant Chemical Compatibility Water, machine oil, heating oil, diesel, 3.5% saline concentrate 360°... -
Page 5: Packing List
The VJ-3 is available from the factory in a variety of configurations suitable for User manual different tasks, with optional insertion tube lengths and diameters, as well as different light wavelengths: white, infrared, or ultraviolet. The video signal from the VJ-3 can be viewed on the integrated LCD display or on an external television. APPLICATION AND SCOPE The camera can be used to observe the crack, rust and foreign substances inside. -
Page 6: Vpart Names And Functions
The case cover may be accidentally opened when lifting if the buckle is not fully closed. • Always use the provided case to protect the VJ-3 borescope. • Only remove the instrument from the case when the cover is completely open. -
Page 7: Power Supply Preparation
6. 2 POWER SUPPLY PREPAR ATION BUILT-IN / INTERNAL CHARGING 1. Connect the AC power adapter that is included with your kit to the unit’s REMOVING THE BAT TERY micro USB battery recharging port. 2. Plug the AC power adapter into a standard wall outlet. Using your thumb and forefinger, press the two buttons on the sides 3. -
Page 8: Menu Operation & Function
MENU OPERATION & FUNCTION 7.2 BUTTON FUNCTION The Menu button is used to display the main menu. When pressed from within the Menu it serves as a selection or confirmation key. 7.1 BUTTON POSITION The Up Key is used to go to a previous page within the menu. The Down key is used to turn to the next page. The Camera/Video key is used to take photographs in camera mode, or to start/stop a recording in video mode. - Page 9 L ANGUAGE SET TINGS FORMAT This menu option is used to set the display language on the borescope. You This Menu option will format the SD card. All data will be removed from the can select from: English (En), Simplified Chinese (Simplified), Traditional card and cannot be restored. Select “Yes” on each screen of the Format menu Chinese, German (De), Spanish (Es), French (Fr), Russian (RU), Japanese (JP), or to format the SD card.
-
Page 10: Hdmi Output
EXPOSURE ROTATION This setting adjusts the overall brightness of the image. Press the Right 1. When a real-time image is displayed, it can be flipped or rotated by Adjustment/Video Playback button to make the displayed image pressing the Right Adjustment/Video Playback key brighter or the Left Adjustment button to make it darker. 2. -
Page 11: Basic Operation
BASIC OPERATION 8.2 INSERTING THE INSERTION TUBE VIII INTO THE MACHINERY OR EQUIPMENT BEING BORESCOPED AT TENTION Inserting the insertion tube Make sure the insertion tube and bending section are straight before starting Before turning on the borescope: the inspection. • Insert the SD card, otherwise all image capture and video recording func- DO NOT attempt to articulate the bending section with the joystick while tionality will be inoperative. -
Page 12: Image Playback
• Although the option to delete all images/videos is not available, all Images Fig. 8-5 Video mode indicator and Video can be viewed, organized and deleted by removing the SD card (8.4.1) from the VJ-3 Borescope and using the supplied SD card reader with your computer. -
Page 13: Storage And Maintenance
• Servicing and repair of this borescope is to be performed only by bending section is straight, prior to inserting the borescope into the case. ViewTech. Do not disassemble or attempt to repair this borescope, as 3. When returning the borescope to the case, first place the base unit into this will immediately void the warranty. -
Page 14: Product Warranty
The manufacturer product warranty will be void regardless of the remaining warranty period if the product is opened, customized, or tampered with by an unauthorized technician. If any repair or modification is performed by an unauthorized technician, ViewTech will not be responsible or liable for any damage to persons or property that may result. REPAIR PROCEDURE To initiate a repair, regardless of whether the repair is under warranty or not, an RMA (Return Merchandise Authorization) number must be obtained. - Page 15 Traverse City, Michigan, USA 231.943.1171 WWW.VIEWTECH.COM Digital Updated 02/20...
Need help?
Do you have a question about the VJ-3 and is the answer not in the manual?
Questions and answers