Table of Contents
Advertisement
Quick Links
Advertisement
Table of Contents

Subscribe to Our Youtube Channel
Related Manuals for Raycap RSCAC-7239 Series


Summary of Contents for Raycap RSCAC-7239 Series
- Page 1 RSCAC-7239 Series INSTALL INSTRUCTIONS Installation Instructions: RSCAC-7239-P-240-A RSCAC-7239-PS-240-A RSCAC-7239-P-240-A RSCAC-7239-PS-240-A www.raycap.com QUESTIONS? VISIT WWW.TALLEYCOM.COM OR CONTACT TALLEY AT 800.949. 7079 OR SALES@TALLEYCOM.COM TODAY.
- Page 2 QUESTIONS? VISIT WWW.TALLEYCOM.COM OR CONTACT TALLEY AT 800.949. 7079 OR SALES@TALLEYCOM.COM TODAY.
-
Page 3: Table Of Contents
Required Tools and Supplies Mounting the Bracket Port Definitions 5.3 Component Definitions Wiring Installation Closing and Securing Unit ©Raycap • All rights reserved (320-1391) Rev.B Page 1 of 10 www.raycap.com QUESTIONS? VISIT WWW.TALLEYCOM.COM OR CONTACT TALLEY AT 800.949. 7079 OR SALES@TALLEYCOM.COM TODAY. -
Page 4: Copyright
This documentation is intended for the use of Raycap customers only for the purposes of the agreement under which the document is submitted, and no part may be used, reproduced, modified or transmitted in any form or means without the prior written permission of Raycap. -
Page 5: Introduction
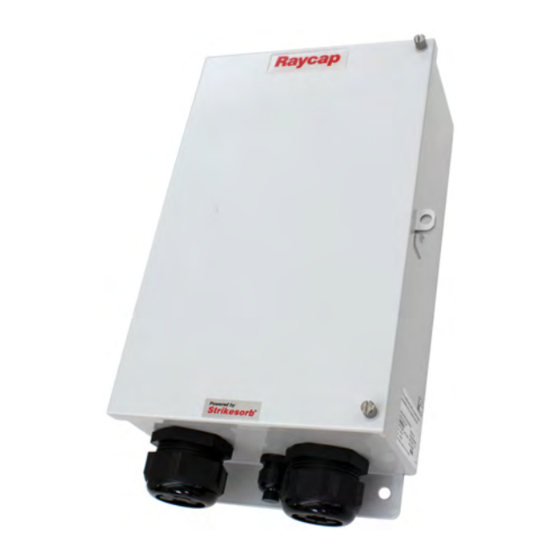
Raycap AC Disconnect Package Contents 1 Enclosure Prerequisites This document describes how to install the RSCAC-7239 Series on-site and how to mount, and connect it to external interfaces. Installers of Raycap’s RRH surge protective and power management solutions must be industry professionals who have attended training on the proper installation of the equipment by Raycap and/or the mobile operator. -
Page 6: Mounting The Bracket
9/16" socket and/or open end wrench. Torque: 23 ft-lbs outside holes short bolts Inside holes long bolts Washer Lock-Washer Bolt ©Raycap • All rights reserved (320-1391) Rev.B Page 4 of 10 www.raycap.com QUESTIONS? VISIT WWW.TALLEYCOM.COM OR CONTACT TALLEY AT 800.949. 7079 OR SALES@TALLEYCOM.COM TODAY. -
Page 7: Port Definitions
Circuit Breaker Slots Branch Circuit Breaker Main Circuit Breaker Shunt Trip for external main power disconnect RSCAC-7239-PS-240-A ©Raycap • All rights reserved (320-1391) Rev.B Page 5 of 10 www.raycap.com QUESTIONS? VISIT WWW.TALLEYCOM.COM OR CONTACT TALLEY AT 800.949. 7079 OR SALES@TALLEYCOM.COM TODAY. -
Page 8: Wiring Installation
(2) Phillips head screws and set aside. RSCAC-7239-P-240-A Connection call-outs. Neutral Busbar Neutral Input Ground Busbar L1 (IN) L2 (IN) Ground ©Raycap • All rights reserved (320-1391) Rev.B Page 6 of 10 www.raycap.com QUESTIONS? VISIT WWW.TALLEYCOM.COM OR CONTACT TALLEY AT 800.949. 7079 OR SALES@TALLEYCOM.COM TODAY. - Page 9 Install breakers in open slots as needed. Ensure CT label orientation is right side up. (CT’s shall be secured in place a minimum ©Raycap • All rights reserved (320-1391) Rev.B of one inch from the breaker terminals.) Page 7 of 10 www.raycap.com...
-
Page 10: Closing And Securing Unit
Replace dead-front, flip breaker “ON” to power circuits. Close cover. Secure two (2) cover screws. Installation Complete. ©Raycap • All rights reserved (320-1391) Rev.B Page 8 of 10 www.raycap.com QUESTIONS? VISIT WWW.TALLEYCOM.COM OR CONTACT TALLEY AT 800.949. 7079 OR SALES@TALLEYCOM.COM TODAY. - Page 11 QUESTIONS? VISIT WWW.TALLEYCOM.COM OR CONTACT TALLEY AT 800.949. 7079 OR SALES@TALLEYCOM.COM TODAY.
- Page 12 RSCAC-7239 Series INSTALL INSTRUCTIONS ©Raycap • All rights reserved (320-1391) Rev.B Page 10 of 10 www.raycap.com QUESTIONS? VISIT WWW.TALLEYCOM.COM OR CONTACT TALLEY AT 800.949. 7079 OR SALES@TALLEYCOM.COM TODAY.
Need help?
Do you have a question about the RSCAC-7239 Series and is the answer not in the manual?
Questions and answers