Advertisement
Advertisement
Table of Contents

Subscribe to Our Youtube Channel
Summary of Contents for Projecta Dry Erase
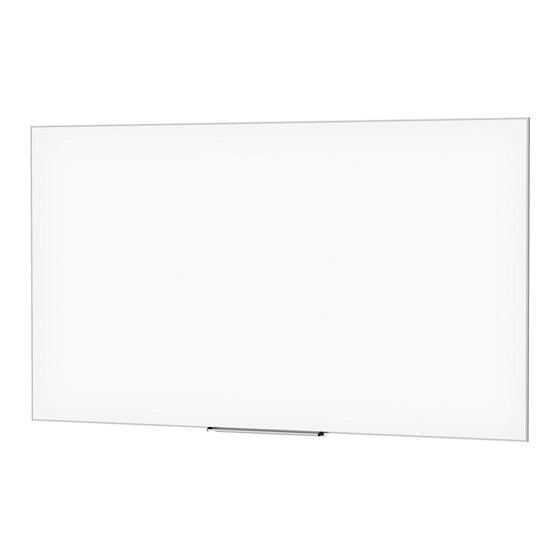
- Page 1 INSTRUCTION BOOK FOR Dry Erase Screen Panoramic...
- Page 2 Preparation Note: It requires at least four people to assemble a Dry Erase Choose a clean work area for assembly using padded material or Screen Panoramic. To maintain optimal projected image other soft, clean materials. The work area should be larger than...
- Page 3 Assembly Instructions for Panoramic Carefully unpack unit and place all panels on top of the clean 5. Use open wrench or socket driver and (4) nuts to attach seam work area. The viewing surface of each panel must face down. brace onto the studs on the top and bottom of screen frame at the panel seam.
- Page 4 Wall Mounting Instructions for Panoramics NOTE: The screen is shipped with four wall brackets and lengths 2. Secure the two side panel wall brackets to wall studs at the height shipped vary by screen size. Two brackets will be used on the selected in Step 1.
- Page 5 Wall Mounting Instructions (continued) 5. Repeat Steps 3-4 to install the (4) remaining L-brackets for the side 7. Using all four people, carefully and in a smooth motion lift the panels. screen to hang it on the four installed wall brackets. There is a lip on the back of the frame that wedges itself into the four wall NOTE: At this point, all six L-brackets will be mounted on the wall;...
- Page 6 Cleaning The supplied cleaning cloth can be used to clean marks on the screen surface made by everyday dry erase marker usage. Use clean or dry sections of the microfiber cloth when erasing the screen. This is important to prevent smearing on the screen while cleaning. To clean persistent marks from dry erase markers, use the supplied spray cleaner and cleaning cloth.


Need help?
Do you have a question about the Dry Erase and is the answer not in the manual?
Questions and answers