Table of Contents
Advertisement
Quick Links
Advertisement
Table of Contents

Related Manuals for Josef prusa PRUSA RESEARCH CW1


Summary of Contents for Josef prusa PRUSA RESEARCH CW1
- Page 1 USER MANUAL FOR ORIGINAL PRUSA CURING AND WASHING MACHINE...
- Page 2 ORIGINAL INSTRUCTIONS: Basic info Please always refer to the http://www.prusa3d.com/drivers/ for an updated version of this handbook (PDF download). Translated versions of the handbook are available at: Czech: www.prusa3d.cz/ovladace/ French: www.prusa3d.fr/drivers/ German: www.prusa3d.de/treiber/ Polish: https://www.prusa3d.pl/sterowniki/ Italian: www.prusa3d.it/driver/ Spanish: www.prusa3d.es/drivers-y-manuales/ Important notice, tip, hint or information that helps you print with ease. Read carefully! This part of the text has the greatest importance - either for user safety or for proper device service.
-
Page 3: Table Of Contents
1 6ntroduction 9 Package contents and 2uick-start info 3 Curing and Washing Machine - device info 7 First-time setup � 4.1 Unpacking and placement 4.2 Starting the device 4.3 Preparing the liquid container � Washing 5.1 Washing an object attached to the platform 5.2 After washing 4 Drying and curing �... - Page 4 About the author Josef Prusa (born Feb 23rd, 1990) became interested in the 3D printing phenomenon before joining Prague’s University of Economics in 2009. At Jrst, it was a hobby, a new technology open to changes and improvements. This hobby soon became a passion and Bosef grew into one of the leading developers of Adrien Kowyer’s international, open source, RepRap project.
- Page 5 Safety instructions Please be very cautious during any interaction with the machine. The CW1 is an electrical device with moving parts and UV light emission. The device is for indoor use only. Do not expose the CW1 to rain or snow. Always keep the machine in a dry environment at a minimum distance of 30 cm from other objects.
-
Page 6: Package Contents And 2Uick-Start Info
1 Introduction The Original Prusa Curing and Washing Machine (CW1) is a 3-in-1 device designed for quick and easy post-processing of objects printed from liquid resins. Objects printed from liquid resin are usually a bit soft and sticky. To clean them and give them optimal surface properties, the objects need to be washed, dried and cured. -
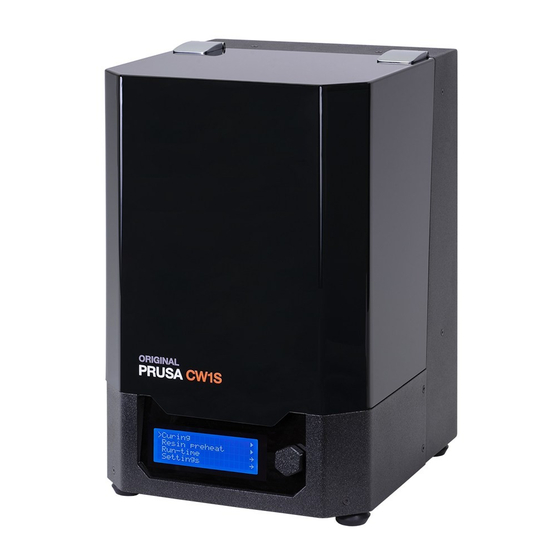
Page 8: Curing And Washing Machine - Device Info
3 Curing and Washing Machine - device info Lid - cover made of opaque acrylic. Used to block UV light and contain heat during drying. It should be closed during drying/curing, but kept open during washing! Control knob - used to control and conJgure the machine. Turn left/right to scroll through menus, press to conJrm. -
Page 9: First-Time Setup
4 First-time setup 4.1 Unpacking and placement After you open the box, remove the accessories case Jrst (1), then remove the top foam (2). Grab the box using the two handles on the side and pull it up (3). Open the cardboard locks (4) and remove the foam protectors along with the protective wrap (5). -
Page 10: Starting The Device
To ensure safe and optimal work experience, the CW1 should to be placed in a location that meets the following conditions: • Place the machine in a horizontally stable position - the best place is a workbench. A good practice is to put a plastic tablecloth under the machine in case a resin / IPA spill occurs. •... -
Page 11: Washing
Carefully pour isopropyl alcohol into the tank. The surface should be about 2-3 cm (about 1 in.) below the edge of the tank. 5 Washing Place the liquid container with the propeller and isopropyl alcohol into the CW1 so it ZZrests on the two guiding rails. - Page 12 “ow place the lid on top of the liquid container so the print is submerged in isopropyl alcohol. This is the recommended procedure, because both the platform and the object are washed. If the object is too large for the tank, remove it from the platform and wash it twice - Jrst in >normal>...
-
Page 13: After Washing
Use a metal spatula to remove the printed object from the printing platform. …ou can also consider removing the supports at this point. Place the object in the metal basket and insert it into the liquid container. Place the liquid container into the CW1 so it rests on the guiding rails. -
Page 14: Drying And Curing
6 Drying and curing After you wash the object in isopropyl alcohol, we recommend rinsing it brie‘y under running water to remove the remnants of isopropyl alcohol. Then, dry it with a paper towel. Remove the tank from the CW1 and place the object on the rotating platform. Don’t place it in the center, instead, place it near the edge of the platform. -
Page 15: Menu Structure
7 Menu structure Start drying / curing (without tank) Start washing (with tank inserted) Press the knob while any of the processes are running to open the options: • Pause / Continue • Stop • Kack Default values for time and rotation speeds are factory tested and work well in a majority of scenarios. -
Page 16: Cw1 Maintenance
8 CW1 Maintenance To ensure that the CW1 remains in proper working order, keep the device clean and never leave the tank with isopropyl alcohol inside of the device when the machine is o? / not being used. Clean any resin drops or stains immediately, before they solidify. 8.1 Spilled isopropyl alcohol The CW1 is designed to withstand a moderate 6PI spill - the liquid will pour through the device. -
Page 17: Troubleshooting
A new window will open. Make sure that the Original Prusa CW1 is selected. Then click Open File and select the unpacked Jle from step 1. Click Flash! and wait until the process is Jnished. Disconnect the microUSK cable and restart the CW1. 10 Troubleshooting 10.1 The liquid container is inserted, but the Washing mode is not available Make sure the liquid container is inserted correctly. -
Page 18: The Device Is Not Turning On
10.3 The device is not turning on Make sure the external adapter is properly connected and that the main switch on the rear side of the device is switched to '1L. The external adapter has a status XED - check whether it lights up. If it doesn’t, double check the power cable.
Need help?
Do you have a question about the PRUSA RESEARCH CW1 and is the answer not in the manual?
Questions and answers