Table of Contents
Advertisement
Quick Links
Advertisement
Table of Contents
Troubleshooting

Related Manuals for ARABLE MARK


Summary of Contents for ARABLE MARK
- Page 1 ARABLE MARK INSTALLATION GUIDE On your Mark, get set, go!
-
Page 3: Table Of Contents
Getting Aquainted Where should I put my Mark? What the Mark Measures How often do I need to clean the Mark? Can I move my Mark to a new location? Before Going To The Field What’s the difference between a “short”... - Page 4 AC-DC Wall Adapter We recommend charging the device before bringing it out to the field so that the Mark is at least 75% charged. This should take about an hour. You can check the charge of the device by pressing the button on the top of the device.
-
Page 5: On Your Mark
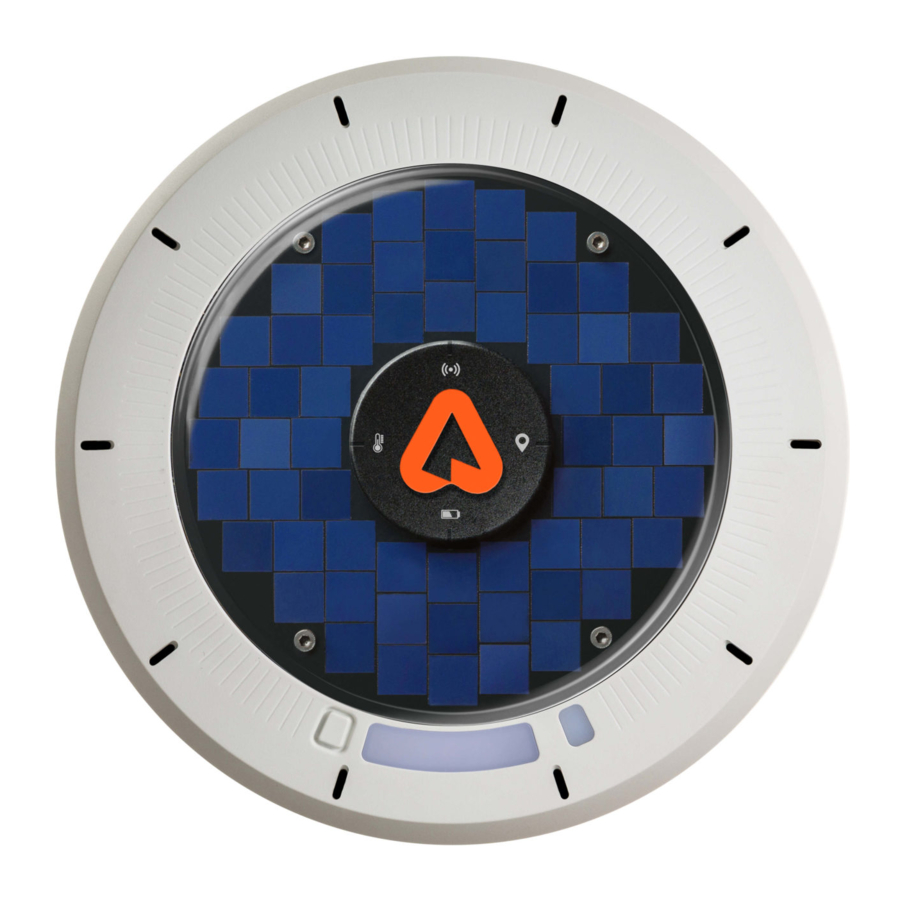
On Your Mark Getting Acquainted Crop management in one reliable device and software solution. Longwave Radiometer and Infrared Temperature Shortwave Radiometer and Spectrometer Air Temperature/Humidity/Pressure Charging Indicator Light Solar Cells LED Indicator Lights Battery Check and Set Up Button Shortwave Radiometer... - Page 6 Frost Forecast The data from the device is sent to the cloud using a 3G cellular network. You can log into the Arable platform by going to app.arable.com. If you do not know your organization name or customized organization URL, please reach out to support@arable.com.
-
Page 7: Before Going To The Field Get Prepared
Here are a few things to keep in mind before heading out to the field. Check the Charge To obtain a full charge, connect the Mark to an outlet for at least one hour, using the provided power adapter. The device is solar powered, but it’s a good idea to deploy at full capacity. - Page 8 We recommend using 1’’ inch conduit. bringing: 2 metal band clamps See pages 7-8 for pole length worksheet and Mark height placement guide. to attach at the top and at the base A socket wrench or flathead If you are attaching to prexisting...
-
Page 9: Mark Placement Overview
These can affect the data collected from data communications. Generally, if you see two the lenses and reduce charging potential. bars on your phone, the Arable Mark will be able to connect to the server and send data to the cloud at regular intervals. - Page 10 Mark Placement Overview Pole Length Worksheet The Mark’s optimal height is based on the crop you are monitoring. Use our worksheet to help determine the length of your pole. Using our Mark Height Placement Guide on the opposite page, write in the measurements appropriate for your crop.
- Page 11 Mark Placement Overview Height Placement Guide Use this chart as a general guide for for placing the Mark at the correct height for your crop. Crop Type Recommended Height Example Above Canopy Low Vegetables & Row: ½ row width If row is 60”, then put at Blueberries, Strawberries, 30”, or 2 ½’...
- Page 12 Tips on how to place your Mark in the field. Mark Height and Adjustment The Mark’s optimal height is based on the crop you are monitoring. See Mark Height Placement Guide chart on previous page. FOR SHORT CROPS (UNDER 4’) FOR TALL CROPS (4’...
- Page 13 Installation Guide For Short & Tall Crops Tips on how to place your Mark in the field. FOR ALL CROPS When the initiation sequence is finished, all four Step 2. lights around the Arable logo will shine solid blue Deploy Arable Mark by and blink in unison a few times.
- Page 14 If you redeploy and the light to the right of the Arable ‘A’ logo is still red, the Mark has failed to reach a server. You may want to try deploying in an area with better cellular service.
-
Page 15: Height Placement Guide
Press and hold down the button for a few seconds The knob on the mount should be pointed east if the until all lights blink blue twice; this is how the Mark spectrometer positioning over the crop permits it. Do will go into leveling mode. - Page 16 The Mark wants the ‘A’ to point north. All Done Your Mark is now all set up! Wipe the surface of any mud or debris that may be covering the clear dome. You are now ready to log on to the Arable app and see the weather and plant information for that location.
-
Page 17: Storage
One suggested place to house the Mark would be in the box that it came in with the AC-DC adapter. It is best to store the Mark indoors in a single location... -
Page 18: General Troubleshooting
If you redeploy and the light to the right of the Arable accessory to plug in and charge the device. ‘A’ logo is still red, the Mark has failed to reach a 2. Restart the device server. You may want to try deploying in an area with better cellular service. -
Page 19: Specific Troubleshooting
If battery health is less than 25%, the bottom light (6:00) shows up red. Connect the Mark to its AC-DC Lights on the device will start illuminating to indicate adapter for at least two hours to recharge and obtain the initiation sequence. - Page 20 During the initiation sequence, none of the lights illuminate. 6. Lights on the device will start blinking blue in a circle around the Arable “A” to indicate that the This indicates a potential issue with the device’s initiation sequence is restarting. While the lights are ability to connect to the server.
- Page 21 10. If any of the other three lights (bottom, left, or down the button on the top side of the device for a top of Arable “A” Logo) blink red, there may be a couple of seconds, until all lights blink blue twice.
- Page 22 This will make the device enter orientation mode. 2. Once in orientation mode, the light above the Arable ‘A’ logo (12:00) will be red if it is not oriented north. Once it points north, it will illuminate blue. Decision Agriculture...
- Page 23 Help Specific Troubleshooting Problem-solve with your Mark. 3. The blinking light indicates that the compass 6. General System Status Check within the device is searching for the north cardinal You can check the status of the device at any time by direction.
-
Page 24: What Area Is My Mark Measuring
What area is my Mark measuring? Where should I put my Mark? The Arable Mark is looking at a circular area below it, While we recommend placing the device in an area that with a diameter that is twice its mounted height. -
Page 25: How Often Do I Need To Clean The Mark
Luckily, cleaning your Mark is an easy affair! All you What’s the difference between a need is soap, water, and clean rag. -
Page 26: Contact Us
Our Customer Success team is standing by to help! Reach out at support@arable.com. You can also log into your account at app.arable.com and message our team through the help portal on the lower right hand of the screen. Legal Information... - Page 28 Arable Labs, Inc. www.arable.com @ArableLabs...
Need help?
Do you have a question about the MARK and is the answer not in the manual?
Questions and answers