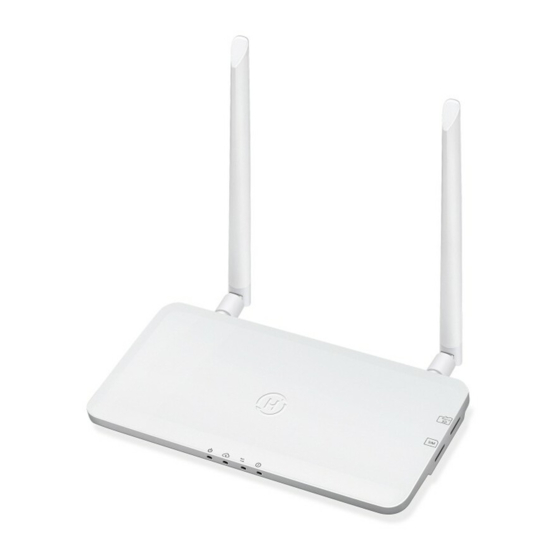
Hoymiles DTU-Pro Quick Installation Manual
Hide thumbs
Also See for DTU-Pro:
- User manual (17 pages) ,
- Quick installation manual (2 pages) ,
- User manual (14 pages)
Advertisement
Quick Links
1. Interface Layout
Item
A
B
C
D
E
F
G
H
I
J
K
L
M
2. Preparation
Download the Hoymiles mobile installer App
A)
Check the box for the following items:
B)
Hoymiles DTU-Pro
Two Antennas
Adapter
Bracket
5 Pin Plug
C)
Choose the way DTU-Pro connect to the Internet: Use WiFi or Ethernet. Please prepare
DTU-PRO-WiFi
AP040226 REV1.1
Description
SD Card Slot
DTU Power Indicator
DTU Communication Indicator (With Server)
DTU Communication Indicator (With MI)
DTU Alarm Indicator
WiFi Antenna (2.4G)
RS485
DRM Port (For Australia only)
Ethernet Port
USB Port
Reset Bottom
Power Port
2.4G Antenna
Quick Installation Guide
the following items if needed:
Ethernet Cable (if choose Ethernet option)
Smart Phone/Tablet with Hoymiles Installer App installed (if choose WiFi option)
3. Installation
A) Take two 2.4G antennas out from the box, and screw the antenna into the WiFi port and
2.4G port.
B) Choose an Installation Location
Installed on the top floor to increase the signal strength
Installed near the center of the PV array
Installed at least 0.5m above the ground and more than 0.8m away from the
corner
Note: Please do not install the DTU direct above the metal or concrete to prevent the
signal dilution.
C) Choose the Installation Method
Option 1: Mount the DTU on the wall
Screw the bracket on the wall, please choose at least two screw holes (one from
each side) to fix the bracket (the M4 screws need to prepare by installer);
Match the bracket's upper buckle with DTU-Pro;
1 / 2
Advertisement

Subscribe to Our Youtube Channel
Summary of Contents for Hoymiles DTU-Pro
- Page 1 (the M4 screws need to prepare by installer); Two Antennas Adapter Bracket 5 Pin Plug Choose the way DTU-Pro connect to the Internet: Use WiFi or Ethernet. Please prepare Match the bracket’s upper buckle with DTU-Pro; DTU-PRO-WiFi AP040226 REV1.1 1 / 2...
- Page 2 Match the bracket’s lower buckle by gently press the lower side of the DTU-Pro until hear the Click. Please make sure the antennas are vertical to the wall. B) Complete system information of the installation map shown as follows.


Need help?
Do you have a question about the DTU-Pro and is the answer not in the manual?
Questions and answers