Orion Atlas EQ-G Instruction Manual
Equatorial mount
Hide thumbs
Also See for Atlas EQ-G:
- Manual (27 pages) ,
- Instruction manual (20 pages) ,
- Instruction manual (12 pages)
Table of Contents
Advertisement
Quick Links
Advertisement
Table of Contents

Related Manuals for Orion Atlas EQ-G


Summary of Contents for Orion Atlas EQ-G
- Page 1 Manual orion atlas EQ‑G ™ Equatorial Mount #24338 customer support (800)‑676‑1343 E‑mail: support@telescope.com Corporate Offices (831)‑763‑7000 89 Hangar Way, Watsonville, CA 95076 Providing Exceptional Consumer Optical Products Since 1975 IN 279 Rev. D 06/13...
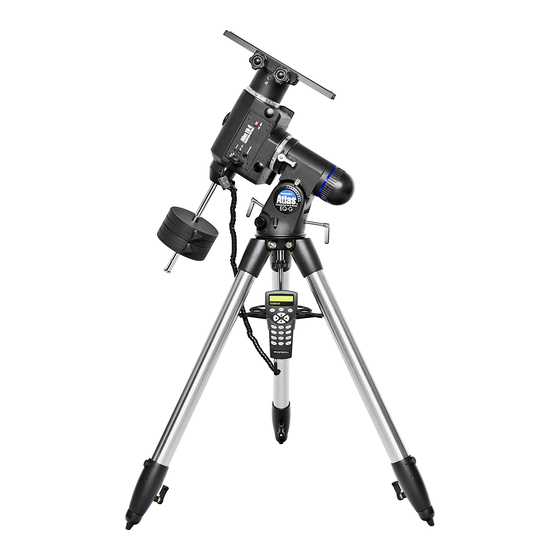
- Page 2 Power switch Tube ring mounting plate Power indicator light Mounting plate lock knobs 12V DC power jack Auto guider jack Declination lock lever Right Ascension Declination setting circle setting circle Front opening Right Ascension lock lever Hand controller jack Counterweight shaft lock lever Latitude scale Counterweight shaft Latitude adjustment L‑bolts...
-
Page 3: Table Of Contents
3. assembly In the event that the mount needs to be shipped to another location, or returned to Orion for warranty repair, having the Refer to Figure 1 as needed during the assembly process. proper packaging will ensure that your mount will survive the journey intact. -
Page 4: Attaching A Telescope
2. Loosen the black mounting plate lock knobs on the top of tube to the mount. Orion sells a variety of telescope tube rings. the equatorial mount. Place the mounting plate, with the Please visit our website at OrionTelescopes.com for details. -
Page 5: Balancing A Telescope
shaft remains horizontal even when you let go with both Dec. lock lever hands (Figure 4b). If the telescope refuses to balance (not shown) than you have either too much or too little counterweight. Remove a counterweight, or add optional counterweights Front opening if needed. - Page 6 To find Polaris in the sky, look north and locate the pattern of the Big Dipper (Figure 6). The two stars at the end of the “bowl” of the Big Dipper point right to Polaris. Little Dipper (in Ursa Minor) Observers in the Southern Hemisphere aren’t so fortunate to have a bright star so near the south celestial pole (SCP).
- Page 7 precisely polar aligned. Retighten the knob underneath the equatorial mount. If you do not have a clear view of Polaris from your observing site, you will not be able to use the polar‑axis finder to pre‑ cisely polar align the telescope. Note: From this point on in your observing session, you should not make any further adjustments in the azimuth or the lati‑...
-
Page 8: The Synscan Goto Hand Controller
Dynamo Pro available from Motor drives: Dual‑axis, GoTo comput‑ Orion. erized, internally housed If you are using a field battery like the Orion Dynamo Pro, use Operation: Northern or Southern the 12V DC power cable supplied with your mount (male ciga‑ hemisphere... -
Page 9: Appendix: Enhancing The Pointing Accuracy
Figure 10. Figure 11. Aligning the R.A. motion of the star with the crosshairs. Adjust the telescope in Dec. (with the hand controller) to place the star on the R.A. crosshair. in accordance with the instructions, may cause harmful inter‑ on opposite hemispheres of the night sky. - Page 10 Figure 12. Rotate the telescope 180° about the R.A.axis. movement of the star becomes parallel to one of the illu‑ eyepiece field of view. Adjustment in Dec. axis using the minated crosshairs (Figure 10). This crosshair will repre‑ hand controller may be necessary. sent R.A.
- Page 11 Figure 14a. Adjust the optical axis offset screws this way if Polaris moves toward the center of the eyepiece when the tube is pushed as in Figure 19. Figure 13. gently push the telescope horizontally to determine direction of optical axis offset. results of step 11.
- Page 12 Warranty This Orion product is warranted against defects in materials or workmanship for a period of one year from the date of purchase. This warranty is for the benefit of the original retail purchaser only. During this war‑...
Need help?
Do you have a question about the Atlas EQ-G and is the answer not in the manual?
Questions and answers