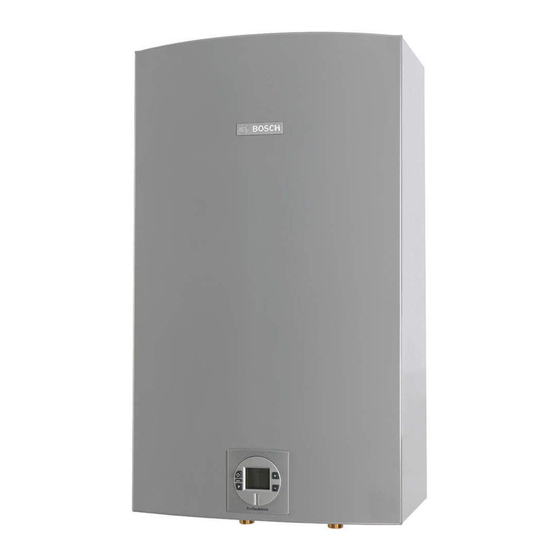
Bosch Integra 500 Series Technical Service Bulletin
Replacing primary fan & main burner
Hide thumbs
Also See for Integra 500 Series:
- Use and care manual (74 pages) ,
- Service bulletin (2 pages)
Table of Contents
Advertisement
Quick Links
Technical Service Bulletin:
Replacing Primary Fan & Main Burner
Models: C1210ESC, C1210ES, C1050ES, C950ES, 940ES, 940ESO, 830ES, 2400ES,
2700ES, 715ES, C800ES, C920ES/ESC, Integra 500, Evolution 500
Introduction
This procedure must be performed by a qualifi ed technician.
Tools needed:
Phillips head screwdriver
30mm open end wrench or large adjustable wrench
8mm open end wrench
Preparation
1.
Use the power button on the front of the water heater to turn
the appliance off and then unplug from the electrical outlet.
Isolate the gas supply to the water heater by closing the
installer supplied gas shut-off valve.
2.
Shut the inlet and outlet water supply off to the water heater
3.
Drain the water from the water heater.
4.
Loosen two Phillips head screws located at bottom rear of
cover. (Fig. 1, step 1).
5.
Lift front cover upward and remove. (Fig. 1, step 2).
Step 1
Step 1
6.
Remove combustion cover by unclipping two upper and two
lower clips securing cover. (Fig. 1, step 3)
7.
Remove 3 Phillips screws on control unit (Fig. 2, step 1). Place
control unit into the service postion by engaging its tabs with
the holes in the horizontal sheet metal on bottom of the heater
chassis . (Fig. 2, step 2).
Step 2
Step 2
Figure 2
Gas
Gas
Valve
Valve
Step 2
Step 2
Figure 1
Step 3
Step 3
20644956-11. 1 V
20644956-11. 1 V
Advertisement
Table of Contents

Summary of Contents for Bosch Integra 500 Series
- Page 1 Technical Service Bulletin: Replacing Primary Fan & Main Burner Models: C1210ESC, C1210ES, C1050ES, C950ES, 940ES, 940ESO, 830ES, 2400ES, 2700ES, 715ES, C800ES, C920ES/ESC, Integra 500, Evolution 500 Remove combustion cover by unclipping two upper and two Introduction lower clips securing cover. (Fig. 1, step 3) Remove 3 Phillips screws on control unit (Fig.
- Page 2 Remove 4 Phillips head screws that attached the gas/air mixer to the primary fan (Fig. 3, step 4). Remove the gas valve and gas/air mixer as one piece Data subject to change without notice | Printed in the USA | BTC 740002329 A | 05.2014 Bosch Thermotechnology Corp.
- Page 3 Secure the control unit using the 3 Phillips head screws (Fig. 2, step 1). Reinstalling the Heat Exchanger Reference appropriate bulletin(s) used for removal of copper heat exchanger and/or secondary heat exchanger. Bosch Thermotechnology Corp. 50 Wentworth Avenue Londonderry, NH 03053 Tel: 1-800-283-3787 Fax: 1-603-965-7581 www.bosch-climate.us...


Need help?
Do you have a question about the Integra 500 Series and is the answer not in the manual?
Questions and answers