Advertisement
Quick Links
Advertisement

Related Manuals for SMAI Ski Machine


Summary of Contents for SMAI Ski Machine
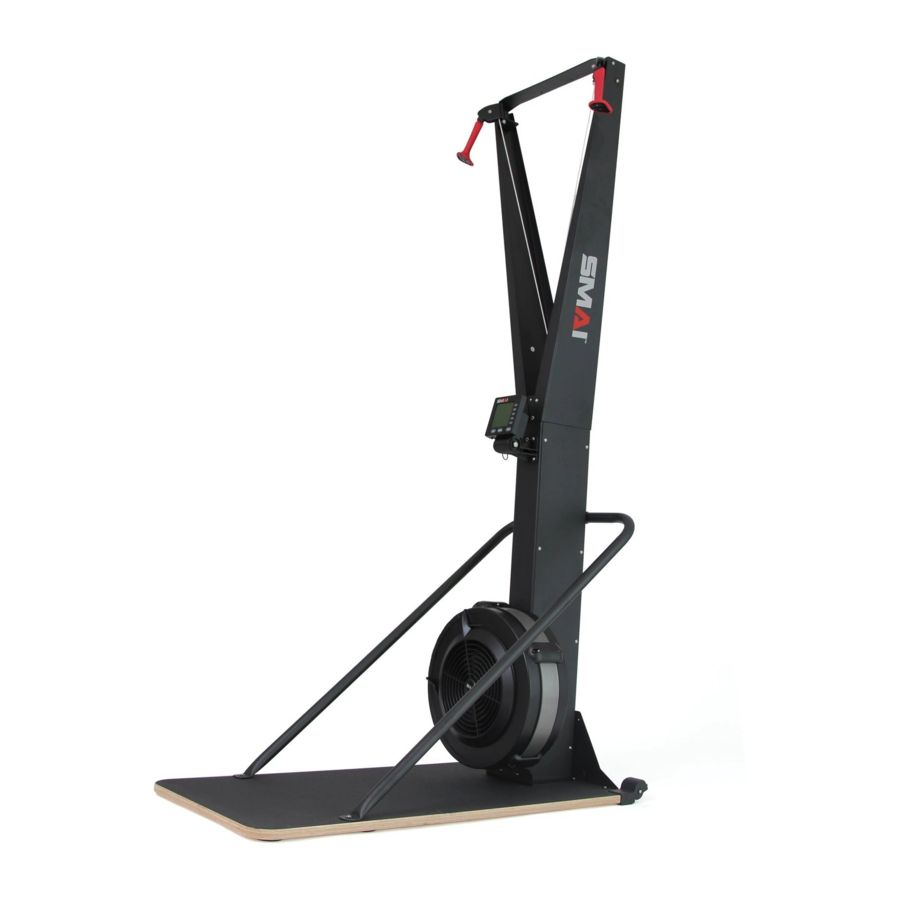
- Page 1 SKI MACHINE FLOOR STAND ASSEMBLY...
- Page 2 Table of Contents GENERAL PARTS INDENTIFICATION PAGE 3 ASSEMBLY INSTRUCTION PAGE 4-9 EXPLODED DRAWING PAGE 10 PART LIST PAGE 11 (2019/ 06) (SF-01)
- Page 3 FLOOR STAND ASSEMBLY GENERAL PARTS IDENTIFICATION WILL BE INCLUDED AT THE HARDWARE PACK OF THE MAIN SKIER MOUNTING BRACKET(A07) X 1PC (WILL BE INCLUDED AT THE HARDWARE PACK OF THE MAIN SKIER) HANDRAIL(A11) X1PC HANDRAIL BRACKET (A12) X1PC 1/4-20 X 1-1/4” BUTTON HEAD SOCKET SCREW(STAINLESS) (B18) X 8PCS 1/4-20 X 1/2”...
- Page 4 ASSEMBLY INSTRUCTION Step 1 With the Wooden Base(G31) upside down, position the Mounting bracket(A07) to the Wooden Base(G31) as shown. From the underside of the wooden base, Insert the T-nuts(C06) into the holes of Mounting bracket (A07). Use a hammer to fully seat the T-nuts (C06) into the holes on Wooden Base(G31) firmly as shown.
- Page 5 ASSEMBLY INSTRUCTION Step 1 Remove the two pre-installed Screws(B19) from lower portion of the AIR SKIER as shown. You will reinstall these in the next step. FIGURE2...
- Page 6 ASSEMBLY INSTRUCTION Step 1 Carefully place the AIR SKIER on the wooden base (G31) so that it lines up with the four inner holes on the wooden base (G31). Fasten four Washers(D06) and Screws(B18) to insert through each of the four holes in the Air Skier Bottom Bracket (A01) and into the Wooden Base (G31) .Next tighten all Washers (D06) and Screws (B18) with Wooden Base (G31) and Air Skier Bottom Bracket(A01) firmly as diagram .
- Page 7 ASSEMBLY INSTRUCTION Step 1 Fasten four screws(B19) and insert through each of the four holes in the AIR SKIER mounting bracket (A07), then tighten firmly as show. FIGURE 4...
- Page 8 ASSEMBLY INSTRUCTION STEP 1 Secure the Handrail (A11) to the Wooden Base(G31) on each side by using the screws(B18) and Washers(D06) as shown. STEP 2 Loosely attach the Handrail Bracket(A12) to the Handrail (A11) using four Screws (B19) as diagram. Once all four Screws (B19) are in place, tighten the Handrail Bracket (A12) fully to the Air Skier as shown.
- Page 9 ASSEMBLY INSTRUCTION FIGURE 6 Congratulations! You have completed the assembly of your Air Skier with Floor Stand Before using the machine , please do some warm-up exercise to prevent any muscle cramp .
- Page 10 Exploded View WILL BE INCLUDED AT THE HARDWARE PACK OF THE MAIN SKIER...
- Page 11 Part List (FLOOR STAND ) NO. PART NAME A11 HANDRAIL A12 HANDRAIL BRACKET B18 1/4-20*1-1/4” BUTTON HEAD SOCKET SCREW(STAINLESS) B19 1/4-20*1/2” BUTTON HEAD SOCKET SCREW(STAINLESS) ψ5.5mm*1 PHILLIPS FLAT HEAD TAPPING SCREW(STAINLESS) B21 4*16mm SCREW(BLACK) C06 1/4 T-NUT NO PRONGS(STAINLESS) D06 ψ19*ψ6.5*1.5t FLAT WASHER(BLACK) G29 RIGHT CASTER G30 LEFT CASTER G31 ANTI SKID WOODEN BASE...
Need help?
Do you have a question about the Ski Machine and is the answer not in the manual?
Questions and answers