
Related Manuals for Waterpik WP-70


Summary of Contents for Waterpik WP-70
- Page 1 Waterpik Water Flosser ® Model WP-70 ....www.waterpik.com...
- Page 2 Waterpik Water Flosser removes harmful bacteria deep between teeth ® and below the gumline – where brushing alone won’t reach. Thank you for choosing the Waterpik Water Flosser. ® Flossing has limited access below the gumline. Oral Care With The Waterpik ®...
-
Page 3: Table Of Contents
TABLE OF CONTENTS Important Safeguards Product Description Getting Started Care of Your Waterpik Water Flosser ® Troubleshooting Guide Limited One -Year Warranty... -
Page 4: Important Safeguards
Contact Water Pik, Inc. or your local distributor which can • Do not handle plug with wet hands. be found at www.waterpik.com. • Do not immerse in water or other liquid. • Do not direct water under the tongue, into the ear, nose or other delicate areas. - Page 5 • Fill reservoir with water or other dental professional recommended • Do not remove the Pik Pocket tip from the clear shaft. If it solution only. separates for any reason, discard both the tip and shaft and replace with a new Pik Pocket Tip.
-
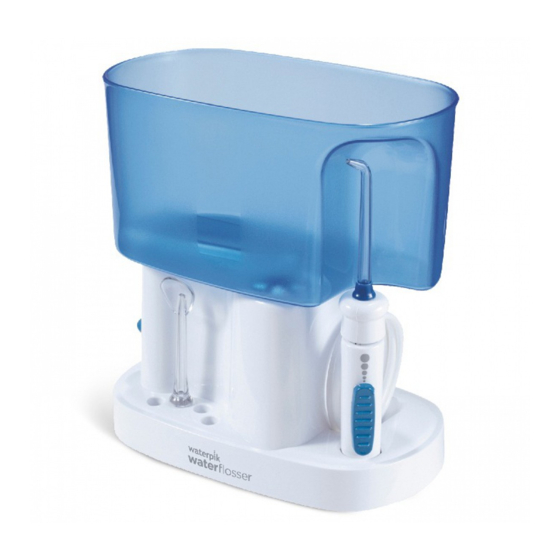
Page 6: Product Description
PRODUCT DESCRIPTION Reservoir Pump Inlet Base Handle On/Off Pressure Control Switch Cord Storage (under base) - Page 7 NOTE: all tips not included in all models...
-
Page 8: Getting Started
GETTING STARTED Plug the cord into an electrical outlet. If the outlet is controlled by a wall Inserting and Removing Tips switch, be sure it is turned on. Pull the knob on the top of the handle toward the hose and insert tip into the center of the knob. - Page 9 Adjusting the Pressure Setting Placement in Mouth Direct the stream by turning the knob at the top Slide the pressure control switch located on the Lean low over sink and place the jet tip in of the handle. handle to the lowest setting (away from the tip mouth.
- Page 10 Recommended Technique Pause Control Direct the jet stream at a 90-degree angle to You can temporarily stop the flow any time by your gumline. Close lips to avoid splashing pressing the pause button on the handle. but allow water to flow freely from mouth into the sink.
- Page 11 TIP USAGE Tongue Cleaner Tip Pik Pocket Lean over the sink. Place the tongue cleaner on your tongue and start the The Pik Pocket Tip is specifically designed to deliver water or anti- Water Flosser – use the lowest pressure setting, increase as comfortable. bacterial solutions deep into periodontal pockets.
- Page 12 ® antibacterial solutions. Ask your dental professional to recommend the appropriate solution for you. Note: use of some antibacterial solutions could shorten the life of your Waterpik Water Flosser. ® After using any special solution in the reservoir, take a moment after every use to rinse the unit.
- Page 13 RECOMMENDED TIP REPLACEMENT INTERVALS Replace Every 3 Months PikPocket ™ Replace Every 6 Months Classic Tongue Cleaner Jet Tip...
-
Page 14: Care Of Your Waterpik Water Flosser
CARE OF YOUR WATERPIK WATER FLOSSER ® Clean the product when necessary by using a soft cloth and mild Service Maintenance non-abrasive cleanser. Waterpik Water Flossers have no consumer-serviceable electrical items ® and do not require routine service maintenance. Before cleaning, unplug from the electrical outlet. -
Page 15: Troubleshooting Guide
1) Motor not running. another appliance (check electrical reset button and/or wall switch). Still have questions? Go to www.waterpik.com. If none of these corrective actions are successful, call the Water Pik, Inc. Customer Service Center. Toll-Free Number: 1-800-525-2774 (USA) or 1-888-226-3042 (Canada). -
Page 16: Limited One-Year Warranty
LIMITED ONE-YEAR WARRANTY Water Pik, Inc. warrants to the original consumer of this new product that it is free from defects in materials and workmanship for 1 year from the date of purchase. Consumer will be required to submit the original purchase receipt as proof of purchase date and if requested, the entire product, to support a warranty claim.