Advertisement
Advertisement
Table of Contents

Related Manuals for Pure Fitness 9038MT

Summary of Contents for Pure Fitness 9038MT
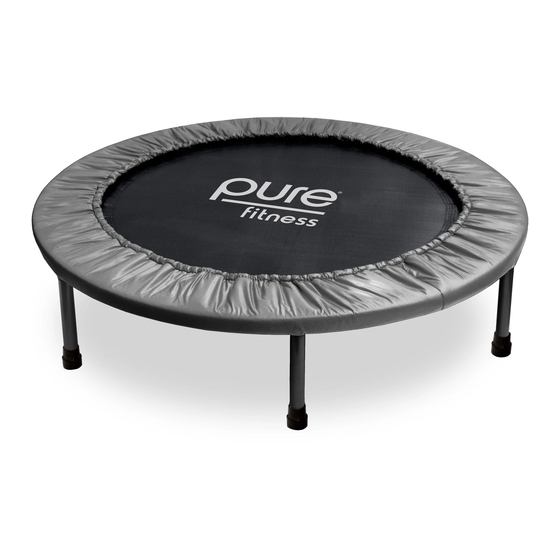
- Page 1 38-INCH EXERCISE TRAMPOLINE MODEL# 9038MT PRODUCT MANUAL - VERSION 5.20.01 FOR AGES: WEIGHT LIMIT: TO BUILD: TOOLS NEEDED: 100 Kgs CUSTOMER SERVICE GQBrands.com • CustomerService@GQBrands.com • 1-866-498-5269 • 4401 Samuell Blvd, Ste 150, Mesquite, TX 75149...
-
Page 2: Customer Service Information
Thank you for purchasing: 38-INCH EXERCISE TRAMPOLINE To register you product please visit: www.globalqualitybrands.com/product-registration MODEL# 9038MT or Scan code: If you have an issue with your item, do not return. Please report items that are damaged or missing parts to the manufacturer GQ Brands within three days of delivery. -
Page 3: Limited Warranty
• DO NOT store trampoline outdoors or levels, etc.) condition. where exposed to moisture or extreme temperatures. MODEL# 9038MT... -
Page 4: Parts List
PARTS LIST Part # Description Part# Description Frame Washer Jump Mat Spring Frame Pad W-Hook Leg with Cap T-Section Piece Large Square Washer 40mm Square Neck Bolts GQBrands.com CustomerService@GQBrands.com 1-866-498-5269... - Page 5 & flat surface to install. Make sure that there are no obstructions in your way when building the Mini Trampoline. NOTE: Make sure that the spring ends are facing up, and the logo printed on the Jumping Mat is facing the floor. T-Section Locations MODEL# 9038MT...
- Page 6 ASSEMBLY INSTRUCTIONS STEP 2: Parts: Part 5 (x12) - T-Section Pieces Part 6 (x6) - 40mm Square Neck Bolts Part 7 (x6) - Nuts Part 11 (x6) - Large Square Washer Locate the six T-Section openings in the frame (Shown in page 5) to begin installing the T-Sections Pieces into the Frame.
- Page 7 (10) Repeat this process until you have all six assembled Legs with Caps (Part 10). x6 Assembled Legs MODEL# 9038MT...
- Page 8 ASSEMBLY INSTRUCTIONS STEP 5: Parts: Part 6 (x6) - 40mm Square Neck Bolts Part 7 (x6) - Nuts Part 8 (x6) - Washers Part 10 (x6) - Leg with Caps A. Place all assembled legs inside the inserts of the T section. Align openings from the T-Sections and Legs.
-
Page 9: Frequently Asked Questions
FREQUENTLY ASKED QUESTIONS • Question: “One of my trampoline legs has • Question: “I had a part missing from my • Question: “How do I remove the black box” or “something was damaged during caps on the frame of the trampoline?” broken”...
Need help?
Do you have a question about the 9038MT and is the answer not in the manual?
Questions and answers