Advertisement
Quick Links
1: Inlet Valve
Note:
The Inlet Valve can be adjusted to suit the
High Level Cistern - C5.
The valve is preset for 6L full flush and 3L
half flush.
The above diagram indicates the correct setting
for 4.5L full flush and 2.6L half flush.
For adjustment method, please refer to the
installation instruction supplied with the cistern
fittings.
2: Flush Valve
Note:
The Flush Valve can be adjusted to suit the High Level Cistern - C5.
The valve is preset for 6L full flush and 3L half flush.
The above diagram indicates the correct setting for 4.5L full flush and 2.6L half flush.
For adjustment method, please refer to the installation instruction supplied with the cistern fittings.
1 - 1
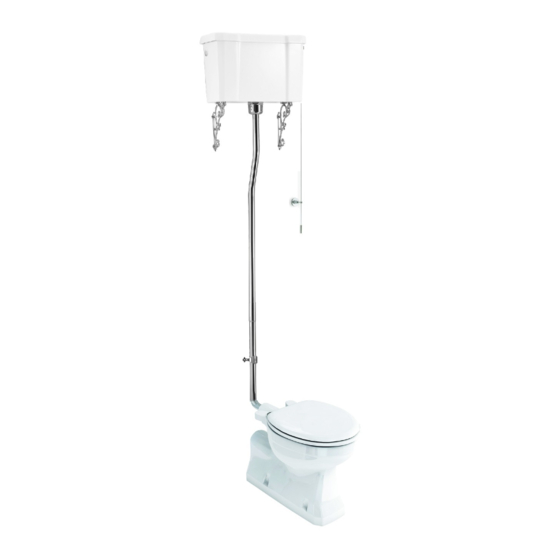
High Level Cistern
C5
5
4
3
2
A
Advertisement

Subscribe to Our Youtube Channel
Related Manuals for Burlington C5


Summary of Contents for Burlington C5
- Page 1 Note: The above diagram indicates the correct setting The Flush Valve can be adjusted to suit the High Level Cistern - C5. for 4.5L full flush and 2.6L half flush. The valve is preset for 6L full flush and 3L half flush.
- Page 2 High Level WC All WC’s come with a 3/6 litre flush as standard which can be reduced to a 2.5/4.5 litre flush for the slimline cisterns On the High Level WC you must lightly pull the rod down for the 6 litre flush and lightly push the rod up for the 3 litre flush Please note that it is imperative that there are no loops or kinks in the yellow tube when installed and that the lever is not operated with excessive force as this will damage the cable inside the tube that lifts and lowers the flush valve causing the flush to fail beyond repair...
- Page 3 High Level WC Parts supplied: Flush Cone ● Please read these instructions carefully to avoid damage to the valves, and to ensure correct installation. ● Do not use bleach or bleach based cleaning products in Plastic Lever Washer the cistern, as these will cause damage to the seals. We cannot be held responsible or liable for any failure Cone which results from the use of bleach based products.
- Page 4 Adjustment the rod: A: By adjusting clockwise the water level rises and flush volume increases. B: By adjusting anti-clockwise the water level falls and the flush volume decreases. Note: To ensure the full flushing volume of 6.0 litres, and the half flushing volume of 3.0 litres.
- Page 5 Flush Valve Installation And Problem Solving 1: Flush Valve scale and adjustment setting Note: The Flush Valve could be adjusted to reach a full flushing volume of 6.0 litres, and a half flushing volume of 3.0 litres. Please see below diagram A for the recommended settings and adjust method for the flush valve. Half Flush Float : should be set on the 4.5 mark Half Flush Adjustor : should be set at '1' mark Full Flush Adjustor : should be set on the '2.5' mark...
- Page 6 Flush Lever Installation 1: Install Flush Lever Onto Cistern * The fixing nut should be tightened as much as possible to avoid the cistern lever working loose during operation. 2: Install Lever To Flush Lever box Insert the box and tighten the nut.
-
Page 7: Decorative Cover
Angled High Level Flush pipes (4 parts) T34 CHR Assembly ● Mount the cistern securely on the wall at the height of 2405mm from the underside of the cistern to the floor using the fixing holes through the rear of the cistern (See hint 1). ●... -
Page 8: Parts Supplied
Parts supplied: flush pipe A flush pipe B flush pipe C flush pipe D pull handle buffer clip A ornate bracket control bracket buffer clip B screw rawl plug decorative cover & brass fixing nut pin screw rubber spacing washer 2 - 3... - Page 9 3 - 3...
Need help?
Do you have a question about the C5 and is the answer not in the manual?
Questions and answers