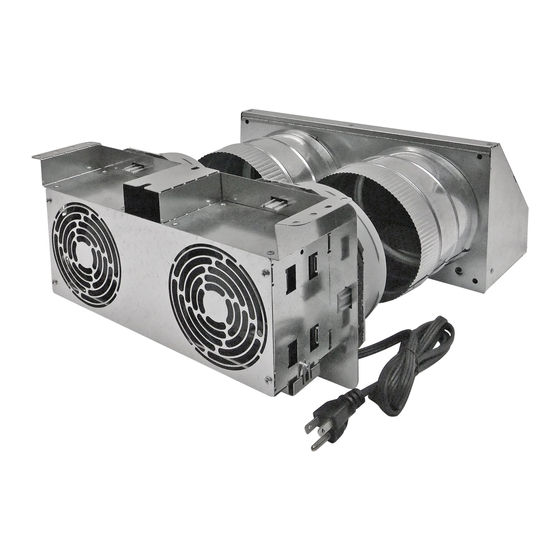
Table of Contents
Advertisement
Quick Links
REV. A 07/14
TJERNLUND PRODUCTS, INC.
1601 Ninth Street • White Bear Lake, MN 55110-6794
PHONE (800) 255-4208 • (651) 426-2993 • FAX (651) 426-9547
Visit our web site • www.tjernlund.com
MODEL X2R
INSTALLATION INSTRUCTIONS
OWNER'S INSTRUCTIONS, DO NOT DESTROY
THIS DEVICE MUST BE INSTALLED BY A
QUALIFIED PERSON.
READ INSTRUCTIONS CAREFULLY PRIOR TO
INSTALLATION AND OPERATION OF THE XCHANGER.
Copyright © 2014, Tjernlund Products, Inc. All rights reserved.
P/N 8504202
Advertisement
Table of Contents

Subscribe to Our Youtube Channel
Summary of Contents for TJERNLUND XCHANGER X2R
- Page 1 MODEL X2R INSTALLATION INSTRUCTIONS OWNER'S INSTRUCTIONS, DO NOT DESTROY THIS DEVICE MUST BE INSTALLED BY A QUALIFIED PERSON. READ INSTRUCTIONS CAREFULLY PRIOR TO INSTALLATION AND OPERATION OF THE XCHANGER. Copyright © 2014, Tjernlund Products, Inc. All rights reserved. P/N 8504202...
- Page 2 The DH2P control includes an “On” setting that will operate the fan(s) continuously or it can be turned “Off” so the fan(s) do not operate during undesirable seasons.Tjernlund’s optional SCP speed control kit is also available to vary speed of fans if desired.
- Page 3 X fans into wall timer. CHANGE TJERNLUND OPTIONAL SCP SPEED CONTROL OPERATION Tjernlund’s optional SCP speed control can be used to vary the speed of the X fans. Plug SCP speed control into stan- CHANGE dard outlet and plug X fans into SCP speed control.
- Page 4 Table 1, a standard plug-in timer can be set so the X is cycled to obtain the CHANGE desired ACH or Tjernlund’s optional SCP speed control may be used. EXAMPLE 3000 square feet of living space .2 ACH desired ventilation rate equals 40 CFM...
- Page 5 DIAGRAM A INSTALLATION (TOOLS REQUIRED) • Reciprocating saw • 5/16” nut runner or socket • Siding tools (dependent on exterior finish) • Drill and 1/2” bit • Phillips screwdriver • Level INSTALLATION NOTE: Before cutting opening through wall, confirm X hood termination clearances are met as noted on bottom of page 3.
- Page 6 4. Insert X hood backing plate through exterior wall with collars on inside of house. IMPORTANT: Make sure backing plate CHANGE bent flange is on top facing out, (See Diagram G). For vinyl or other types of lap siding, level backing plate and trace around edges.
- Page 7 CHANGE except for the defective part. Tjernlund Products, Inc. will issue credit or provide a free part to replace one that becomes defective during the one year warranty period. All receipts should include the date code of the X to ensure that the defective component corresponds with the CHANGE complete unit.
- Page 8 TJERNLUND LIMITED 1 YEAR WARRANTY Tjernlund Products, Inc. warrants to the original purchaser of this product that the product will be free from defects due to faulty material or workmanship for a period of (1) year from the date of original purchase or delivery to the original purchaser, whichever is earlier. Remedies under this warranty are limited to repairing or replacing, at our option, any product which shall, within the above stated warranty period, be returned to Tjernlund Products, Inc.


Need help?
Do you have a question about the XCHANGER X2R and is the answer not in the manual?
Questions and answers