Advertisement
A
x 1
B
x 1
1
Install the LED Module on the radiator.
3
C
Set the DIP switch on the back side of the controller to
assign the number of the controller
4
E
Connect the controller cable onto the mainboard
(USB 2.0 9 pin) and controller.
5
D
Connect the power cable to the 4pin Molex
connecter and controller.
Pacific
Parts List
C
x 1
D
x
1
Power Cable
Controller Cable
Installation Guide
B
A
E
6
D
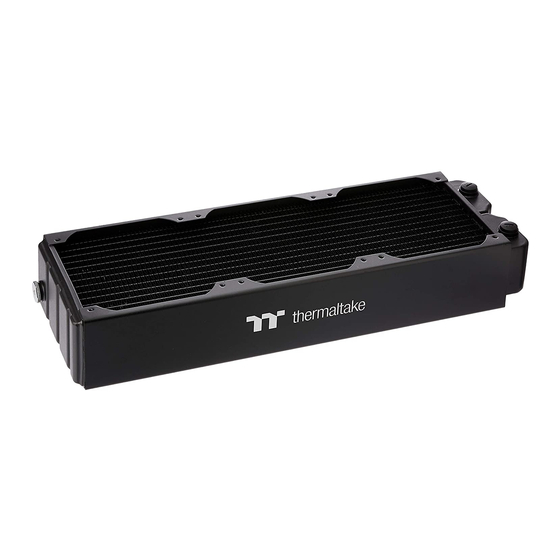
CL360
E
x 1
F
x
1
G
Bridge Cable
2
C
B
3
2
1
Connect the fan cable onto the controller.
NO.1
NO.2
ON
ON
1
2
3
4
1
2
3
NO.5
NO.6
ON
ON
1
2
3
4
1
2
3
NO.9
NO.10
ON
ON
1
2
3
4
1
2
3
NO.13
NO.14
ON
ON
1
2
3
4
1
2
3
F
If you want to connect two or more connectors, you can
use the bridge cable to connect the controllers.
Patented
Plus
16.8
x
12
H
x
12
I
x
12
J
C
5
4
NO.3
NO.4
ON
ON
4
1
2
3
4
1
2
NO.7
NO.8
ON
ON
4
1
2
3
4
1
2
NO.11
NO.12
ON
ON
4
1
2
3
4
1
2
NO.15
NO.16
ON
ON
4
1
2
3
4
1
2
F
Million Color
x
1
3
4
3
4
3
4
3
4
Advertisement
Table of Contents

Subscribe to Our Youtube Channel
Related Manuals for Thermaltake Pacific CL360 Plus


Summary of Contents for Thermaltake Pacific CL360 Plus
- Page 1 CL360 Patented Pacific Plus 16.8 Million Color Parts List Bridge Cable Power Cable Controller Cable Installation Guide Install the LED Module on the radiator. Connect the fan cable onto the controller. NO.1 NO.2 NO.3 NO.4 NO.5 NO.6 NO.7 NO.8 Set the DIP switch on the back side of the controller to assign the number of the controller NO.9 NO.10...
- Page 2 APP will ask for your password every time when starting the APP. 日本語 日本語 ไทย ไทย For more information please visit www.thermaltake.com Auto Update On Auto Update On Password On Password On Password:8888 Password:8888 © 2018 Thermaltake Technology Co., Ltd. All Rights Reserved. www.thermaltake.com...
Need help?
Do you have a question about the Pacific CL360 Plus and is the answer not in the manual?
Questions and answers