Advertisement
Advertisement
Table of Contents

Related Manuals for Omega ORT61X


Summary of Contents for Omega ORT61X
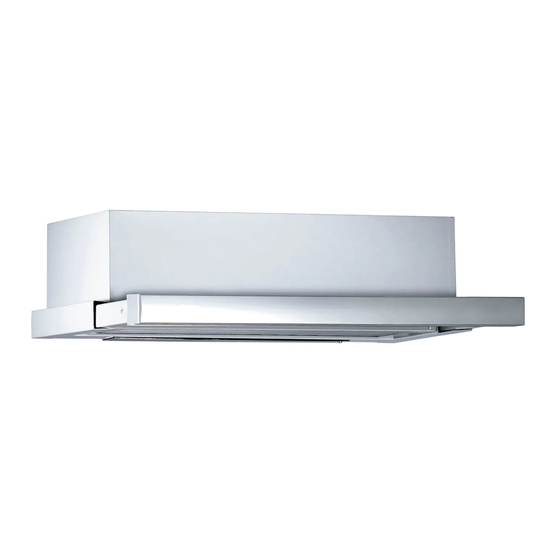
- Page 1 INSTRUCTION MANUAL FOR OMEGA RANGEHOODS ORT61X ORT91X...
-
Page 3: Table Of Contents
The manufacturer will not be responsible for any damage to property or to persons caused by incorrect installation or improper use of the appliance. Due to continual product development, Omega reserves the right to alter specifications and appearances without notice. -
Page 4: Important Safety Warnings
IMPORTANT SAFETY WARNINGS IMPORTANT: Read the assembly instruction section and safety precautions of this booklet carefully before removing the contents of this carton. In certain circumstances electrical appliances may be a safety hazard. This appliance is not intended for use by persons (including children) with reduced physical, sensory or mental capabilities, or lack of experience or knowledge, unless they have been given supervision or instruction concerning the use of the appliance by a person responsible for their safety. -
Page 5: Appliance Details
APPLIANCE DETAILS Voltage: 220V - 240V 50Hz Rated Input Power: 193W Lamp Max: 2 x 1.5W LED Airflow: 700m ORT61X ORT91X... -
Page 6: Installation Instructions
INSTALLATION INSTRUCTIONS There are two methods to install the cooker hood: Method one: mounted on the wall: The cooker hood should be placed at a distance of 65-75cm from the cooking surface for best effect. To install onto the wall drill 4 holes of Ø8mm on a suitable place according with the centre distance of hole in the back of the cooker hood. - Page 7 Method two: built-in the cabinet: 1. Drill 4 holes of 4mm diameter at the bottom of the hanging cupboard 2. Put the one way valve on the cooker hood, then install the cooker hood on the bottom of the cupboard, tighten the hood with the M4 screws.
-
Page 8: Operating Instructions
OPERATING INSTRUCTIONS 1. Push the ‘Power’ button to turn the unit on and off. 2. Push the ‘Low’ button to set the extraction fan to low speed. 3. Push the ‘Mid’ button to set the extraction fan to medium speed. 4. -
Page 9: Replacing The Lights
REPLACING THE LIGHTS Warning: Before attempting to replace the lights, ensure that the appliance is switched off and unplugged from the wall. • Remove the grease filter. • Press the spring on both sides of the lamp until it falls out (Pic. 1). •... -
Page 10: Warranty
WHAT IS COVERED: By Our Warranty During the warranty period, Omega or its authorised Service Centre will, at no extra charge, if your appliance is readily accessible without the need of special equipment and subject to the terms and conditions of this warranty, repair or replace any parts which it considers defective.
Need help?
Do you have a question about the ORT61X and is the answer not in the manual?
Questions and answers