Advertisement
Do you have a question about the Sport and is the answer not in the manual?
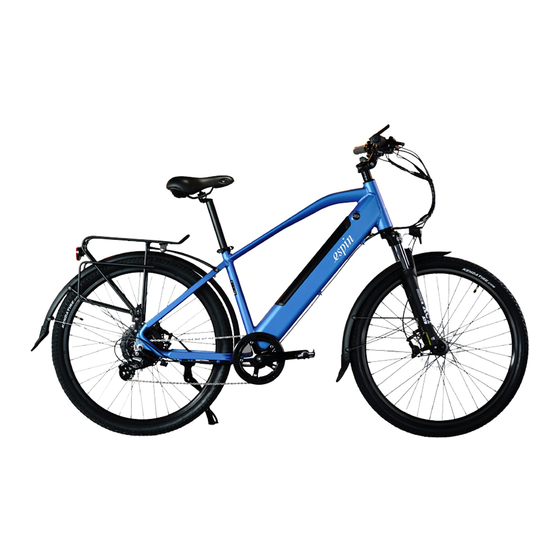
Checking brake connections
@Kevin How to check cable connections for bracks,showing 05 error code


Need help?
Do you have a question about the Sport and is the answer not in the manual?
Questions and answers
Checking brake connections
@Kevin How to check cable connections for bracks,showing 05 error code