
Subscribe to Our Youtube Channel
Related Manuals for Espin Aero


Summary of Contents for Espin Aero
- Page 1 effortlessly electric Quick Start Guide CONTACT US: HELLO@ESPINBIKES.COM PHONE NUMBER : (888) 296-4550...
-
Page 2: Table Of Contents
Thank you for your purchase, and welcome to the Espin family! This guide will help you assemble, operate, maintain, and enjoy your Espin for as long as possible. For any questions or issues along the way, please reach out to us online or on the phone... -
Page 3: Taking The Bike Out Of The Box
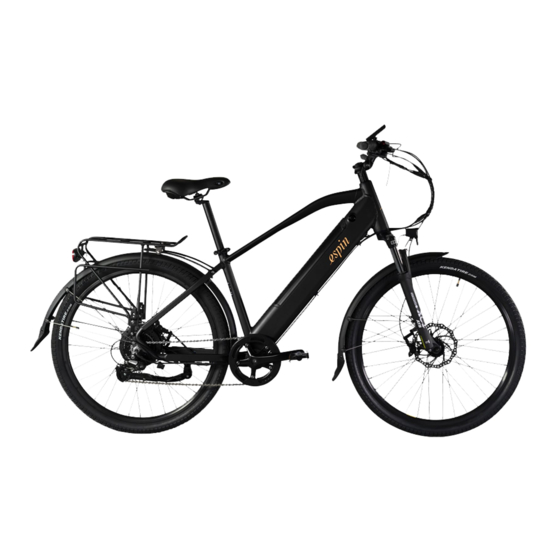
The bike shown above is the 21 Sport. Look through this diagram and find the labeled parts on hoses, or the zip-ties holding them in place. your own bike. Other Espin models might not have a top tube, have the battery in a different lo- 1 .6 Remove the metal or plastic dummy axle While removing the packaging on the bike, cation, or have a different type of stem. -
Page 4: Charging The Battery
CHARGING THE BATTERY 2 .1 To charge the Aero, plug the charger into 2 .4 While charging, leave the charger on a a wall outlet, then plug it into the battery’s smooth hard surface like wood or tile. The charging port on the lower left side of the charger may get fairly warm if left on carpet downtube. -
Page 5: Install The Front Wheel
INSTALL THE FRONT WHEEL 3 .4 Once the wheel is in the fork, put the spring back on the quick release skewer with the small end facing inwards and thread the adjustment nut back on. While holding the quick release lever at 90° to the fork as shown in Figure 3, screw the adjustment nut all the Figure 1 way in until it is just finger tight. -
Page 6: Install The Handlebar
INSTALL THE HANDLEBAR 4 .4 To install the handlebar, first the faceplate must be removed as shown in Figure 8. Unscrew the 4 faceplate bolts all the way, and be careful not to drop 4 .1 If the bike arrived with the stem rotated them! around as shown in Figure 5, the stem will 4 .5 Place the center of the handlebar... -
Page 7: Install The Pedals
• The Aero comes with 700 x 38c tires. Depending on the year and batch, the pressure should be about 70PSI. A good rule to follow is to pump up bicycle tires to 5PSI below the max recom- mended pressure printed on the tire. -
Page 8: Install The Saddle And Adjust The Saddle Height
INSTALL THE SADDLE AND ADJUST SAFETY CHECKS THE SADDLE HEIGHT Before the first ride, please make sure the following are tight and secure: • Remove the packaging from the seatpost and saddle. ▯ All bolts on the stem and stem faceplate (DO NOT tighten the top cap bolt unless adjusting the headset) •... -
Page 9: Test Ride
Squeezing the front brake by itself too hard can cause the bicycle to tip • forward resulting in a crash. For e-bikes, the main component that can wear out is the battery. Espin batteries are rated to maintain their charge capacity for at least 500 charge/discharge cycles. The hall sensor of the •... -
Page 10: Display Settings
DISPLAY SETTINGS Quick Start Guide CONTACT US: HELLO@ESPINBIKES.COM PHONE NUMBER : (888) 296-4550 ISSUE 01...
Need help?
Do you have a question about the Aero and is the answer not in the manual?
Questions and answers