
Subscribe to Our Youtube Channel
Related Manuals for HBX WAV-0110


Summary of Contents for HBX WAV-0110
- Page 1 Installation Manual WAV-0110 WAV-0111 WAV-0112 Version 1.005 WAV-0110 WAV-0111 WAV-0112 HBX Control Systems Inc. Page 1...
-
Page 2: Table Of Contents
Control Systems Inc. H B X W A V - 0 1 1 0 W i r e l e s s O u t d o o r S e n s o r V e r s i o n 1 . 0 Table of Contents •... -
Page 3: Introduction
SAFETY SYMBOLS AND WARNINGS: Storage Extreme Hazard - The WAV-0110 should be kept in its original shipping This action poses a serious threat that could carton prior to installation. In order to retain the result in personal injury or death, as well warranty coverage it should be stored properly: as permanent damage to the equipment. -
Page 4: Description
Description The HBX WAV-0110 Control is designed to be a microprocessor based outdoor wireless sensor system. It is easy to install, requiring no wiring for simple installation. The weather resistant sensor is reliable and has a minimum two year battery life. -
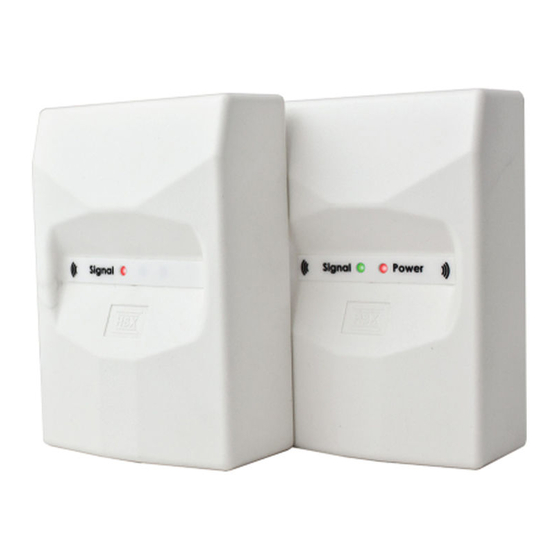
Page 5: Technical Data And Dimensions
Signal Power Bottom View 24 VAC GND THERM OUT 24 VAC GND THERM OUT 43 mm 78 mm 78 mm 76 mm Outdoor Sensor - Inside View Indoor Sensor - Inside View © HBX Control Systems Inc. 2015 Page 5... -
Page 6: Installation And Wiring
*Default Setting Make sure to wire the thermistor section to the control AFTER powering the WAV-0110. • Connect 18 AWG or similar wire to the THERM OUT terminals in the base and run the wire from here to the outdoor sensor control terminal. -
Page 7: Initial Setup And Pairing
(see FIG 5) 24 VAC THERM OUT 24 VAC THERM OUT Green LED Red LED Max 1ft Base Unit Outdoor Unit 24 VAC THERM OUT FIG 7 FIG 5 Base Unit Outdoor Unit © HBX Control Systems Inc. 2015 Page 7... -
Page 8: Verify Wireless Pairing
Mounting the Outdoor Unit the wireless pairing process is complete, verify the wireless operation. • The HBX WAV-0110 can be mounted directly onto a wall. Steps to take for verification: • In order to prevent heat transmitted through the wall 1. -
Page 9: Loss Of Communication Mode
Step 3. for more than 3 hours. Step 3 When the WAV-0110 is in this mode, the base unit will output a resistance for 0°F on the control it has been Try powering down the outdoor sensor by taking out one connected to. -
Page 10: Thermistor Output Curves
• Laars Neotherm • Uponor CCN • IBC SL, VFC • Viessmann • Taco iWorx (excluding Vitodens-100W) • Slant/Fin CHS • HBX Controls • Lochinvar • NTI Trinity & Vmax • Camus • Raypak • ATH • RBI • Navien •... - Page 11 HBX Controls warrants each of its products to be free from defects in workmanship and materials under normal use and service for a period of 24 months from date of manufacture or 12 months from date of purchase from an HBX Authorized Dealer, if within the above documented period after date of manufacture.
- Page 12 Phone: +1 (403) 720-0029 Fax: +1 (403) 720-0054 Email: inf o @ hbxcontrols.com Web: www.hbxcontrols.com HBX Control Systems Inc. 4516 - 112 Avenue SE © HBX Control Systems Inc. 2015 Calgary, AB Canada T2C 2K2 Page 12...
Need help?
Do you have a question about the WAV-0110 and is the answer not in the manual?
Questions and answers