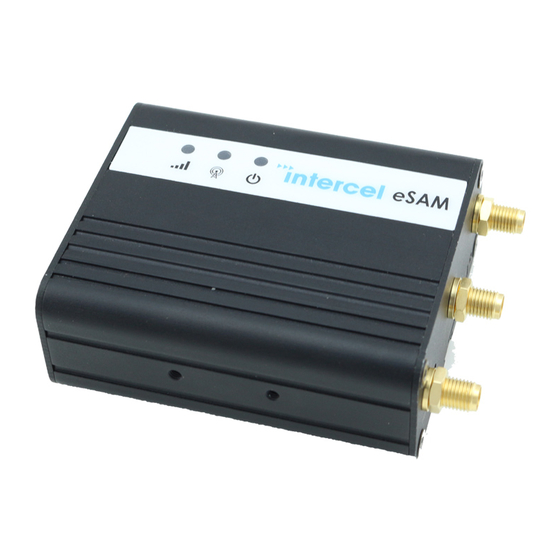
Intercel eSAM User Manual
Hide thumbs
Also See for eSAM:
- User manual (16 pages) ,
- Quick start manual (9 pages) ,
- User manual (9 pages)
Advertisement
Quick Links
Advertisement

Summary of Contents for Intercel eSAM
- Page 1 IP Camera USER GUIDE www.intercel.com.au...
- Page 2 This guide will explain how to set up a basic configuration for accessing and IP camera remotely using the eSAM router. To achieve this, we will follow the following steps 1. Enable remote access on the modem 2. Port Forward from the modem to the IP Camera so we can access it remotely.
- Page 3 In this section we will configure an eSAM to be easily accessed over the internet. 1. Use your web browser to connect to the eSAM. By default, this can be done by connecting your computer to the eSAM’s Ethernet port and entering the IP Address http://192.168.1.1...
- Page 4 4. Open the ‘Security>Remote Access’ screen. Enable WEB Access. Telnet and SSH are not required for this guide, so we can leave them disabled. Press ‘Save’ to save the settings. 5. Open the ‘Status>Modem’ screen. Please confirm that your modem has been assigned a public IP address. Public IP Addresses are any addresses that are not in any of the following ranges: 10.x.x.x 192.x.x.x...
- Page 5 6. Copy the IP Address from step 5 and paste it into your URL bar. Press enter to access the modem using its public IP. You should now be able to unplug the modem from your computer and still access it.
- Page 6 (the first three number of the IP address must match). I can accomplish this either by setting the IP Camera’s IP to match that of the eSAM or changing the IP of the eSAM to match that of the Camera.
- Page 7 IP Camera Model. 2. Now connect the webcam to the Ethernet port of the eSAM. After connecting the two together, open the ‘System > Network Test’ Screen. Enter the IP Address of the Camera into the ‘destination’ field and press ping. If the modem can communicate with the Camera, then the Result field will show that a series of successful ping messages have been sent from the modem to the IP Camera.
- Page 8 Press the ‘Add’ Button. Enter the details for your webcam as described below: Interface: modem Original Port: 8080 Mapping Address: The IP Address of the Camera (for this Camera, it is 192.168.1.158) Mapping Port: 80 (the port for the web GUI of the IP Camera) Press Save to save this rule.
- Page 9 Your ‘Forward> NAT’ screen should now look like this:...
- Page 10 4. Now that we have forwarded a port for the IP Camera to use, we should be able to access it remotely using the public IP Address. Open a browser window and enter the public IP of your modem, followed by ‘:8080’. This tells the web browser that we want to communicate with port 8080, which is the port we forwarded to the IP camera.
- Page 11 At this point, we can remotely access both the camera and the modem using the IP Address of the Modem. However, if the modem is reset its IP address may change and we will be unable to access it. To prevent this from becoming a problem, we will use the Dynamic DNS (DDNS) functionality built into the modem combined with a free service called Duck DNS.
- Page 12 3. Enter the name of the sub-domain you want to use into the ‘domains’ box, and then press ‘add domain’. 4. Note down the following information from the DuckDNS page. These values will have to be entered into the eSAM. i. The Token: A long alphanumeric string used to authenticate that you have control over the domain.
- Page 13 1. Log into your eSAM, and open the ‘Applications > DDNS’ screen 2. Enter the following settings into the DDNS Screen: a. Select duckdns from the service provider dropdown. b. Enter the token copied from the earlier step into the Token Field.
- Page 14 4. Once your eSAM is provided with the correct settings, it will update the IP on Duck DNS to match your IP. You can monitor this happening using DuckDNS or your modem’s log. You will then be able to access the modem...
- Page 15 Using port 8080 through the domain ‘intercel1.duckdns.org:8080’ we can remotely access the IP Camera connected to the eSAM modem If the modem is rebooted or for any reason changes its IP address, the DDNS service will compensate for the...
- Page 17 33 Glenvale Crescent Mulgrave VIC 3170 Australia intercel@intercel.com.au +61 (0) 3 9239 2000...


Need help?
Do you have a question about the eSAM and is the answer not in the manual?
Questions and answers