Advertisement
To get to the LVM screen on the Candela GentleMax Pro (GMax Pro), you will have to calibrate the laser
for the ALEX and YAG. If you know how to calibrate for both ALEX and YAG, proceed to step six for
instructions on how to go directly to the LVM and what information is needed by the technicians.
You can use whatever handpiece is available but our technicians recommend using a 15mm handpiece.
Step One: Turn key to power the GMax Pro laser and allow to warm up for at least 10 minutes.
Step Two: Your GMax Pro will default to either the ALEX or YAG main screen depending on which setting
you used before turning off the laser. In the center of the main screen will be a circular button and it will
say either ALEX or YAG. Your screen will also be a different color depending on the setting (ALEX is red,
YAG is green).
ALEX SCREEN
Step Three: The ALEX and YAG have the same settings. Adjust and confirm that:
La se r Se r vi c e S olu t ion s 6 5 0 Gro v e Road , S u it e 10 4 P au l sb o ro, N J 08 06 6
w w w. la s er s er vi c e so lu ti o n s. co m P: 8 56 - 85 3 -7 55 5 F: 8 56 - 85 3 -7 57 5
It does not matter which laser is calibrated first
I
NSTRUCTIONS TO GET TO
:
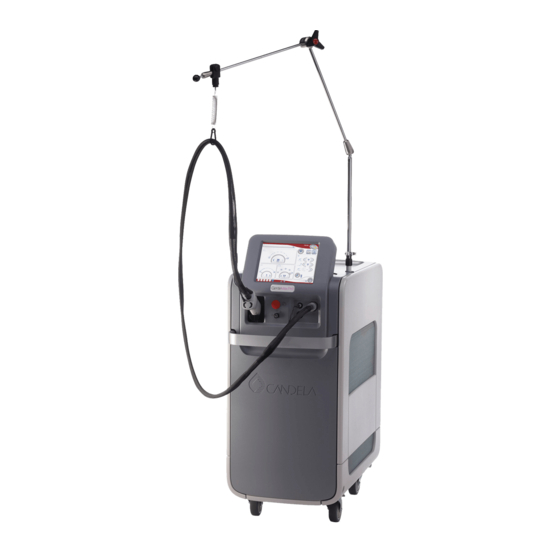
Candela GentleMax Pro
System
YAG SCREEN
DURATION (LEFT BOX): 3ms
RATE (RIGHT BOX): 1.0 Hz
LVM S
CREEN
Advertisement
Table of Contents

Related Manuals for Candela GentleMax Pro


Summary of Contents for Candela GentleMax Pro
- Page 1 System To get to the LVM screen on the Candela GentleMax Pro (GMax Pro), you will have to calibrate the laser for the ALEX and YAG. If you know how to calibrate for both ALEX and YAG, proceed to step six for instructions on how to go directly to the LVM and what information is needed by the technicians.
- Page 2 Step Four: Calibrate the laser Press the down arrow button with the yellow “C” to start the calibration. Your next screen will look like this. Confirm the settings and press the check button. This is your next screen. Again, press check button. Your laser will now calibrate.
- Page 3 Step Six: Now that you have completed calibrating for ALEX and YAG, you can now go to the LVM screen. Return to the main screen. Press the button that looks like a wrench on a file folder. The next screen will look like this: Press LVM button.
- Page 4 This is your details screen. TAKE A PICTURE OF THIS SCREEN. Most importantly, the section called “Efficiency” in the bottom right corner. La se r Se r vi c e S olu t ion s 6 5 0 Gro v e Road , S u it e 10 4 P au l sb o ro, N J 08 06 6 w w w.
Need help?
Do you have a question about the GentleMax Pro and is the answer not in the manual?
Questions and answers