Table of Contents
Advertisement
Quick Links
Advertisement
Table of Contents

Related Manuals for DeLonghi CKS1660D


Summary of Contents for DeLonghi CKS1660D
- Page 1 www.delonghi.com...
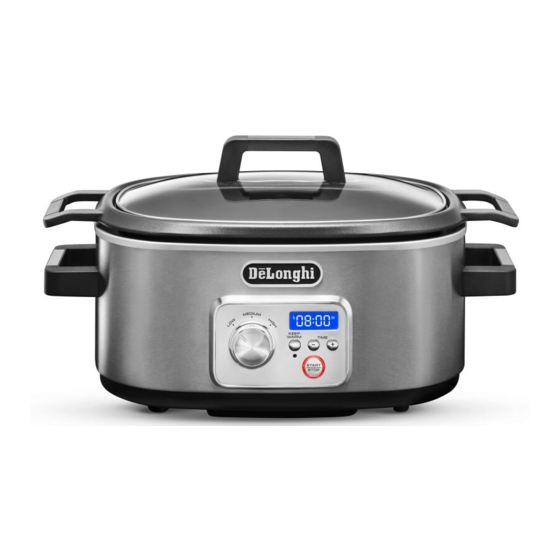
- Page 2 CKS1660D PRECISION SLOW COOKER Instructions for use Keep these instructions Mode d’ e mploi Conservez cette notice Instrucciones para el uso Repase y guarde estas instrucciones Lea cuidadosamente este instructivo antes de usar su aparato. ELECTRIC CHARACTERISTICS / CARACTÉRISTIQUES ÉLECTRIQUES /...
- Page 3 page 4 page 15 pág. 26...
-
Page 5: Table Of Contents
CONTENTS IMPORTANT SAFEGUARDS ............5 ELECTRICAL CONNECTION ............6 TECHNICAL SPECIFICATION .............6 DESCRIPTION OF THE APPLIANCE ...........6 ASSEMBLY INSTRUCTIONS ............6 OPERATION ................6 NOTE ..................6 POT ..................6 STAND-BY MODE/ACTIVE MODE OF YOUR SLOW COOKER ..7 COOKING GUIDELINES .............8 SLOW COOKING ...............8 COOKING WITH LOW FUNCTION ..........9 COOKING WITH MEDIUM FUNCTION ........9 COOKING WITH HIGH FUNCTION ...........10 KEEP WARM FUNCTION ............10... -
Page 6: Important Safeguards
IMPORTANT cidentally pulled off work area, which could result in damage to the slow cooker or personal injury, do not SAFEGUARDS let cord hang over edge of table or counter top. 15. To avoid damage to cord and possible fire or electro- When using an electrical appliance, basic safety precau- cution hazard, do not let cord contact hot surfaces, tions should always be followed:... -
Page 7: Electrical Connection
pliance, avoid slamming or knocking the lid. Do not ASSEMBLY INSTRUCTIONS To use your Slow Cooker: pour cold liquid onto the glass while the appliance 1. Carefully unpack the Slow Cooker. is hot. 2. Rinse the pot and glass lid in warm, soapy water. Rinse well WARNING: The accessories for cooking of this appli- and dry thoroughly. -
Page 8: Stand-By Mode/Active Mode Of Your Slow Cooker
Browning & Searing in the Aluminum Pot Stand-by mode. Turning Function Selector Dial (A) , or press any push buttons , 1. For a flavorful, seared crust, generously season meat or the display will default to setting of selected function. This is de- poultry with your favorite spice rub before searing. -
Page 9: Cooking Guidelines
COOKING GUIDELINES SLOW COOKER MODE FUNCTION SETTING DESCRIPTION RECIPES TIMER KEEP WARM TEMPERATURE Baked egg based puddings Beef roast Good slow Beef rolls Default time is cooking recipes or Beef short ribs h10:00m Automatically set less tender cuts of Chicken/turkey pieces Adjustable from 30 at end of cooking meats that require... -
Page 10: Cooking With Low Function
COOKING WITH LOW FUNCTION COOKING WITH MEDIUM FUNCTION 1. Place the unit on a clean, dry counter. 1. Place the unit on a clean, dry counter. 2. Remove glass lid. 2. Remove glass lid. 3. Fill the pot with ingredients. 3. -
Page 11: Cooking With High Function
COOKING WITH HIGH FUNCTION KEEP WARM FUNCTION 1. Place the unit on a clean, dry counter. Keep Warm automatic selection 2. Remove glass lid. Keep Warm function is automatically activated at the end of 3. Fill the pot with ingredients. cooking time for each function. -
Page 12: Adjust Timer During Cooking Function Already Run
If Start/Stop button (D) is not pressed within 20 seconds, the If the Function Selector Dial (A) is turned when Keep Warm func- control goes in stand-by mode. tion is already stated, the control will not change anything, and continue to run the Keep Warm function. Pressing Start/Stop button (D), Keep Warm function is activated, the red light (E) around Start/Stop button will illuminate. -
Page 13: Troubleshooting
water and allow to soak before cleaning. • If scouring is necessary, use a nonabrasive cleanser or liquid detergent with a nylon pad or brush. • Wipe the inside surfaces of the pot with a soft pad. TROUBLESHOOTING Check that the power plug is prop- erly inserted into wall outlet Insert the power plug into a differ- ent outlet... -
Page 14: Recipes
RECIPES Cauliflower Barley Salad with Cashews Serves: 4 Spinach Artichoke Dip with a Kick Prep: 25 minutes Cook: 3 to 3½ hours Serves: 10 Total time: Approximately 3½ hours Prep: 15 minutes Cook: 2 ½ hours Ingredients: Total time: 2 ¾ hours 2 tablespoons butter 1 cup barley Ingredients:... - Page 15 Butter Chicken Pepper Smoked Paprika Serves: 4 4-5 pound chuck roast Prep: 15 minutes 2 tablespoons olive oil Cook: 3 hours 2 tablespoons butter Total time: 3 hours 15 minutes 2 whole sweet onions, peeled and halved 1 stalk celery cut into 4 pieces Ingredients: 12 baby carrots 2½...
Need help?
Do you have a question about the CKS1660D and is the answer not in the manual?
Questions and answers