Table of Contents
Advertisement
Quick Links
Advertisement
Table of Contents

Related Manuals for EAST COAST VIENNA


Summary of Contents for EAST COAST VIENNA
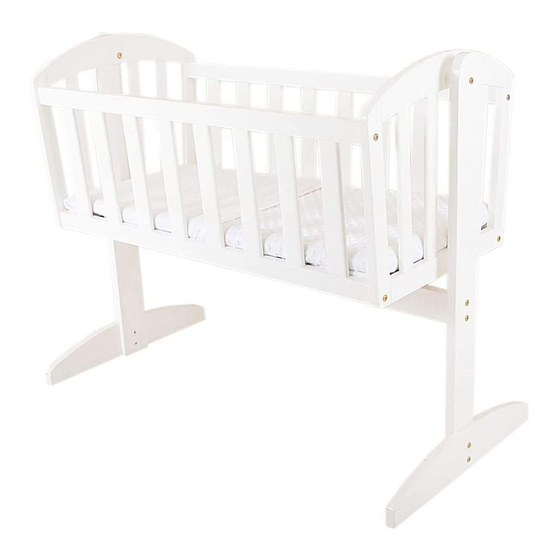
- Page 1 VIENNA Swinging Crib Assembly and care instructions...
- Page 2 IMPORTANT. RETAIN FOR FUTURE REFERENCE: READ CAREFULLY Please read the instructions and warnings carefully before use to ensure safe and satisfactory operation of this product. This crib should be assembled by an adult, preferably with the help of an assistant. Please note that a cross-headed and a flat bladed screwdriver will be required to complete the assembly of this product. All fittings should always be fully tightened. Take care that no fittings are loose, because a child could trap parts of the body or clothing (e.g. strings, necklaces, ribbons for soothers etc), which would pose a risk of strangulation.
- Page 3 Assembly 1 Assembly 2 Upright Lock Mechanism Lock Mechanism Lock Handle Woodscrew Assembly 3 Medium Bolt x 2 Barrel Nut x 4 Upright (NOTE: Lock position) Medium Bolt x 2 Crossbar Foot Upright Short Bolt x 2 Foot Short Bolt x 2...
- Page 4 Assembly 4 Side (x2) Barrel nut (x 4 NOTE: per side) Ensure that the slot in the end of the Barrel nut is visible and aligned with the hole in the end of the Side. Assembly 5 Side Ensure slots are at lower edge.
- Page 5 Assembly 6 Base Medium Bolt x 4 Assembly 7 Metal Tube Wooden Spacer NOTE: Push the metal tube into the hole in the End from the outside and slide the Wooden Spacer over it. Repeat for other End.
- Page 6 Assembly 8 Assembly 9 Wooden Spacer Metal Washer T-Nut Upright Long Bolt NOTES: 1. Insert metal washer between Upright and Wooden Spacer. 2. Push Long Bolt through Upright, Metal Washer, Wooden Spacer and Metal Tube. 3. Attach T-Nut to the end of the Long Bolt.
- Page 7 Assembly 10 Metal Washer Long Bolt Metal Tube T-Nut Wooden Spacer Upright In Use NOTE: To unlock the crib body and allow it to rock, pull the lock handle out and give 1/4 turn in either direction. To lock the body to the frame, pull back on the Locking handle and give a further 1/4 turn and release.
- Page 8 200mm. This is indicated by a small mark on the side of the crib. Do not place the crib in the vicinity of an open fire or other strong sources of heat such as electric bar fires, gas heaters etc. This product has been designed and manufactured to meet BS EN 1130:1997. For customer care or enquiries: Call: 01692 408802 Email: nursery@east-coast.co.uk East Coast Nursery Ltd. Robertson House, North Walsham, Norfolk, NR28 0BX 7195_V2 eastcoastnursery.co.uk...
Need help?
Do you have a question about the VIENNA and is the answer not in the manual?
Questions and answers