
Related Manuals for STONEFLY VSO-40T-V2


Summary of Contents for STONEFLY VSO-40T-V2
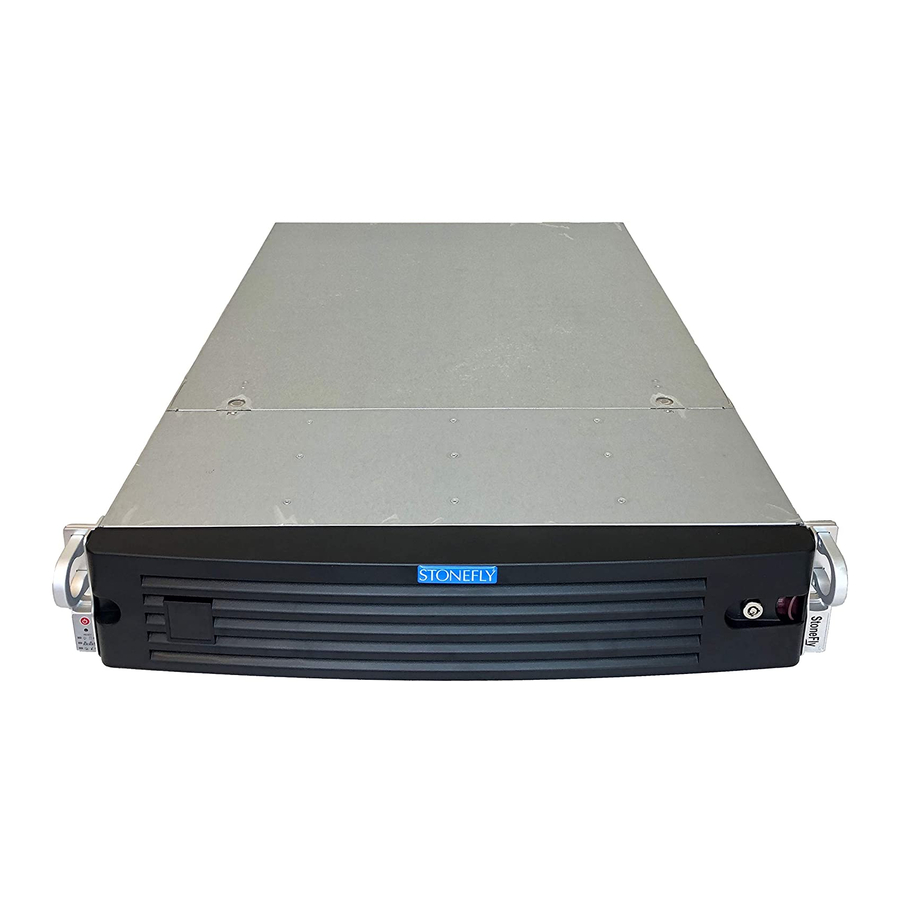
- Page 1 Setup Guide Value Scale Out (VSO) Storage Appliance 6-bay 2U 3.5” Rackmount www.stonefly.com www.iscsi.com...
- Page 2 This Page is intentionally left blank.
- Page 3 All rights are reserved. No part of this document may be photocopied or reproduced without the prior written consent of StoneFly. The information contained in this document is subject to change without notice. StoneFly shall not be liable for errors contained herein or for consequential damages in connection with the furnishing, performance, or use of this material.
-
Page 4: Table Of Contents
Configuring the Network Settings for the IPMI KVM ..............26 3.1.5 Configuring the Network Settings for the VSO Management Port ........... 31 3.1.6 Initial Configuration of the StoneFly VSO Appliance ..............33 3.1.7 Setting up Routing ..........................39 V8.0.3x © StoneFly, Inc. 2018... - Page 5 StoneFly VSO Appliance Setup Guide 3.1.8 Confirming Setup ..........................40 3.1.9 Steps to Complete Before Setting Up the System ................40 3.1.10 Attaching and Removing the Front Bezel ..................41 Chapter 4 Troubleshooting ............................42 Appendix 1: Glossary ..............................46 V8.0.3x...
-
Page 6: Chapter 1 Introduction
StoneFly VSO Appliance Setup Guide Introduction Chapter-1: Introduction... -
Page 7: 1.1 Introduction
1.1 Introduction This guide provides the information needed to perform the out-of-the-box setup and configuration tasks for the StoneFly VSO storage appliance. After completing the steps in this guide, proceed to the Storage Concentrator User’s Guide. Refer to “Chapter 2 – Administrative Interface” for information on how to efficiently and effectively manage data storage, data protection, and data delivery on your network. -
Page 8: Conventions
The following table lists the conventions used throughout this Guide. 1.2.1 Icons Icon Type Description Note Special instructions or information Warning Risk of system damage or a loss of data Page 8 V8.0.3x © StoneFly, Inc. | All rights reserved... -
Page 9: Chapter 2 Overview
StoneFly VSO Appliance Setup Guide Overview Chapter-2: Overview... -
Page 10: Product Overview
The VSO features a management port, one or two dual-port Gigabit Ethernet (GbE) cards for data I/O, and a SAS Raid HBA that drives internal drives and also has an external port for connection to expansion boxes. Page 10 V8.0.3x © StoneFly, Inc. | All rights reserved... -
Page 11: Vso Features And Benefits
CHAP (Challenge Handshake Authentication Protocol) supports passwords at the host or volume level Expandable storage capacity with Works with SAS JBODs containing SATA or SAS drives. additional storage resources (optional) Page 11 V8.0.3x © StoneFly, Inc. | All rights reserved... - Page 12 Access local and remote copies of user High availability configuration data Integrated cloud connection to Microsoft Object storage resources Azure Blob Storage, Amazon AWS S3 and/or compatible AWS S3 storage Page 12 V8.0.3x © StoneFly, Inc. | All rights reserved...
-
Page 13: Theory Of Operation
Theory of Operation 2.2. The StoneFly VSO™ is the mediator between hosts and storage devices in an IP network. IP- based Storage Area Networks (IP SANs) use the iSCSI protocol over an Ethernet and TCP/IP network. VSO offers Network Attached Storage (NAS), which allows multiple host/users share files over an Ethernet network. -
Page 14: Back-End Storage
(NICs) installed in the servers. Connect the servers to the Gigabit Ethernet switch. Set up the initiators on the servers to recognize the provisioned storage volumes and configure security settings. Page 14 V8.0.3x © StoneFly, Inc. | All rights reserved... - Page 15 VSO NAS and VSO SAN require different licenses. VSO NAS does not have iSCSI by default. iSCSI protocol needs the SAN license. For more information about licenses, contact StoneFly support. Page 15 V8.0.3x © StoneFly, Inc. | All rights reserved...
-
Page 16: Safety Information
UL 60950; CUL 60950 CE Mark (EN 455022, Class A/EN 455024) Product Registration To initiate StoneFly customer service for your product, you must first register your VSO. Go to the StoneFly web site at https://stonefly.com/support or mail in the registration card that was included with your VSO. -
Page 17: Contacting Stonefly For Help
Serial Number: D500_ _ _ _ Software Version: Initiators: Storage: Storage Serial Number(s): To contact StoneFly, call 510.265.1616 and select support from the menu or go to the StoneFly support page at https://www.stonefly.com/support and fill out the contact form. Page 17 V8.0.3x... -
Page 18: Chapter 3 Initial Installation
Initial Installation StoneFly VSO Appliance Setup Guide Chapter-3: Initial Installation... -
Page 19: Setting Up The Vso
This section is written for 2U VSO, but other VSO rack installations are similar. This guide provides information on installing the StoneFly VSO chassis into a rack unit with the rails provided. There are a variety of rack/cabinet units on the market, which may mean the assembly procedure will differ slightly. - Page 20 Pull the inner rail out of the outer rail until it is fully extended as illustrated below. Press the locking tab down to release the inner rail. Pull the inner rail all the way out. Repeat for the other outer rail. Page 20 V8.0.3x © StoneFly, Inc. | All rights reserved...
- Page 21 Slide the inner rail forward toward the front of the chassis until the quick release bracket snaps into place, securing the rail to the chassis. Optionally, you can further secure the inner rail to the chassis with a screw. Repeat for the other inner rail. Page 21 V8.0.3x © StoneFly, Inc. | All rights reserved...
- Page 22 3. Mount the rear (long) bracket onto the outer rail at the approximate position to fit your rack. Use two or three type I screws into holes that are convenient. Leave the screws just Page 22 V8.0.3x © StoneFly, Inc. | All rights reserved...
- Page 23 Then use screws and fasteners to secure the outer rail to the front and rear rack posts. If desired, you can further tighten the screws holding the outer rail rear bracket to the rail. Figure 6: Installing the Outer Rails to the Rack Page 23 V8.0.3x © StoneFly, Inc. | All rights reserved...
- Page 24 3. Depress the locking tabs on both sides of the chassis and push it fully into the rack. The locking tabs should “click”. 4. Optional screws may be used to hold the front of the chassis to the rack. Figure 6: Installing the Chassis into a Rack Page 24 V8.0.3x © StoneFly, Inc. | All rights reserved...
- Page 25 Find the release lever (Figure 1) on each side of the chassis on the inner rails. Release the chassis by simultaneously lifting the left lever and pushing down the right lever. Continue to pull the chassis out of the rack. Page 25 V8.0.3x © StoneFly, Inc. | All rights reserved...
-
Page 26: Cabling The Storage System
This section applies only to storage appliances with IPMI support The Intelligent Platform Management Interface (IPMI) KVM configuration allows for Remote Management and Power Control of the StoneFly VSO system. This configuration is optional to perform, but recommended. To configure the IPMI module, connect a Keyboard and Monitor to the System. Power on the system and press the Delete key to enter the BIOS setup. - Page 27 On the BIOS screen, navigate to the Advanced tab and select IPMI Configuration. The IPMI configuration screen will be displayed. Select Set LAN Configuration. The network settings will be displayed Page 27 V8.0.3x © StoneFly, Inc. | All rights reserved...
- Page 28 Same as the VSO’s Management port Update LAN Settings Press the F10 key to save the changes and exit. Note: Power cycle the system for the new IPMI IP Address to take effect. Page 28 V8.0.3x © StoneFly, Inc. | All rights reserved...
- Page 29 IP address you configured in the last section. Enter the following information in the login screen: Username: ADMIN • Password: ADMIN • Select the Remote Control tab to access the system console. Page 29 V8.0.3x © StoneFly, Inc. | All rights reserved...
- Page 30 Initial Installation StoneFly VSO Appliance Setup Guide Select Launch Console to open the system console. The console screen will appear as shown above. Page 30 V8.0.3x © StoneFly, Inc. | All rights reserved...
-
Page 31: Configuring The Network Settings For The Vso Management Port
At the password prompt type coni100o and hit Enter. Note that the User ID and password are case sensitive. Using the Storage Concentrator Service menu, enter 2 to select Network. Page 31 V8.0.3x © StoneFly, Inc. | All rights reserved... - Page 32 GUI becomes available once the CLI is closed. At this point, it should be possible to login to the web GUI for the StoneFly VSO appliance by browsing to the management IP address that you just configured in the last step. Once logged in, you should configure the SAN data network settings.
-
Page 33: Initial Configuration Of The Stonefly Vso Appliance
StoneFly VSO Appliance Setup Guide Initial Installation 3.1.6 Initial Configuration of the StoneFly VSO Appliance Figure 8: VSO Login Screen In the User ID field type: admin In the Password field type: M@n4g1ng Click Submit. The Home Page screen will appear. - Page 34 Passive and click Submit. Both methods can be used, but at least one should be configured to ensure recovery if needed. Navigate to Admin > General. The system admin screen will appear. Page 34 V8.0.3x © StoneFly, Inc. | All rights reserved...
- Page 35 The default number of log records is 2000, which is sufficient for most installations. Click Submit. Navigate to Network > Data Port. The Local iSCSI Data Port Settings screen will appear with the current system (factory) settings. Most fields are blank. Page 35 V8.0.3x © StoneFly, Inc. | All rights reserved...
- Page 36 System > Admin > General screen and click on Reboot. If no changes are desired continue to the next step to configure the Management Port. Click on Management Port. The Management Port Settings screen will appear. Page 36 V8.0.3x © StoneFly, Inc. | All rights reserved...
- Page 37 Changing the IP address of the Management port will cause your browser to lose its connection to the VSO. To access the VSO, set your browser’s URL to point to the new IP address. Click Submit. The following popups will appear. Page 37 V8.0.3x © StoneFly, Inc. | All rights reserved...
- Page 38 Figure 13: System Management GbE Port Change Screen Click on OK on each popup screen to continue. Click on the new IP address to confirm the change to the Management Port setting. Page 38 V8.0.3x © StoneFly, Inc. | All rights reserved...
-
Page 39: Setting Up Routing
Click the Add check box. Click Submit. Navigate to Admin > General. The System Admin screen will appear. The VSO must be rebooted for the new routing settings to be recognized. Click Reboot. Page 39 V8.0.3x © StoneFly, Inc. | All rights reserved... -
Page 40: Confirming Setup
Microsoft Windows iSCSI Initiator, obtain the latest version from Microsoft. 3. Refer to Appendix 7: System Considerations, in the StoneFly Storage Concentrator User’s Guide and make sure that you set up your servers according to the instructions in that section before connecting or using your StoneFly Appliance. -
Page 41: Attaching And Removing The Front Bezel
To install the cover, gently press to snap the cover into place. To remove the cover, gently pull the cover towards you to remove it from the front panel. Page 41 V8.0.3x © StoneFly, Inc. | All rights reserved... -
Page 42: Chapter 4 Troubleshooting
Troubleshooting StoneFly VSO Appliance Setup Guide Chapter-4: Troubleshooting... - Page 43 StoneFly VSO Appliance Setup Guide Refer to the following table for helpful hints on solving some of the most common problems. If you cannot find a resolution to your problem here, contact StoneFly. Call 510.265.1616 and select support from the menu.
- Page 44 Type the IP address for the Management Port of the Storage Concentrator in the address field of the browser. The address field in the browser must include https:// to access the administrative interface. V8.0.3x © StoneFly, Inc. | All rights reserved Page 44...
- Page 45 Troubleshooting StoneFly VSO Appliance Setup Guide This Page is intentionally left blank. V8.0.3x © StoneFly, Inc. | All rights reserved Page 45...
-
Page 46: Appendix 1: Glossary
StoneFly VSO Appliance Setup Guide Glossary Appendix-1: Glossary... - Page 47 RAID model, cache allowance, spare disk assignments. The arrangement of disks and operating parameters that result from such an assignment. V8.0.3x © StoneFly, Inc. | All rights reserved Page 47...
- Page 48 (e.g., S_ID | X_ID). Volume managers concatenate disk address spaces to present a single larger address space. V8.0.3x © StoneFly, Inc. | All rights reserved Page 48...
- Page 49 Detaching an image allows it to be mounted and used by other software applications. The most common usage is to make a backup copy of the detached image. The detached image retains the mirror volume information and can be rejoined at any time. V8.0.3x © StoneFly, Inc. | All rights reserved Page 49...
- Page 50 A computer whose primary purpose is to serve files to clients. A file server is a general- purpose computer capable of hosting additional applications or capable of only serving files. The server is also called a host. V8.0.3x © StoneFly, Inc. | All rights reserved Page 50...
- Page 51 SCSI device (usually a host system) that requests an operation to be performed by another SCSI device, the target. IOPS Input/Output Per Second. It is the number of inputs and outputs or read/writes per second. V8.0.3x © StoneFly, Inc. | All rights reserved Page 51...
- Page 52 The difference between a regular volume and a Live Volume is that the Live Volume has been Snapshot enabled. V8.0.3x © StoneFly, Inc. | All rights reserved Page 52...
- Page 53 Conversion between two data addressing spaces. For example, mapping refers to the conversion between physical disk block addresses and the block addresses of the logical disks presented to operating environments by control software. V8.0.3x © StoneFly, Inc. | All rights reserved Page 53...
- Page 54 Mirror Volume A Mirror Volume is composed of multiple mirror images. StoneFly Mirroring supports up to four mirror images in a mirror volume. The Mirror Volume is what the applications and hosts see as the storage device.
- Page 55 A partition’s type and subtype fields are recorded on the physical media and hence make the partition self-identifying. Primary Storage Concentrator The Storage Concentrator that manages the mirror volume. V8.0.3x © StoneFly, Inc. | All rights reserved Page 55...
- Page 56 A unit of storage space on a physical device containing a specific amount of storage space. A collection of physical extents is then managed by the StoneFly Volume Manager as a logical volume, and a group of logical volumes make up a volume group. Physical extents are the smallest manageable element in a logical volume that can be managed by the StoneFly Volume Manager.
- Page 57 Rebuild The process of creating a mirror image from an existing volume. The volume is duplicated onto the mirror image at the block level in its entirety. V8.0.3x © StoneFly, Inc. | All rights reserved Page 57...
- Page 58 Another Storage Concentrator in a campus configuration that presents mirror images to the primary Storage Concentrator. Either the Primary Storage Concentrator or the Secondary Storage Concentrator or both can be single units or FailOver clusters. V8.0.3x © StoneFly, Inc. | All rights reserved Page 58...
- Page 59 These percentages represent the amount of the index table fragmentation on the volume selected as well as the total amount of fragmentation for all Snapshot volumes. These percentages have no relationship to disk fragmentation. V8.0.3x © StoneFly, Inc. | All rights reserved Page 59...
- Page 60 Concentrator. Storage resources are connected to the Storage Concentrator through a parallel SCSI connection or other connections. The system administrator uses the graphical user interface to allocate blocks of storage to create the iSCSI target volumes and authorizes V8.0.3x © StoneFly, Inc. | All rights reserved Page 60...
- Page 61 A Volume group is a management abstraction term. For example, management actions and policies are applied to volume group. V8.0.3x © StoneFly, Inc. | All rights reserved Page 61...
- Page 62 Eden Landing Road, Hayward, CA 94545, USA. (510) 265 1616 support@stonefly.com...
Need help?
Do you have a question about the VSO-40T-V2 and is the answer not in the manual?
Questions and answers