Advertisement
Advertisement
Table of Contents

Related Manuals for Durafit TANGO


Summary of Contents for Durafit TANGO
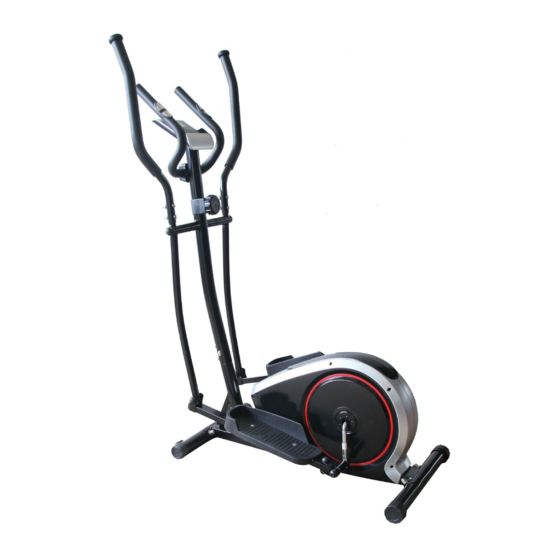
- Page 1 DURAFIT TANGO (DFIEB001) USER MANUAL IMPORTANT! Please read all instructions carefully before using this product. Retain this manual for future reference. The specifications of this product may vary slightly from the illustrations and are subject to change without notice.
-
Page 2: Important Safety Notice
14. Maximum user’s weight is 100KGS. If you still can’t solve the problems after taking the solutions above, please contact our Customer Care @ contactus@durafit.in or 6383151885/7806811343 to resolve the issue through our Pan- India Service Network. - 1 -... -
Page 3: Exploded Diagram
EXPLODED DIAGRAM - 2 -... -
Page 4: Parts List
PARTS LIST DESCRIPTION DESCRIPTION Main frame Flat washer d10X1.5 Handlebar post Nylon nut M10 Front stabilizer Nut cap S16 Rear stabilizer Hex bolt M10X50 5L/R Pedal support (L/R) 38L/R Pedal locking bolt (L/R) 6L/R Swing bar(L/R) Axle bushing Φ24 X20XΦ16.1 7L/R Handlebar (L/R) 40L/R Connecting joint (L/R) -
Page 5: Assembly Instruction
ASSEMBLY INSTRUCTION Step 1: Fix the Front stabilizer (3) and Rear stabilizer (4) to the Main frame (1) with Carriage bolt (12), Spring washer (66), Arc washer (13) and Acorn nut (14) Step 2: Connect the Sensor wire (20) well with Extension wire (18) and then connect the Tension cable (19) well with wire of Tension controller (17) as shown. - Page 6 Step 3: A: Fix the Swing bar (6L) on the long axle of the Handlebar post (2) with Hex bolt (24), Spring washer (52), Flat washer (25), Waved washer (54) and Long axle (27) as shown. Please do not tighten them this time. B: Attach the connecting joint together with Pedal Support (5L) to the Crank (22) using Pedal support bolt (38L), Waveform washer (62), Spring washer (41) and Nylon nut (42L) as shown.
- Page 7 Step 4: A: Put the Pulse sensor wire (50) through the handlebar post (2) and then out of the hole of the computer bracket. Fix the armrest (8) on the handlebar post (2) with Hex screw (51), Spring washer (52) and then cover the Handlebar chuck cover (53) to the related position.
- Page 8 USING YOUR ELLIPTICAL BIKE Using your Elliptical will provide you with several benefits. It will improve your physical fitness, tone your muscles and in conjunction with a calorie controlled diet, help you lose weight. WARM-UP PHASE The purpose of warming up is to prepare your body for exercise and to minimize injuries. Warm up for two to five minutes before strength-training or aerobic exercising.
Need help?
Do you have a question about the TANGO and is the answer not in the manual?
Questions and answers