Advertisement
Available languages
Available languages
Quick Links
Warning for 12-Volt Models:
In case of emergency, pull apart the red quick connectors to shutdown the system.
Warning for 120-Volt Models:
All 120 Volt Boat Lift Buddy
™
interrupter and its supply circuit MUST be installed to local and state electrical codes. The supply circuit needs to be properly
sized for the correct length of run and requirements. In low voltage situations a buck boost transformer can be used to increase
voltage. Contact a licensed electrical contractor for correct installation. Failure to wire properly and or install ground fault
interrupter puts user at high risk of injury or death.
Unplug Boat Lift Buddy
when not in use or before storms to help prevent electrical damage from lightning or power surges.
™
*View an installation demonstration on the Extreme Max Products
YouTube channel at: www.youtube.com/extrememaxproducts
Tools Required:
• 3/8" Socket or Wrench
• 7/16" Socket or Wrench
• 9/16" Socket or Wrench
• 15/16" Socket or Wrench
• Adjustable Wrench
• Flat Screw Driver
• 3/16" Drill Bit (Optional)
Components List:
(1) Torque Arm
(1) Off-Set Bracket
(1) Mounting Bracket
(4) 1/4" Bolts
(4) Self Tapping Screws
(2) Spacer Bars
(1) Bungee Cord
(2) Hose Clamps
(1) 15' Battery Cable
(1) Motor Assembly
(1) 5/8" x 1-1/2" Bolt
(1) 5/8" Locking Nut
(4) 3/8" Bolts
Call the Boat Lift Buddy™ Service Dept. at: 651-357-1862
Customer Service: 651-357-1874 | boatliftboss@extrememax.com | www.extrememax.com
Installation & Use Instructions
units must only be used on an electrical circuit which has ground fault interrupter protection. The
If there are any missing or damaged parts,
DO NOT return Boat Lift Buddy™ to the retailer.
E-mail - service@extrememax.com
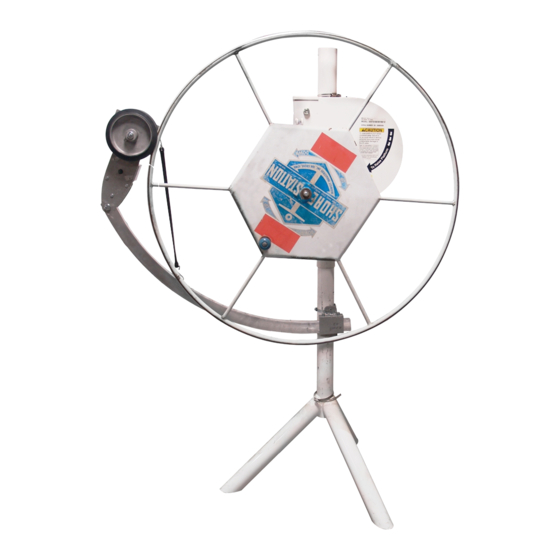
Boat Lift Buddy™
3006.4550 - 12 Volt
3006.4553 - 120 Volt
2540ex0116
Advertisement

Related Manuals for Extreme Max Boat Lift Buddy


Summary of Contents for Extreme Max Boat Lift Buddy
- Page 1 (1) 5/8” Locking Nut (4) 3/8” Bolts If there are any missing or damaged parts, DO NOT return Boat Lift Buddy™ to the retailer. Call the Boat Lift Buddy™ Service Dept. at: 651-357-1862 E-mail - service@extrememax.com Customer Service: 651-357-1874 | boatliftboss@extrememax.com | www.extrememax.com...
- Page 2 Assemble the Torque Arm 1. Slide the pieces of the torque arm together. Insert the two 1/4” bolts and hand tighten. Use your 3/8 socket or wrench to tighten completely. 2. Flip the torque arm over. 3. Insert the remaining two 1/4” bolts. Hand tighten. Then use your 3/8” socket or wrench to tighten completely. Attach the Motor Assembly to the Torque Arm 1.
- Page 3 Assemble the Mounting Bracket 1. Insert the spacer bar into the mounting bracket and align the holes. 2. Insert two 3/8” bolts and hand tighten until the ends of the bolts are flush with the bottom of the spacer bar. Bracket Applications Most lifts will require both the mounting and offset bracket for proper positioning.
- Page 4 Position the Motor Assembly 1. Loosely attach a hose clamp to the top of the mounting bracket to help with positioning. 2. Insert the torque arm into the bracket. 3. Lift the bracket and torque arm until the motor assembly is in position. 4.
- Page 5 Secure Torque Arm Using the offset bracket: (If you are only using the mounting bracket, proceed to Step 4.) 1. Insert the offset bracket into the mounting bracket. 2. Position the bracket so that the torque arm will be 1” - 1.5” from the lift wheel. 3.
- Page 6 Battery Hanger (Fits All Manufacturers) Lift Frame Mounted Canopy Mounted 5800.9069 3004.0180 3001.3285 Solar Charging System Deep Cycle Battery Box for 12-Volt Battery 3000.1217 3004.0176 Boat Lift Buddy Installation Guide PART #: 9000.3167 Tech Line: 651-357-1874 | boatliftboss@extrememax.com | www.extrememax.com...
- Page 7 Ascenseur à bateaux d’amis™ Installation et utilisation Instructions 3006.4550 - 12 Volt Avertissement pour les modèles 12-Volt: 3006.4553 - 120 Volt En cas d’urgence, séparer les connecteurs rapides rouges pour arrêter le système. Tous Ascenseur 120 Volt Bateau d’amis Les produits ne doivent être utilisés sur un circuit électrique qui a Protection Terre interrupteur. interrupteur et son circuit d’alimentation doit être installé...
- Page 8 Assembler le bras de couple 1. Faites glisser les pièces du bras de couple ensemble. Insérez les deux boulons de 1/4 “et serrer à la main. Utilisez votre prise 3/8 ou une clé pour serrer complètement. 2. Retournez le bras de couple plus. 3.
- Page 9 Assemblez le support de montage 1. Insérez la barre d’espacement dans le support de montage et aligner les trous. 2. Insérez deux 3/8 “boulons et serrer à la main jusqu’à ce que les extrémités des boulons sont de niveau avec le fond de la barre d’espacement.
- Page 10 Placez l’ensemble moteur 1. Fixez sans serrer un collier de serrage vers le haut du support de montage pour aider au positionnement. 2. Insérez le bras de couple dans le support. 3. Soulevez le bras de support et le couple jusqu’à ce que l’ensemble moteur est en position. 4.
- Page 11 Fixez Torque Arm En utilisant le support de décalage: (Si vous utilisez uniquement le support de montage, passez à l’étape 4.) 1. Insérez le support décalage dans le montage support. 2. Positionnez le support de sorte que le bras de couple sera de 1 “- 1.5”...
- Page 12 Roue de remplacement Gendarmerie Ascenseur cadre Gendarmerie Canop (Convient tous les constructeurs) 3004.0180 3001.3285 5800.9069 Système de recharge solaire boîtier de batterie 12-Volt Batterie 3000.1217 3004.0176 Boat Lift Buddy Installation Guide PART #: 9000.3167 Tech Line: 651-357-1874 | boatliftboss@extrememax.com | www.extrememax.com...
Need help?
Do you have a question about the Boat Lift Buddy and is the answer not in the manual?
Questions and answers