Advertisement
Quick Links
AP250.2
CLASS AB FULL RANGE
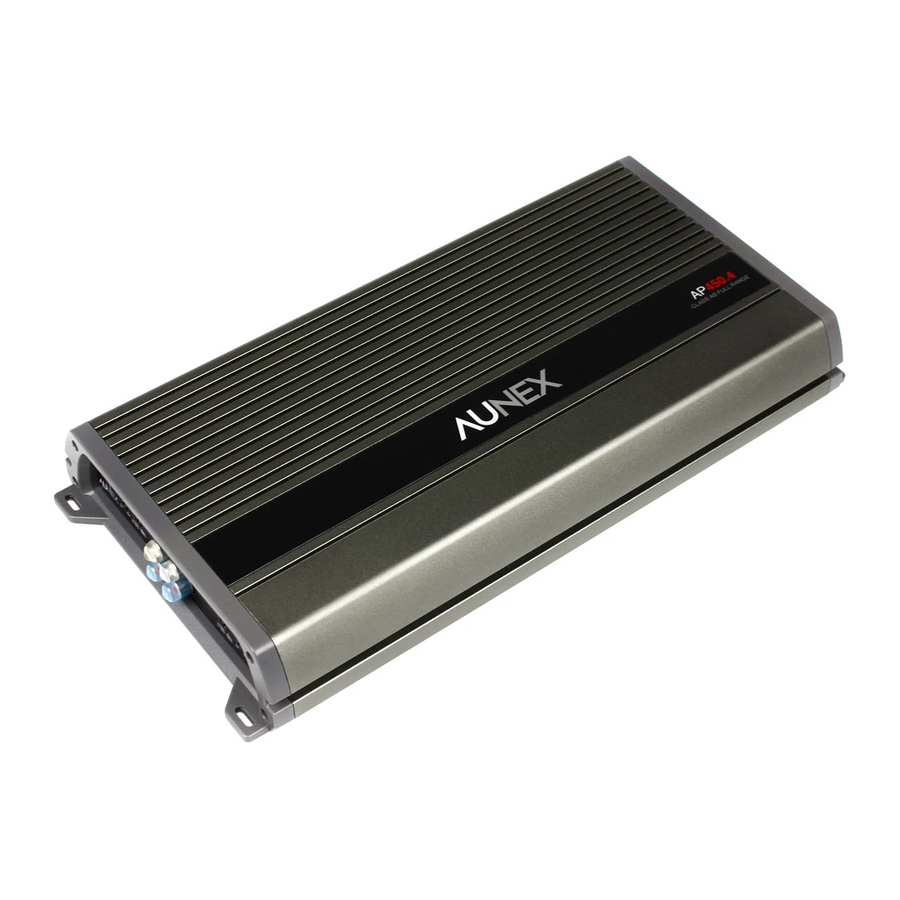
AP450.4
CLASS AB FULL RANGE
AP Series Multi Channel Amplifiers
Performance Class AB Amplifier Series
Models: AP250.2, AP450.4
Installation and Operation Manual
Please take time to thoroughly read through this manual to familiarize yourself with your new amplifier.
This will ensure that your amplifier will perform at its optimum capabilities.
Para obtener una copia de este manual en español, visite
www.aunexusa.com
y luego vaya a la página
del producto que necesita. Haga clic en la pestaña Soporte y descargue su manual en español.
Advertisement

Subscribe to Our Youtube Channel
Related Manuals for Aunex AP Series


Summary of Contents for Aunex AP Series
- Page 1 AP250.2 CLASS AB FULL RANGE AP450.4 CLASS AB FULL RANGE AP Series Multi Channel Amplifiers Performance Class AB Amplifier Series Models: AP250.2, AP450.4 Installation and Operation Manual Please take time to thoroughly read through this manual to familiarize yourself with your new amplifier.
- Page 2 Congratulations and thank you for purchasing an Aunex AP Series Amplifier. This product has been engineered and manufactured utilizing precision quality parts and craftsmanship. Improvements in sound quality and system performance will be greatly enhanced with the use of this amplifier.
- Page 3 Feature Set of the AP Series Multi-Channel Amplifiers • Heavy Density Aluminum Extruded Heatsink • 2 Layer PCB, SMD Technology • Differential Balanced RCA Inputs • Fully Variable Crossover 12dB/Octave Slope • Boost Eq. Circuitry Active in both Full and LP Modes •...
- Page 4 If you do not have the required knowledge and experience, we recommend that you have your equipment installed by an Authorized Aunex Dealer. • Turn off all stereo and other electrical devices before you begin. • Disconnect the negative (-) lead from your vehicle’s battery to avoid an electrical short.
- Page 5 For optimum sound quality, it is highly recommended that you purchase Aunex wiring accessories as they are designed to give your amplifiers high-quality signal it needs to operate at peak performance levels. Aunex provides a wide selection from RCA...
- Page 6 Side Panel Layout AP250.2 9 10 11 AP450.4 9 10 11...
- Page 7 3. Boost Eq: Your AP Series amplifiers incorporate a two stage Boost Eq. circuit that is not only active in Low Pass Mode but is also active in Full Range Mode.
- Page 8 ½ inch (12mm). Then insert the bare wire into the terminal block so that no bare speaker wire is exposed. Then tighten the set screw by turning it clockwise. For maximum current flow, Aunex recommends that you tin your speaker wire before connecting it to the speaker output terminals.
- Page 9 Then tighten the set screw by turning it clockwise. For maximum current flow, Aunex recommends that you tin your power wire before connecting it to the +12Volt terminal. In addition, Aunex recommends using high quality 100% OFC (Oxygen Free Cooper) or Tinned 100% OFC speaker wire.
-
Page 10: Power Connection
Grounds as short as possible Vehicle Battery For maximum current flow, Aunex recommends that you tin your ground wire before connecting it to the ground terminal of your amplifier. In addition, Aunex recommends using high quality 100% OFC (Oxygen Free Copper) or Tinned 100% OFC speaker wire. -
Page 11: Installation
Common Installation Diagrams illustrations below show common installation methods for your amplifier. (It is important to make sure that the impedance of the speakers connection to your amplifier are either in 4-ohm stereo, 2-ohm stereo or 4-ohm bridged.) Connecting your amplifier below these impedances are not recommended as they will cause your amplifier to go into protection. - Page 12 Common Installation Diagrams Continued AP250.2 1 - Channel (Bridged Mode) Speaker Output Connection Subwoofer 4 ohm Side Panel LP Switch Position...
- Page 13 Common Installation Diagrams Continued AP450.4 4 - Channel Speaker Output Connection 4 - Channel Speaker Output Connection Side Panel Full Switch Position Full Range Full Range Speakers Speakers 2 ohm 2 ohm Minimum Minimum Side Panel HP Switch Position 3 - Channel Stereo/Mono Speaker Output Connection 3 - Channel Speaker Output Connection Side Panel Switch Position...
- Page 14 Common Installation Diagrams Continued AP450.4 2 - Channel (Bridged Mode) Speaker Output Connection Side Panel Subwoofer Switch Position 4 ohm Minimum...
- Page 15 As all Aunex amplifiers are designed to deliver high power output, we recommend that you do not use any power wires that contains CCA (Copper Clad Aluminum).
-
Page 16: Technical Specifications
*This manual is the exclusive property of Aunex, Inc. Any reproduction of this manual or use other than its intended purposes is strictly prohibited without the express written consent of Aunex, Inc. ©Copyright 2020 Aunex, Inc. -
Page 17: Troubleshooting
Troubleshooting Problem Solution 1. Check to see if Power, Remote and Ground is connected to the Amplifier. Amplifier does not work; no 2. Check Power and Remote Turn-on lead for proper LED's on +12 Voltage. (12 - 16 Volts DC acceptable range.) 3. - Page 18 While this law is only for California and Aunex sells products to consumers in California, Aunex is required to display this warning. Warning: This product can expose you to...
- Page 19 Products purchased outside of the United States of America are covered by that country’s distributor and not by Aunex, Inc. For Service Information in the U.S.A. and to obtain a Return Merchandise...
- Page 20 Declare Your Independence! Aunex, Inc. 13865 Magnolia Avenue, Unit C Chino, CA 91710 T. (909) 589-5010 / F. (909) 589-5011 8:30am – 5:30pm (PST – Pacific Standard Time) www.aunexusa.com...
Need help?
Do you have a question about the AP Series and is the answer not in the manual?
Questions and answers
Why I cannot make the sound to come out out of the amp. What should I need to do? I try a few different ways to do it and it’s not some coming out.
If there is no sound output from the Aunex AP Series amplifier, follow these troubleshooting steps:
1. Use a Digital Multi-Meter (DMM) to check if there is signal by measuring AC voltage at the speaker outputs.
2. Check the speakers for any shorts.
3. Readjust the amplifier’s gain to a lower setting.
4. Readjust the source unit (head unit) volume.
5. Ensure RCA and speaker wires are routed away from power and ground cables.
6. Remove existing ground wires for all electrical components and reground them to a different location.
7. Verify that the amplifier is not in protection mode (LED red); if it is, check for overheating, blown fuse, or low voltage.
This answer is automatically generated