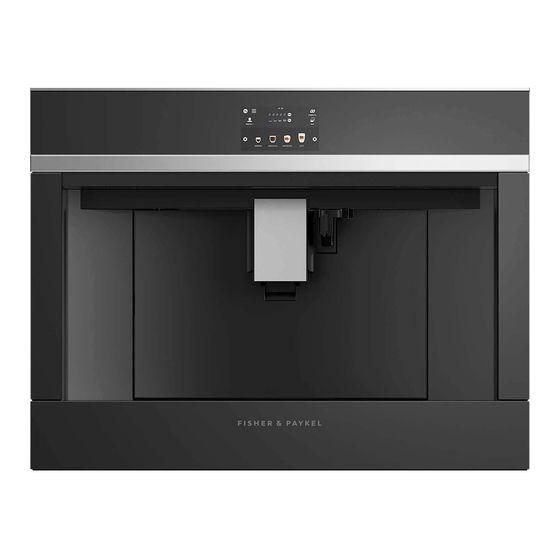
Fisher & Paykel EB60 Installation Instructions
Hide thumbs
Also See for EB60:
- User manual (52 pages) ,
- Installation manual (28 pages) ,
- Installation manual (28 pages)
Advertisement
Quick Links
Installation Instructions
1. Position the rails on the sides of the cabinet. Fix
with the screws provided, then extend the rails
completely.
• Position and fix the lock hook with the four
screws provided, as shown.
• If the coffee maker is installed over a warmer
drawer, use the top surface of this as a
reference to position the rails. In this case, there
https://producthelp.fisherpaykel.com/au/Cook/Companion_Products/Built-in_Coffee_Maker/EB60DSXB2/Installation_Guide_E...
2. Fix the power cable with the clip. The power cable
must be long enough to allow the appliance to be
pulled out from the cabinet to fill the coffee bean
container.
• The appliance must be earthed in compliance
with legislation.
• Electrical connections must be performed by a
qualified electrician following the instructions.
Updated: Tue, 25 Aug 2020 02:00:06 GMT
Powered by
1
Advertisement

Summary of Contents for Fisher & Paykel EB60
- Page 1 Installation Instructions 1. Position the rails on the sides of the cabinet. Fix 2. Fix the power cable with the clip. The power cable with the screws provided, then extend the rails must be long enough to allow the appliance to be completely.
- Page 2 will be no surface to rest the rails on. 3. Position the appliance on the rails, making sure the 4. If necessary, correct alignment of the appliance by pins are correctly inserted in the housings, then fix positioning the spacers supplied under or at the it with the screws supplied.
- Page 3 900mm of the centre rear of the product. Power Requirements Model Code Power Voltage Wattage EB60 6.1 A 220-240 V 220-240 W 50-60 Hz https://producthelp.fisherpaykel.com/au/Cook/Companion_Products/Built-in_Coffee_Maker/EB60DSXB2/Installation_Guide_E… Updated: Tue, 25 Aug 2020 02:00:06 GMT...


Need help?
Do you have a question about the EB60 and is the answer not in the manual?
Questions and answers