Table of Contents
Advertisement
Advertisement
Table of Contents

Subscribe to Our Youtube Channel
Related Manuals for BAYKON TX12


Summary of Contents for BAYKON TX12
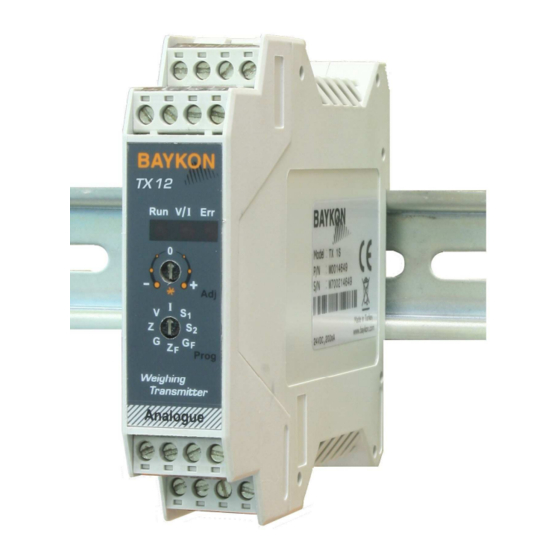
- Page 1 TX12 Weight Transmitter Technical Manual Rev 1.1...
-
Page 2: Safety Instructions
BAYKON reserves the right to revise this manual and alter its content without notification at any time. Neither BAYKON nor its affiliates shall be liable to the purchaser of this product or third parties for damages, losses, costs, or expenses incurred by purchaser or third parties as a result of: accident, misuse, or abuse of this product or unauthorized modifications, repairs, or alterations to this product, or failure to strictly comply with BAYKON operating and maintenance instructions. -
Page 3: Specifications
EATURES AND PECIFICATIONS Microcontroller based analog load cell transmitter TX12 has very high accuracy and long term stability with its high tech design. Its high performance electronic calibration via RS232C serial port without any test weight and fast calibration without measuring output signal give big advantage to the users for calibration scales. - Page 4 Meanings of rotary switchs’ positions are; Programming (Prog) switch Voltage output type run (refer to page 7) Current output type run (refer to page 7) S1 Setpoint 1 adjustment (refer to page 11) S2 Setpoint 2 adjustment (refer to page 11) Zero adjustment (refer to page 8) Gain adjustment with test weight...
- Page 5 TECHNICAL SPECIFICATIONS Analogue input range 0 mV to 20 mV Min. input range < 1 mV Linearity < % 0.01 Temperature drift < 0.007 % FSR / ºC 24 bit Delta-Sigma ratiometric ADC with integral analog and Converters digital filters 16 bit very low drift DAC Internal resolutions 16 000 000 counts ADC...
-
Page 6: Installation And Commissioning
-10 ºC and +40 ºC, humidity not exceeding 85% non-condensing. All external cables should be installed safely to avoid mechanical damages. TX12 instruments are very low level signal measuring instruments. To avoid electrical noise, TX12 should be separated from the equipments that produce electrical noise. Preferable use metal cabinet against radio frequency interference and the cabinet shall be connected to ground against the electromagnetic disturbances. -
Page 7: Step 3 Analogue Output Connection
Step 2 Load Cell Connection The load cell wiring should be made carefully before energizing to avoid damages to the instrument and load cells. The input resistance of the load cells that you want to connect should be more than 85 . Pin Name Load Cell Cable + Excitation... - Page 8 Step 4 Changing the Analogue Output TX12 sets its analog output according to the table below at power on. Turn the programming switch and connect TXD and RXD pins as indicated in the table below before power on the instrument to set analog output type and its signal level.
- Page 9 Step 6 Zero and Gain Adjustments By Changing output value with rotary switch: To start the adjustment the programming switch should be at analog output type position, V . Z and G positions of the programming switch are used for performing zero and gain adjustments in sequence.
- Page 10 Gain Adjustment - Connect the measurement instrument to the analog output. - Load the scale. - Calculate the analog output value should be calculated for the applied load. The analog output value at any loading is; Maximum output – Minimum output Analog Output = Minimum output + * Load Scale capacity...
- Page 11 Because of the production process of TX12, eCal accuracy is very high. The only error comes from the load cell sensitivity accuracy and gravity difference between the load cell place of the production and the usage.
-
Page 12: Step 9 Setpoint Adjustment
Step 8 Set point Connection TX12 has 2 free relay contact output. These outputs can be connected to maximum 230 VAC or maximum 30 VDC, maximum 1 A loads. Reverse diode connection to the DC loads is recommended to increase the relay contact life and to reduce the disturbances. Outputs connection is;... -
Page 13: Operation
3. O PERATION There are 3 LEDs and 2 rotary switches on the front panel of TX12. The rotary switches are being used for adjustment as described in section 2 and the LEDs have different meanings in operation and setup type as indicated below;... - Page 14 ROGRAMMING BY OFTWARE TX12 has RS232C serial interface to perform eCal electronic calibration and to adjust filter, setpoint values and to follow status by using xFace software installed on a PC. For installing the xFace follow the steps described in the Readme.txt file in the eCal set up directory.
- Page 15 ROUBLE HOOTING The type TX12 amplifier has been designed as a very reliable and virtually error free instrument. However if an error occurs, do not attempt to repair the equipment before you understand what caused the error. Note the status of the front panel LEDs, and try to find the problem with the help of the table given below.
-
Page 16: Declaration Of Conformity
Declaration of Conformity BAYKON ENDÜSTRİYEL KONTROL SİSTEMLERİ SAN. VE TİC. A.Ş. Kimya Sanayicileri Organize Sanayi Bölgesi Organik Cad. No:31 34956 Tepeören Tuzla/İSTANBUL TURKEY to which this declaration relates, is in conformity with the following standard(s) or other normative document(s). EC Directive:...
Need help?
Do you have a question about the TX12 and is the answer not in the manual?
Questions and answers