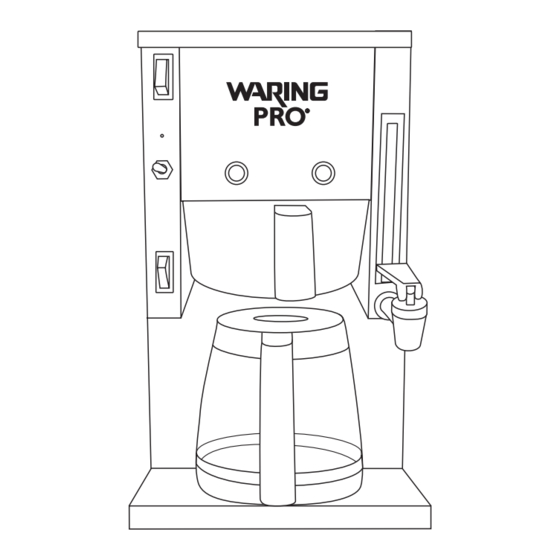
Summary of Contents for Waring WC1000
- Page 1 Professional CoffeeMaKer insTrUCTion BooK MoDel WC1000 For your safety and continued enjoyment of this product, always read the instruction book carefully before using.
-
Page 2: Important Unpacking Instructions
Return appliance to the nearest Waring Repair Center for examination, repair, and electrical or mechanical adjustment. 5. The use of accessory attachments not recommended by Waring may cause injuries. -
Page 3: Save These Instructions
SAVE THESE INSTRUCTIONS FOR HOUSEHOLD USE ONLY GROUNDING INSTRUCTIONS For your protection, Waring Pro™ Coffeemakers are equipped with a 3-conductor cordset that has a molded 3-prong ground- ing-type plug, and should be used in combination with a properly connected grounding-type outlet as shown in Figure A. If a... - Page 4 must be grounded by attaching its grounding lug under the screw of the outlet cover plate. CAUTION: Before using an adapter, it must be determined that the outlet cover plate screw is properly grounded. If in doubt, consult a licensed electrician. Never use an adapter unless you are sure it is properly grounded.
-
Page 5: Table Of Contents
The lightning flash with arrowhead symbol within an equilateral triangle is intended to alert the user to the presence of uninsulated dangerous voltage within the product’s enclosure that may be of sufficient magnitude to constitute a risk of fire or electric shock to persons. The exclamation point within an equilateral triangle is intended to alert the user to the presence of important operating and maintenance (servicing) instruction in... -
Page 6: Introduction
INTRODUCTION The Waring Pro™ Coffeemaker is engineered to make up to 12 cups of coffee simply, quickly and efficiently. Water added to the 18-cup reservoir is automatically preheated and held at optimum brewing temperature. To make coffee, you simply pour tap water into the water fill area, which displaces the preheated water, sending it from the reservoir to the brew basket. -
Page 7: Parts
PARTS 1. Base Unit 2. Upper Warming Plate (top view) 3. Lower Warming Plate 4. Water Fill Area for Water Reservoir Tank (top view) 5. Stainless Steel Water Reservoir Tank 6. Ready Indicator – green light 7. Add Water Indicator – blue light 8. - Page 8 Important Notice: USE CAUTION when dispensing hot water from the coffeemaker. The water is only about 20° lower than boiling point. Add Water Indicator – Blue Light The add water indicator light (blue) reminds the user to add water for the instant hot water feature. The user needs to pour water slowly into the fill area until the add water indicator light goes out.
-
Page 9: Important Steps To Follow Before Brewing Coffee
Warming Plates The coffeemaker has two warming plates, upper and lower. The upper warming plate located on top of the unit lets a carafe of coffee stay warm while another pot of coffee is brewing on the lower warming plate. The On/Off power switches for the upper and lower warming plates are located on the upper left side of the coffeemaker. -
Page 10: Making Coffee - Important Steps To Follow
200°F. MAKING COFFEE – IMPORTANT STEPS TO FOLLOW Before making the first pot of coffee in your new Waring Pro™ Coffeemaker, we recommend operating the coffeemaker twice using only water. Do not use paper filter or coffee grounds. This will remove any dust or residue in the system. - Page 11 5. Remove the brew basket by grasping the handle and pulling straight out. Place it on the countertop. Insert a 10-12 cup size cupcake paper filter into the brew basket. Be sure that the coffee filter is completely open and fully inserted into the basket.
-
Page 12: Important Note
12 cups of water and a paper filter each time. Or, you can turn the coffeemaker upside down and drain it in the sink. © 2008 Waring Consumer Products Division of Conair Corporation 150 Milford Road, East Windsor, NJ 08520 www.waringproducts.com...


Need help?
Do you have a question about the WC1000 and is the answer not in the manual?
Questions and answers