Advertisement
Quick Links
Advertisement

Subscribe to Our Youtube Channel
Summary of Contents for Frontgate Holiday 61547
- Page 1 7.5 ft – ITEM...
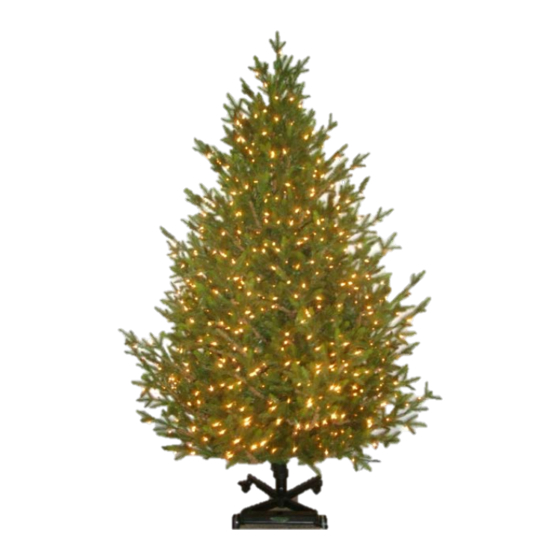
- Page 2 7.5 ft – ITEM PARTS LIST COLOR CODE ON PLUG SKU 61547 – 7.5’ Eastern Fir TREE NUMBER OF PERSONS 3243 TIPS FLIP STAND RECOMMENDED FOR A. BOTTOM UL 1200 LIGHTS BLUE ASSEMBLY: 2 B. MIDDLE MAX DIAMETER 60” GREEN C.
- Page 3 Step 3 Before moving your FLIPTREE® make sure you have created a safe display location for your tree by removing any items or furniture that may hit your tree during the flipping process. Using the green handle located near the top of the main tree storage bag, tilt the tree back and slowly wheel it to its final display location.
- Page 4 Step 7. With your foot on the footrest begin pulling the tree in the direction shown by the FLIPTREE® Indicator (towards you and down to the center of the foot pedal). If you find it difficult to attach the tree top with the tree in the full upright position you may choose to tilt the tree slightly for easier access.
- Page 5 Step 8 Once you have finished flipping your tree, attach the middle section B into body section A, insert tree top OP SECTION (GREEN PLUG) section C into section B. Then plug light set of section C into section B. Plug light set of section B into power strip.
-
Page 6: Storage Tips
STORAGE TIPS Step 1. Step 9. Unplug the cord connecting the tree lights to the Loop each of the stability straps at the bottom of the remote and wall socket. main tree bag around the back base leg before connecting buckle to the main bag. Step 2. -
Page 7: Troubleshooting Tips
CARE & MAINTENANCE INSTRUCTION 1. This is for decorative use only - do not immerse in water or expose to heat. Keep away from fire. 2. Please use water only for cleaning purpose. 3. When not in use, store neatly in a cool, dry location protected from sun light. 4. -
Page 8: Read And Follow All Safety Instructions
TROUBLE SHOOTING TIPS (Cont.) 3. If some individual lights do not light up, it may be due to becoming dislodged from the socket during assembly. Note those not lit up; check for looseness and push any loose bulbs gently back into their socket. If they still do not light up, try a replacement light bulb (supplied by manufacturer) and follow directions in section describing how to replace light bulbs. -
Page 9: Toreplace A Fuse
Discardproduct if the attachment plug is damaged Please contact one of our Product Specialists for assembly assistance or questions 1-800-537-8484 or email ps@frontgate.com. Specialists are available weekdays 8:00 a.m. 8:00p.m.EST or Saturday 9:30 a.m. to 6:00 p.m. - Page 11 – ITEM...
- Page 12 – ITEM PARTS LIST COLOR CODE ON PLUG SKU 61549 - 9’ Eastern Fir TREE NUMBER OF PERSONS 4701 TIPS FLIP STAND RECOMMENDED FOR A. BOTTOM UL 1700 LIGHTS BLUE ASSEMBLY: 2 B. MIDDLE MAX DIAMETER 66” GREEN C. TOP HARDWARE A.
- Page 13 Step 3 Before moving your FLIPTREE® make sure you have created a safe display location for your tree by removing any items or furniture that may hit your tree during the flipping process. Using the green handle located near the top of the main tree storage bag, tilt the tree back and slowly wheel it to its final display location.
- Page 14 Step 7. With your foot on the footrest begin pulling the tree in the direction shown by the FLIPTREE® Indicator (towards you and down to the center of the foot pedal). If you find it difficult to attach the tree top with the tree in the full upright position you may choose to tilt the tree slightly for easier access.
- Page 15 Step 8 Once you have finished flipping your tree, attach the middle section B into body section A, insert tree top OP SECTION (GREEN PLUG) section C into section B. Then plug light set of section C into section B. Plug light set of section B into power strip.
- Page 16 STORAGE TIPS Step 1. Step 9. Unplug the cord connecting the tree lights to the Loop each of the stability straps at the bottom of the remote and wall socket. main tree bag around the back base leg before connecting buckle to the main bag. Step 2.
- Page 17 CARE & MAINTENANCE INSTRUCTION 1. This is for decorative use only - do not immerse in water or expose to heat. Keep away from fire. 2. Please use water only for cleaning purpose. 3. When not in use, store neatly in a cool, dry location protected from sun light. 4.
- Page 18 TROUBLE SHOOTING TIPS (Cont.) 3. If some individual lights do not light up, it may be due to becoming dislodged from the socket during assembly. Note those not lit up; check for looseness and push any loose bulbs gently back into their socket. If they still do not light up, try a replacement light bulb (supplied by manufacturer) and follow directions in section describing how to replace light bulbs.
- Page 19 Discardproduct if the attachment plug is damaged Please contact one of our Product Specialists for assembly assistance or questions 1-800-537-8484 or email ps@frontgate.com. Specialists are available weekdays 8:00 a.m. 8:00p.m.EST or Saturday 9:30 a.m. to 6:00 p.m.


Need help?
Do you have a question about the Holiday 61547 and is the answer not in the manual?
Questions and answers