Table of Contents
Advertisement
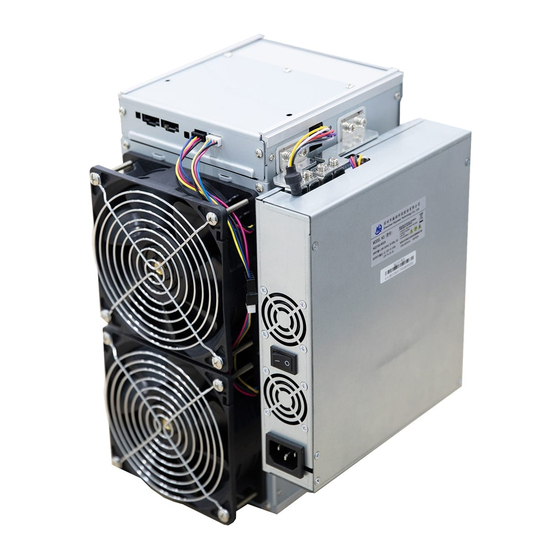
AvalonMiner1047 User Manual
OverView
Thank for purchasing our products. In order to ensure that you can fully
understand and install and use this product, please read the instructions
carefully. Please save it after reading for future reference.
Safety Regulation
Warning: In order to prevent accidents such as damage, fall, electric shock,
fire, etc., which are harmful to personal safety, please install and use it in strict
accordance with the instructions. You cannot modify the equipment and
replace the parts yourself.
Do not use power supplies that exceed the rated voltage range.
•
•
Do not place the device in an unstable location
•
When inspecting and repairing equipment, please entrust a
professional to operate
•
When servicing equipment, please ask a professional to operate
When the equipment is abnormal, turn off the power quickly and
•
contact the after-sales service.
Hardware Connection
Connect the power supply and the product as shown below.
。
Advertisement
Table of Contents

Subscribe to Our Youtube Channel
Related Manuals for Canaan AvalonMiner1047


Summary of Contents for Canaan AvalonMiner1047
- Page 1 AvalonMiner1047 User Manual OverView Thank for purchasing our products. In order to ensure that you can fully understand and install and use this product, please read the instructions carefully. Please save it after reading for future reference. 。 Safety Regulation Warning: In order to prevent accidents such as damage, fall, electric shock, fire, etc., which are harmful to personal safety, please install and use it in strict...
- Page 2 Power Supply Connection Secure the adapter plate to the machine with six M3*4 screws as shown. Push the power supply into the card slot as shown...
- Page 4 Use a 12 M4*8 screw to connect the output copper strip to the machine as shown below.
- Page 6 Plug the power supply 6pin plug into the 6pin socket of the machine as shown below.
- Page 7 Each machine is equipped with two network ports, which can be connected in series with a network cable (up to 12 units). The example is as follows, the network cable A is connected to the switch (or router), the first machine and the second machine are connected in series by the network cable B, and the second machine and the third machine are connected in series by the network cable C, thereby performing multiple machines.
- Page 8 Button and indicator button RESET:System reset button, system reset does not affect network connection FUNC:Function button, can be used to restore the factory configuration, enter the configuration mode, switch the lighting status during operation, etc. Indicator The indicator flashes red several times after power-on. •...
-
Page 9: Operation Mode
• After the device is turned on, the indicator light is white for about three seconds. During this period, press the FUNC button to enter the configuration mode. • Under normal mining conditions, the indicator light is green • The indicator light is yellow during system preparation •... -
Page 10: System Setting
right click ,Open the "Network and Internet" setting 2.Change adapter options, disable WLAN, enable Ethernet You can use the browser to access http://192.168.168.168/ to configure the device (modify static IP, etc.). After the device configuration is complete, it needs to be restarted to take effect. -
Page 11: Network Settings
Network settings Click Network on the left side of the console to set it to DHCP (dynamic acquisition) or static IP (Static). Note: After the network settings are saved, you must restart them. You can click Reboot on the left side of the console, or press the RESET button to restart. You can also power off the power again. -
Page 12: User Password
User Password Default username: root, default password: root Click on the Administrator on the left side of the console to set a new password and save it. Firmware Update The upgrade package file format of this device is *.aup, which can be downloaded through the official website or by contacting customer service. -
Page 13: Restore Factory Configuration
Restore factory configuration When powering up (before the indicator light flashes ), press and hold the FUNC key for five to ten seconds. The system will automatically clear the saved configuration, including: network, mine pool, password and other information. After the configuration is cleared, the indicator blinks white frequently, indicating that the configuration is successful.
Need help?
Do you have a question about the AvalonMiner1047 and is the answer not in the manual?
Questions and answers