Advertisement
Table of Contents
- 1 Important Safety Notice
- 2 Parts View and List
- 3 Seat and Handlebar Assembly
- 4 Assembly for Tricycle, Balance Trike or Balance Bike
- 5 Option 1: Tricycle: Wheel Assembly
- 6 Option 1: Tricycle: Pedal Assembly
- 7 Option 2: Balance Trike: Wheel Assembly
- 8 Option 3: Wheel Assembly: Balance Bike
- 9 Check before Riding
- Download this manual
Advertisement
Table of Contents

Summary of Contents for YBIKE EVOLVE
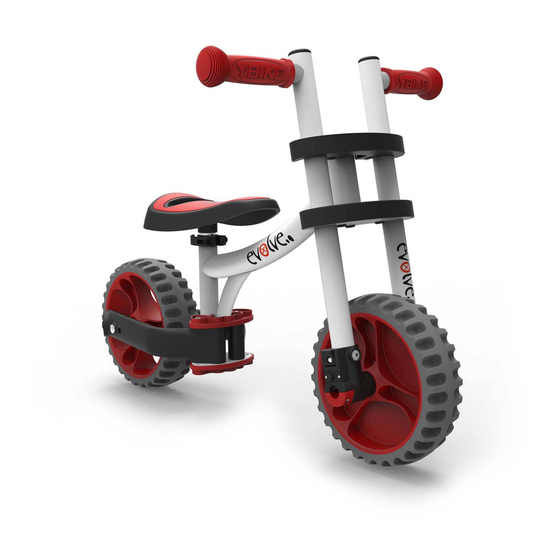
- Page 1 OWNER’S MANUAL NOTE: Any photos of the YBIKE or decals in the owner’s manual are intended to be used as a reference only, and there may be some differences to the unit you purchased.
- Page 2 30 kgs or 66 lbs due to insufficient strength. The Evolve is designed for children ages 2—5 years, though the height & size of each individual child varies. WARNING! CHOKING HAZARD—Small parts. Injury may occur if these precautions are not observed.
- Page 3 YBIKE EVOLVE PARTS LIST & COMPONENTS Open the box and check that all parts are included: NAME BRACKET BOLTS X2 (PRE-ASSEMBLED) HANDLEBAR (WITH WHEEL) MAIN FRAME HANDLE STEERING CAPS X2 WHEELS X2 PEDALS X2 FLAT HEAD BOLTS X2 ROUND HEAD BOLTS X3...
- Page 4 ASSEMBLY INSTRUCTIONS 1. Seat and Handlebar Assembly Seat post Push pin Seat clamp Loosen the seat clamp. Insert the seat post (No. 13) into the frame (No. 2) until the metal push pin clicks into position into one of the 2 holes provided, to suit your child.
- Page 5 2. Assembly for Tricycle, Balance Trike or Balance Bike Your bike is now ready to be assembled into one of three great biking options. Please choose the corresponding assembly instruction in the pages that follow. Balance Trike Tricycle Balance Bike Important Note 1: Each biking option is assembled using numbered holes on the swing arm bracket to correspond with the numbered holes on the swing arms.
- Page 6 2. Assembly for Tricycle, Balance Trike or Balance Bike Important Note 2: The bolts 0, 9, 10 and 11 have square necks. When assembled, ensure these square neck bolts fit tightly into the square holes provided on the swing arm bracket and swing arms.
- Page 7 Option 1: Tricycle: Wheel Assembly Place the assembled main frame upside down. 2.1 Align the hole marked “1” on the swing arm bracket with the hole on the swing arm. Insert the bracket bolt (No. 0) from the seat side, and secure in place with a flat head bolt (No.
- Page 8 Option 1: Tricycle: Pedal Assembly 1 Turning mechanism Lever Button Wheel Axel Hole Important: pedals only intended to be used with the tricycle. Pedal shaft Remove the pedals during assembly for the Balance Trike or Balance Bike biking options.
- Page 9 Option 1: Tricycle: Pedal Assembly 2 2.4 Press the button in, then while pressing the button, also slide the lever on the handlebar (No. 1) turning mechanism back towards the handlebars, as in picture A. This will open the wheel axel hole completely.
- Page 10 Option 2: Balance Trike: Wheel Assembly Place the assembled main frame upside down. 3.1 Align the hole marked “2” on the swing arm bracket with the hole on the swing arm. Insert the bracket bolt (No. 0) from the seat side, and secure in place with a flat head bolt (No.
- Page 11 Option 3: Wheel Assembly: Balance Bike Place the assembled main frame upside down. 4.1 Align the hole marked “3” on the swing arm bracket with the hole on the swing arm. Insert the bracket bolt (No. 0) from the seat side, and secure in place with a flat head bolt (No.
- Page 12 Check that the wheels can spin smoothly and each part is securely fixed. Finally after checking the above points, you can now start to ride. WARNING! This product must be assembled by an adult. Read the manufacturer’s instructions before using. Keep the instructions safe for future reference. designed by WWW.YBIKEUSA.COM WWW.YBIKE.CO.ZA www.chromecherry.com...

Need help?
Do you have a question about the EVOLVE and is the answer not in the manual?
Questions and answers