PolyVision a3 CeramicSteel Assembly Instructions
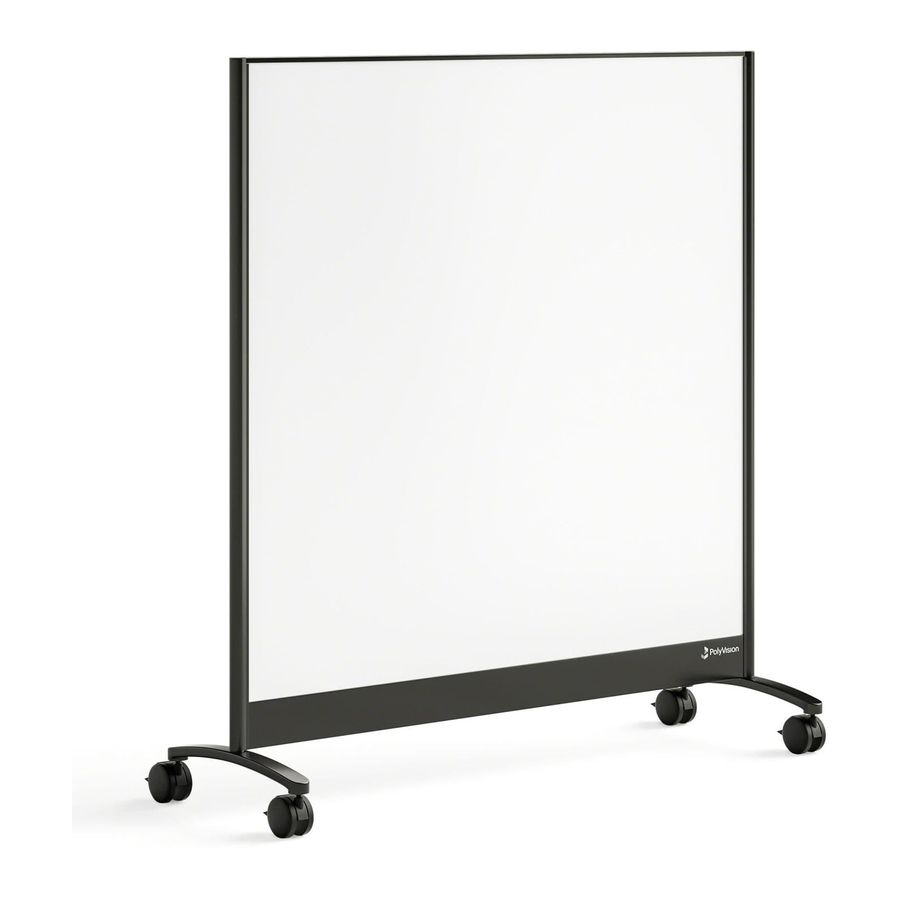
Mobile stand
Hide thumbs
Also See for a3 CeramicSteel:
- Technical manual (20 pages) ,
- Assembly instructions (2 pages) ,
- Assembly instructions (2 pages)
Advertisement
Table of Contents
If you have a problem, question, or request, call
your local customer service representative at
+852 2520 0160 email us at
APACsupport@polyvision.com
or visit our website at www.polyvision.com
© 2019 PolyVision Corporation
如果您有任何问题、疑问或要求,请致电
+852 2520 0160 联系您当地的客户服务代表,或向
我们发送电子邮件 APACsupport@polyvision.com
或者访问我们的网站 www.polyvision.com
© 2019 PolyVision Corporation
お困りの場合、または質問や要望がございまし
たら、お住まいの地域のカスタマーサービス担 当
者までお電話(+852 2520 0160)いただくか、
メールでお問い合わせいただくか
(APACsupport@polyvision.com)
PolyVisionのWebサイトをご覧ください
(www.polyvision.com)
©2019 PolyVision Corporation
문제나 질문, 요청 사항이 있을 경우 현지 고객 서비
스 담당자에게 전화를 하거나 이메일
(APACsupport@polyvision.com / +852 2520 0160)
을 보내거나웹사이트(www.polyvision.com)를 방문
해 주십시오. © 2019 PolyVision Corporation
3
™
a
CeramicSteel Mobile Stand Assembly
3
™
CeramicSteel 移动支架组件
a
3
™
a
CeramicSteel Mobile用スタンドアセンブリ
3
a
™
CeramicSteel Mobile 스탠드 어셈블리
NOTE: DO NOT remove the plastic
shrink wrap from the stand assembly
until the legs have been installed.
注意:请在安装好支腿后再从支架组
件上拆下塑料收缩包装膜。
注意:脚部を取り付けるまでは、ス
タンドアセンブリからシュリンク包
装のプラスチックフィルムを取り外
さないでください。
참고: 다리가 장착될 때까지 스탠드
어셈블리에서 플라스틱 수축 포장을
제거하지 마십시오.
HEX DRIVE
Page 1 of 2
1364417001 Rev A
Doc # 137781
Advertisement
Table of Contents

Subscribe to Our Youtube Channel
Related Manuals for PolyVision a3 CeramicSteel


Summary of Contents for PolyVision a3 CeramicSteel
- Page 1 CeramicSteel Mobile 스탠드 어셈블리 If you have a problem, question, or request, call your local customer service representative at +852 2520 0160 email us at APACsupport@polyvision.com or visit our website at www.polyvision.com HEX DRIVE © 2019 PolyVision Corporation 如果您有任何问题、疑问或要求,请致电 +852 2520 0160 联系您当地的客户服务代表,或向...
- Page 2 NOTE: DO NOT remove the plastic shrink wrap from the stand assembly Remove the pan head Phillips screw from the until the legs have been installed. bottom of one of the vertical extrusions and discard. Note: Remove and assemble each foot completely before removing the screw on the other side.
Need help?
Do you have a question about the a3 CeramicSteel and is the answer not in the manual?
Questions and answers