Advertisement
Quick Links
Kambrook - Australia
Ground Floor, Suite 2, 170-180
Bourke Rd
Alexandria NSW 2015, Australia
Locked Bag 2000
Botany NSW 1455
Customer Service Line 1300 139 798
Customer Service Fax 1800 621 337
www.kambrook.com.au
Due to continual improvement in design or otherwise, the product
you purchase may differ slightly from the illustration in this book.
Kambrook - New Zealand
Private Bag 94411
Botany, Manukau
Auckland 2163
New Zealand
Customer Service Line/
Spare Parts 0800 273 845
Customer Service Fax 0800 288 513
www.kambrook.co.nz
Issue A16
Advertisement

Related Manuals for Kambrook Steamline KIR795


Summary of Contents for Kambrook Steamline KIR795
- Page 1 Kambrook - Australia Kambrook - New Zealand Ground Floor, Suite 2, 170-180 Private Bag 94411 Bourke Rd Botany, Manukau Alexandria NSW 2015, Australia Auckland 2163 New Zealand Locked Bag 2000 Customer Service Line/ Botany NSW 1455 Spare Parts 0800 273 845...
- Page 2 INSTRUCTION BOOKLET Suits all KIR795 models...
- Page 3 Please retain your instruction book for future use. In the event that you need some assistance with your Kambrook appliance, please contact our Customer Service Department on 1300 139 798 (Australia) or 0800 273845 (New Zealand). Alternatively, visit us on our website at www.kambrook.com.au or www.kambrook.co.nz...
- Page 4 Contents Kambrook Recommends Safety First Your Kambrook Steamline Detach Steam Iron Using Your Kambrook Iron Care, Cleaning and Storage...
- Page 5 At Kambrook, we believe that safe performance is the first priority in any consumer product, so that you, our valued customer can confidently use and trust our products. We ask that any electrical appliance that you use be operated in a sensible fashion with due care and attention placed on the following important operating instructions.
- Page 6 • Always switch the iron off and then the entire appliance to your nearest authorized Kambrook Service Centre unplug from the power outlet: - Before filling or emptying the water for examination, replacement or repair.
- Page 7 Return the adequate space above and on all entire appliance to the nearest sides for air circulation. authorized Kambrook service centre for examination and / or repair. • Any maintenance other than cleaning should be performed at an authorised...
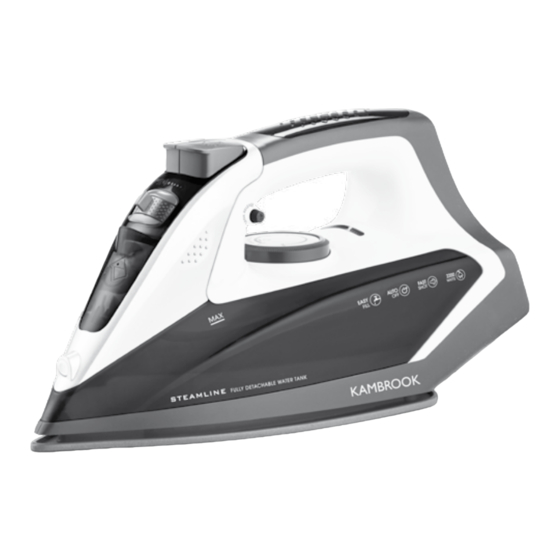
- Page 8 Your Kambrook Steamline Detach Steam Iron 1. Detachable 180ml water tank: For 12. 3 metre power cord with 360° cord hassle free filling. grommet: For better reach and manoeuvrability. 2. Fine misting spray nozzle. 13. FabriGlide soleplate: For a smooth 3.
- Page 9 Ensure that the iron is fully assembled and The unique feature of the Kambrook the water tank is securely attached to Steamline Detach Iron is the fully the iron body before operating.
- Page 10 Setting the Temperature Press firmly on the water tank release button with your right thumb and pull the Before commencing ironing, sort all items water tank horizontally away from the to be iron according to the International iron using your right hand (See Fig. 3). Textile Care Labelling Code (see Table A) or by the type of fabric.
- Page 11 Using Your Kambrook Iron continued... Table A. on label means: “This article cannot be ironed” NOTE: [e.g. chlorofibre, acrylic, elastodiene] Temperature Variable Steam Label Code Kind of Textile Control Control [see garment instruction] [advised position] synthetic modacry polypropylene polyurethane acetate...
- Page 12 Operating the Steam Control If more water is required while ironing, simply detach the water tank and stand the iron on its heel. Fill up the water tank Refer to the Variable Steam Control as per the instructions under ‘Filling the column of the International Textile Care Water Tank’...
- Page 13 Using Your Kambrook Iron continued... Safety Auto-Off NOTE: For optimal steam power, leave an interval of 4 seconds The Steamline Detach features 3 way between pressing the shot of auto-off safety protection. This feature steam button. is designed to automatically switch the iron off if it is left unattended with no movement for a specified period of time.
- Page 14 After Each Use Once all ironing has been completed, set the steam control switch to NO STEAM, set the temperature control dial to MIN and place the iron on its heel. Switch the power off and disconnect from the power outlet. Remove the water tank from the iron, open the water tank inlet cover and (over a sink or bucket) invert the iron to empty any remaining...
- Page 15 Care, Cleaning and Storage Using the Self-Clean Function CAUTION: Only move the The Steamline Detach iron has a steam control switch to self-clean function that is designed to the right when you want assist with the removal of scale and to activate the self-clean impurities.
- Page 16 Storage Ensure that all water has been emptied from the water tank before storage. Ensure that the iron is cool and clean before storing. Store the iron on its heel in a cupboard or on a bench. Do not store the iron horizontally on its soleplate.
- Page 17 Notes...
- Page 18 Notes...
Need help?
Do you have a question about the Steamline KIR795 and is the answer not in the manual?
Questions and answers