Advertisement
Quick Links
Advertisement

Subscribe to Our Youtube Channel
Related Manuals for iScan 01


Summary of Contents for iScan 01
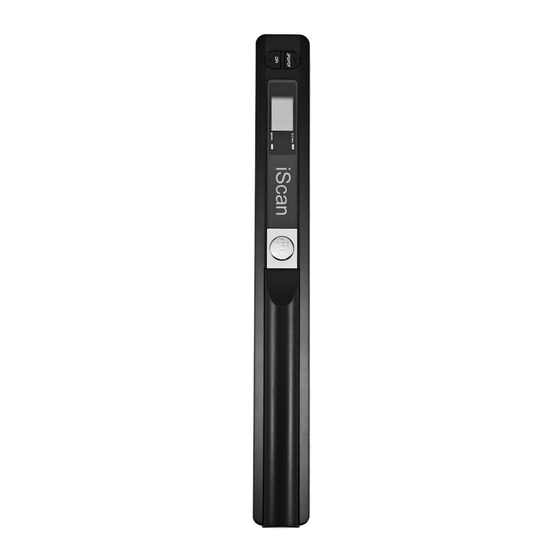
- Page 1 iScan01 HD Portable Handheld A4 Color Scanner User Manual Product Description:...
- Page 2 Menu Introduction: Usage Instructions: 1. Install Batteries Open cover, put into two A4 alkaline batteries, and then press Power/Scan button 2. Insert SD Memory Card Do not force to insert, it will damage scanner and SD card 3. Format SD Card Press “FORMAT”...
- Page 3 5. Begin to Scan a. Flatten the scanning object, put on scanner b. Grip scanner, press SCAN button to scan c. Move scanner slowly, keep it steady d. Press SCAN button to finish scanning 6. Check Scanning Result Link computer to see the result Troubleshooting: Problem Reason...
Need help?
Do you have a question about the 01 and is the answer not in the manual?
Questions and answers
Tried to set the white balance. Did it incorrectly. Error Light is now on permanently and scans are dark. How can I resolve the problem. Note: before I screwed up the scans were fine.
To resolve the permanent error light issue on the iScan 01 after incorrectly setting the white balance, follow these steps:
1. Turn off the scanner.
2. Remove the incorrectly set white balance by resetting the device. This may involve removing and reinserting the batteries or performing a factory reset if supported.
3. Ensure the Micro SD card is correctly installed and not full or improperly formatted.
4. Reinstall fresh 2x AA alkaline batteries if battery issues persist.
5. Power on the scanner and try setting the white balance again, following the correct procedure.
If the issue continues, consult the usage instructions for specific reset steps.
This answer is automatically generated
How do I enter the batteries into the scanner
To insert batteries into the iScan 01 scanner, open the battery cover, insert two A4 alkaline batteries, and then press the Power/Scan button.
This answer is automatically generated
How to set time, date, etc