Table of Contents
Advertisement
Quick Links
Machine parameters
Printing technology
Print size
Filament
Filament diameter
Number of extruder
Contact service:
Technology Support:
——
Please visit our sites if you would like get more information on 3D printer:
3D PrinterQuick Start Guide
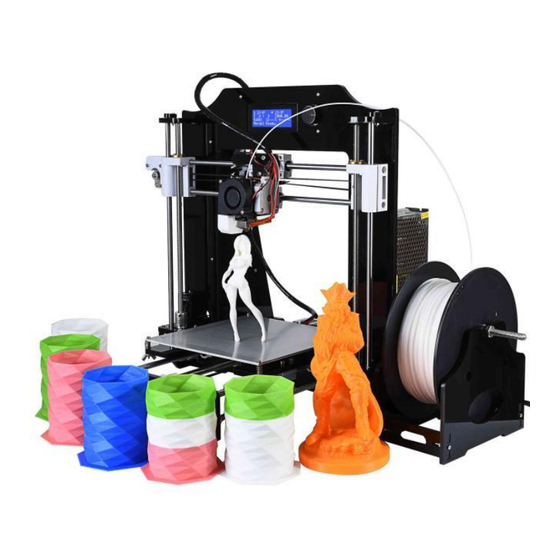
DIY 3D Printer Kit M508
FDM
200*200*180mm
PLA /ABS /HIPS/WOOD
¢1.75mm
1
alunar3d@hotmail.com
service@alunar.net
Nozzel diameter
Printing precision
Printing speed
Working condition
Humidity
www.alunar.net
www.alunar.net
1
0.3(defaut),0.4,0.5
0.1-0.3mm
40-100mm/s (proposal)
10-40℃
20-50%
http://www.alunar.net——
Advertisement
Table of Contents

Related Manuals for Alunar M508


Summary of Contents for Alunar M508
- Page 1 3D PrinterQuick Start Guide DIY 3D Printer Kit M508 Machine parameters Printing technology Nozzel diameter 0.3(defaut),0.4,0.5 Print size 200*200*180mm Printing precision 0.1-0.3mm Filament PLA /ABS /HIPS/WOOD Printing speed 40-100mm/s (proposal) ¢1.75mm Filament diameter Working condition 10-40℃ Number of extruder Humidity 20-50%...
- Page 2 3D Printers M508 Quick Start Guide Foreword Thanks in advance for choosing our M508 3D Printer! With the Quick Use Manual (hereinafter as “Manual”) guide, you could enjoy accomplishing the assembly, Test and Printing step by step. Meanwhile, you will also learn the structure principle and its special FDM printing technology deeply, and then you will get great progress on not only the theoretical knowledge but also the manipulative ability.
- Page 3 Important Notice and Attentions: 1. Keep the assembling operation platform level 2. Please ensure that you move to the right tap position for input voltage (110V or 220V) of the power supply (as shown in the picture) Input Voltage 100~160V 200~260V Position choice 110V...
- Page 4 ( SD-Card:\Manual&AssemblyVideo\1-Open the carton). C.Assembly and Calibration for M508 1. M508 assembly: Please assembly the printer by following the step1- step7 on assembly diagram and video, and pay attention the prompt for key of assembling. :...
- Page 5 “test-*.gcode” file and start printing with rotating the spin button. (SD-Card:\Manual&AssemblyVideo\3-Test print\test-*.gcode) Congratulations! You’ve already accomplish the whole assembly for the M508. Please feel free to contact our customer service if you have any problem on technology or other. We will spare no effect to settle your problems accordingly.
Need help?
Do you have a question about the M508 and is the answer not in the manual?
Questions and answers