Advertisement
Voilé Universal Splitboard Hardware Set-up Instructions
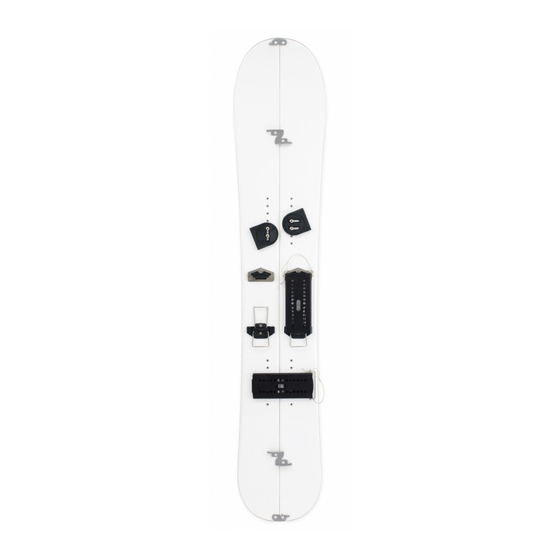
The Voilé Splitboard and Voilé Universal Splitboard Hardware provide a quick and reliable conversion
from uphill touring to downhill snowboarding without any sacrifice in performance, giving snowboarders
the easiest, most efficient access to the backcountry.
5
1
5
14
18
13
1 Puck Alignment Guide
1
4 Pucks
2
2 Parallel Slot Disks
3
2 In-line Slot Disks
4
4 Rubber Puck Gaskets
5
8 M6 x 12mm Pan-head Mounting Screws
6
8 T-nuts (6mm) for binding mounting
*
7
2 Slider Tracks
*
8
2 Slider Pins w/ Leashes
*
9
* Not Included with Voilé Universal Splitboard Hardware for Splitboard Bindings
Parts Included
6
2
3
6
4
16
2
14
17
13
15
voile.com
2
5
3
4
16
2
5
12
11
12
10
15
2 Touring Brackets
10
2 Touring Bracket Pin Guides
11
6 M6 x 10mm Touring Bracket Screws
12
2 Dual Climbing Heel Pads
13
2 Climbing Heel Shims
14
2 55mm Climbing Wires
15
2 75mm Climbing Wires
16
4 M6 x 16mm Climbing Heels Screws
17
Scraper
18
1
Voilé Manufacturing
2636 S. Constitution Blvd.
Salt Lake City, UT 84119
801-973-8622
* Hooks and Tip Clips not included
8
8
7
11
9
10
Advertisement
Table of Contents

Subscribe to Our Youtube Channel
Related Manuals for VOILE Universal Splitboard Hardware


Summary of Contents for VOILE Universal Splitboard Hardware
- Page 1 Voilé Universal Splitboard Hardware Set-up Instructions * Hooks and Tip Clips not included The Voilé Splitboard and Voilé Universal Splitboard Hardware provide a quick and reliable conversion from uphill touring to downhill snowboarding without any sacrifice in performance, giving snowboarders the easiest, most efficient access to the backcountry.
- Page 2 Climbing Wires and is critical to the function of the fixed mode of Tail the Voilé Splitboard Crampon. It is also designed to better support your binding while in tour mode. 75mm 55mm (Figure 5) (Figure 6) voile.com...
- Page 3 With the Puck Alignment Guide centered over your stance mark, place an In-Line Slot Disk on your heel-side Puck at your desired angle and locate over appro- priate inserts. (See Figure 15) (Figure 14) (Figure 15) (continued next page) voile.com...
- Page 4 (See Figure 24) (Figure 24) *Use Lock-Tight on T-Nuts to prevent them from loosening while riding. **Mount bindings so the ratcheting buckle is on the outside of board halves while in touring mode. voile.com...
Need help?
Do you have a question about the Universal Splitboard Hardware and is the answer not in the manual?
Questions and answers