Table of Contents
Advertisement
Quick Links
Advertisement
Table of Contents

Subscribe to Our Youtube Channel
Related Manuals for NEO Coolcam NAS-DS01Z


Summary of Contents for NEO Coolcam NAS-DS01Z
- Page 1 Instruction Manual Contact Sensor Model Name:NAS-DS01Z Brand:NEO Coolcam Thank you for your support Please read the instruction manual carefully before operating Please keep the instruction manual after reading Shenzhen NEO Electronics Co., LTD...
-
Page 2: Product Introduction
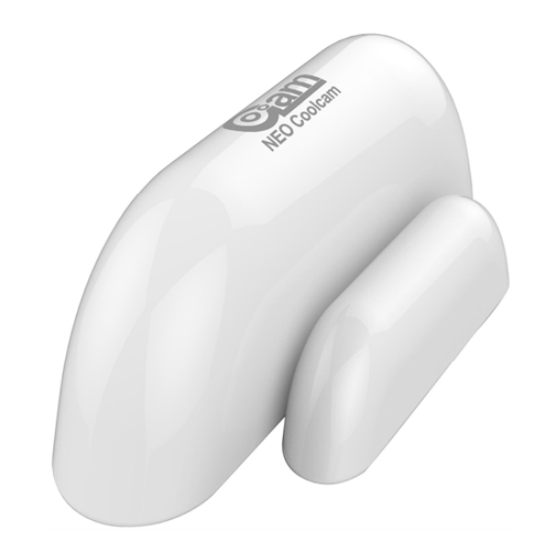
Product Introduction Contact sensor is an intelligent security equipment that can transmit the Z-Wave network which has particular frequency. In the Z-Wave network communications, contact sensor can be connected to any Z-wave main controller. The contact sensor can send messages to the Z-wave main controller, and realize association with other devices through the Z-wave main controller. - Page 3 Product Configuration LED light Contact sensor main body Disassemble button Contact sensor deputy body The code button Battery Sticker Screw stopper Screw Product List Contact sensor main body Contact sensor deputy body Battery 2pcs Screw 6pcs ...
- Page 4 Including Sensor (contact sensor) to Z-Wave Network The contact sensor can be included to the Z-wave network by pressing the code button. 1) Disassemble the contact sensor main body and insert the battery into the contact sensor. Make sure the device is located within the direct range of the controller. 2) Set the controller into the learning mode (see mail controller’s operating manual).
-
Page 5: Battery Installation
Installation Steps Contact sensor Installation Battery Installation Contact sensor Installation Option One Disassemble the contact sensor main body and take out battery, fix it on the door with screws. Disassemble the contact sensor deputy body and fix it on the corresponding door frame position ... - Page 6 Disassemble the contact sensor Install battery Assemble the contact main body sensor main body...
- Page 7 Tips When the door is closed, and the distance between the contact sensor main body and the contact sensor deputy is less than 2cm, the alarm gateway displays the door is closed perfectly. When the door is opened, the distance between the contact sensor main body and the contact sensor deputy body is more than 2cm, LED light flash and contact sensor sends messages to the alarm gateway, the alarm gateway displays the door is open and alarms.
-
Page 8: Advanced Configuration
Restore the Sensor (contact sensor) to Factory Default Settings Reset will delete all information on the Z-Wave network or Z-Wave controller, and restore the sensor to factory default settings. 1. Remove the cover of contact sensor main body. 2. Make sure the sensor is connected to power source. 3. - Page 9 of dim level of lamp module shall be. Function: Basic Set Parameter Number: 2 Parameter Size: 1 Byte Available Settings:0, 1 - 99 or 255 0 – OFF, Alarm cancelling or turning a device off 1 - 99 or 255 – ON (Binary Switch Device) Dim Level (Multilevel Switch Device) Default Setting: 99 Command Classes...
- Page 10 Guarantee 1. The Guarantee is provided by Shenzhen NEO Electronics Co., Ltd (hereinafter “Manufacture” ). 2. The Manufacturer is responsible for equipment malfunction resulting from physical defects (manufacturing or material) of the device for 12 months from the date of its purchasing. 3.
Need help?
Do you have a question about the NAS-DS01Z and is the answer not in the manual?
Questions and answers