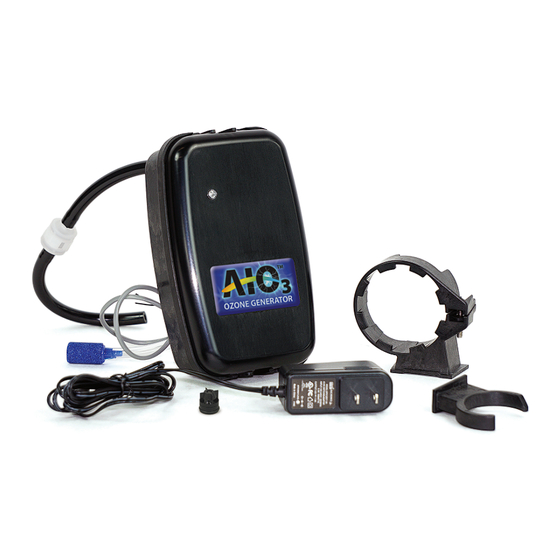
Summary of Contents for Ozotech AIO3 Systems
- Page 1 Systems Enhanced Oxidation Generator with Ozone Installation & Programming Guide...
-
Page 2: Table Of Contents
Important Safeguards ..............................Page 9 Maintenance Parts ..............................Page 9 Enhanced Oxidation Generator(EOG) Models Ozotech EOG Nelsen EOG AIO3-OZONE-OZOTECH-KIT (Comes installed on system) AIO3-OZONE-NELSEN-KIT (Comes installed on system) AIO3-OZONE-OZOTECH-FIELD-KIT (Dealer install kit) AIO3-OZONE-NELSEN-FIELD-KIT (Dealer install kit) No integrated power supply jack. Comes with integrated power supply jack and integrated power supply cord. -
Page 3: Installation Of Eog Unit
Installation of EOG Unit (For Dealer Install Kits) Step 1: For both the Ozotech & Nelsen EOG Models: Unplug Step 4: For the Nelsen EOG Model, Reference 2 on previ- the power supply for the control valve from the wall outlet. - Page 4 Installation of EOG Unit continued Step 6: If you have not already done so. Unsnap the top Step 8: Install the EOG brackets, Photo I, to the control of the drive bracket using your thumbs and forefingers to valve, Photos J & K and tighten the screw to secure expose the backplate.
- Page 5 Installation of EOG Unit continued Step 9: Connect the power supply cord to the bottom Step 11: At this point if you are using the Optional power supply jack (DO NOT PLUG INTO WALL OUTLET). Integrated power supply with the Nelsen model, replace Now slide the EOG unit onto the brackets Photo L.
- Page 6 Connect power supply to the control board if not already connected as when using Ozotech Model, Step 16: For the Ozotech EOG Unit reconnect the control Photo Q. valve power supply to the wall outlet. Connect the EOG power supply cord to power supply jack and plug the EOG Photo Q into the wall outlet.
-
Page 7: Eog Indicator Lights
Installation of EOG Unit continued Step 17: For Nelsen Unit using the integrated power sup- Flashing Green/Red means that the circuit is looking for ply cord connect the control valve power supply cord to an optimum frequency to operate within. It is still making the power supply jack. -
Page 8: Aio Controller Ozone Programming Settings
AIO Controller - Ozone Programing Settings Step 1 Step 5 TIME CAPACITY REMAINING CLOCK NEXT DOWN REGEN SOFTENING Press NEXT and DOWN Use UP or DOWN to set FILTERING simultaneously and release. 2nd backwash to OFF. TODAY x1000 BACKWASH FILL BRINE RINSE NORMAL... - Page 9 AIO Controller - Ozone Programing Settings Continued Step 10 Step 11 TIME TIME CAPACITY REMAINING CAPACITY REMAINING SOFTENING SOFTENING Step 10 sets Relay Step 11 indicates the length FILTERING FILTERING REGEN REGEN Actuation Time, when the of time the EOG unit is TODAY x1000 TODAY...
-
Page 10: Eog Cd Cell Cleaning Steps
EOG CD Cell Cleaning Process Periodic cleaning of the CD cell within your Ozotech Step 4: Pull the Tygon tubing from the cell itself Photo 4-5. product is important and will keep your generator operating effectively and efficiently. Cleaning the cell can Photo 4 be done quickly…in six easy steps. -
Page 11: Maintaining The Eog Unit
The EOG CD (Corona Discharge) cell should be cleaned water with clean warm water. You’ll need to continue this every 12 months. Refer to the Ozotech Service Manual for process until the water in the cup is completely clear. in-depth instructions for proper cleaning. A cleaning kit is Photo 6 also available. - Page 12 AIO INTEGRATED-OZONE Installation & Programming Guide Part#AIO3-OZONE-PROGRAM GUIDE...


Need help?
Do you have a question about the AIO3 Systems and is the answer not in the manual?
Questions and answers