Table of Contents
Advertisement
Quick Links
INSTALLATION INSTRUCTION
MODEL : MD5401
Please read this instruction carefully before installation .
Weight capacity: 5 kg (11 lbs) .
Thank you for purchase!We strive to provide products and services of exceptional quality.
We sincerely invite you to write an unbiased review. For parts missed or installation problems,
please contact us at telephone (626) 604-9048 (USA) Mon - Fri 10am - 6pm (Pacific time) or email
(A6)
us by customerservice@mountingdream.com , so that we may solve the issue for you.
Advertisement
Table of Contents

Subscribe to Our Youtube Channel
Related Manuals for Mounting Dream MD5401


Summary of Contents for Mounting Dream MD5401
- Page 1 INSTALLATION INSTRUCTION MODEL : MD5401 Please read this instruction carefully before installation . Weight capacity: 5 kg (11 lbs) . Thank you for purchase!We strive to provide products and services of exceptional quality. We sincerely invite you to write an unbiased review. For parts missed or installation problems,...
- Page 2 Seguridad Advertencia: ¡Gracias por elegir el montaje soporte sueño altavoz ti. Para la aplicación segura de modelo MD5401, y prevenir a sí mismo oa otros de peligro o pérdida de propiedad, por favor lea este manual antes de usar. Si no entiende estas instrucciones o si tiene alguna duda sobre la seguridad de la instalación, por favor póngase en contacto con el contratista calificado o montaje de servicio al cliente Sueño.
- Page 3 For parts shortage or damage, please contact us directly by customerservice@mountingdream.com. Attention: New delivery will be timely arranged to replace missed or defective parts. Gifts : Installation tools (Not Included) : 2M 2M Velcro cable tie Band tape 4pcs Screwdriver 1/8"...
- Page 4 Step 1 Attach fixed tube (B) to base (A), assemble adjusting tube (C) to connecting tube (D) by loosen/tighten the plastic nut (Figure 1). Then attach the assembled unit to fixed tube (B) by fastening knob screw (K) (Figure 2). Figure 1 Figure 2 Step 2...
- Page 5 Step 3 Attach speaker to assembled stand Option 1: Speaker installation hole distance is below 166mm/6.5in from the bottom According to your speaker's installation hole, choose bolt L/M/N, spacer (R) and plastic washer (S) ( as Figure 4 and Figure 5 shows) to attach it . Then plug the wires.
- Page 6 Place speaker on connection base with key hole bolt (O) inserted in the key hole, then tighten the round nut (I3) and plug the wires. Wire Option 3: Speaker with two paralled installation holes Assemble horizontal bar (I1) to the assembled iron wire with washer (I2) and nut (I3).
- Page 7 According to your speaker's installation holes, choose bolt L/M/N, plastic washer (S) ,washer P/Q and spacer (R) ( as shows in Figure 6, Figure 7, Figure 8, Figure 9 ) to attach it. Then plug the wires. For screw holes on flat For inset holes: Use panel: Use bolt L/M/N , bolt L/M/N, washer P/Q...
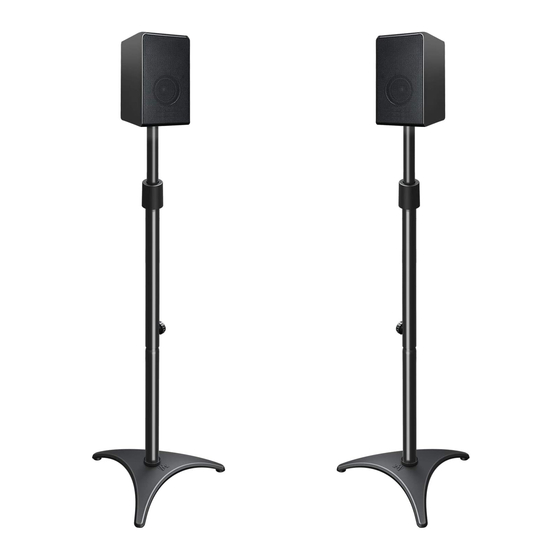
- Page 8 Height adjustment: Adjust speaker stand to desired height by unscrewing and extending adjusting tube(C). Product dimensions: 144mm 166mm MAX:1222mm(48") MIN:902mm(35.5") 281mm If you have any questions about the installation,please feel free to contact us at telephone (626) 604-9048 (USA) Mon - Fri 10am - 6pm (Pacific time) or email us by customerservice@mountingdream.com . For more information,please visit our website:www.mountingdream.com...
Need help?
Do you have a question about the MD5401 and is the answer not in the manual?
Questions and answers