Onkyo UWF-1 Getting Connected
Wireless usb lan adapter
Hide thumbs
Also See for UWF-1:
- Instruction manual (104 pages) ,
- Setup (1 page) ,
- Instruction manual (20 pages)
Advertisement
Quick Links
Display Screen Diagrams
Wireless Setup
Manual Setup
Auto Setup
Manual Setup
Wireless Setup
Manual Setup (View Network)
Auto Setup (Select from Router)
Choose "Manual Setup (View Network)"
Manual Setup
sample network name
sample network 2
sample network 3
Choose your network
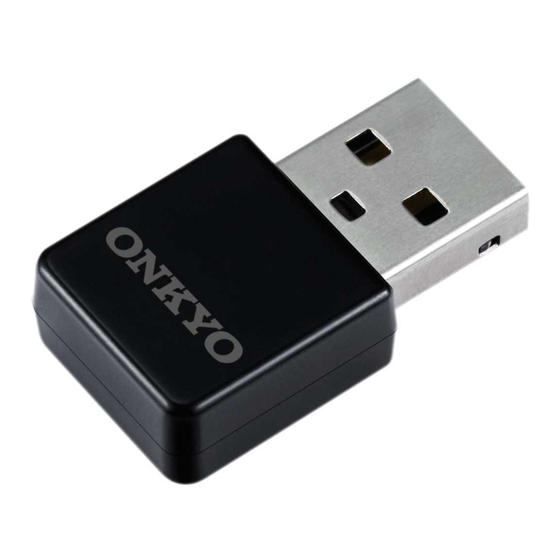
UWF-1
Wireless USB LAN Adapter
Getting Connected
Refer to the display screen diagrams at left and
below for help implementing your UWF-1's wireless
capacity. Further details are in your UWF-1's manual.
Connect the UWF-1 to the USB port on your network-capable
Onkyo receiver; Press USB on the receiver's faceplate to
select USB input.
Use your receiver's remote control or front panel controls
to navigate the display menu choices.
Manual or Auto Setup?
Choose Manual Setup if your system requires a Security Code
to connect, or choose Auto Setup if your router has Automatic
Security Setup (WPS).
ENTER
Advertisement

Related Manuals for Onkyo UWF-1


Summary of Contents for Onkyo UWF-1
- Page 1 Refer to the display screen diagrams at left and below for help implementing your UWF-1’s wireless capacity. Further details are in your UWF-1’s manual. Connect the UWF-1 to the USB port on your network-capable Onkyo receiver; Press USB on the receiver’s faceplate to select USB input.
- Page 2 WEP or WPA? Your wireless LAN security setting will automatically show as WEP or WPA. Follow appropriate directions below, depending on which (WEP or WPA) shows on your display. Manual Setup Manual Setup SSID : ***** SSID : ***** Security : WPA Security : WEP Key : Key :...
- Page 3 Manual Setup Manual Setup Now Connecting Connecting . . . Select Number (Most common setting is #1.) Status Manual Setup SSID: (your network name) SSID : ***** Security: (WPA) Security : WEP Signal: (%) Key : ***** (your password) Status: Connected Default Key ID: 1 Refresh Back...
-
Page 4: Auto Setup
Auto Setup Auto Setup works only with a router that has Connect the UWF-1 to the USB port on your network-capable Onkyo Automatic Security Setup (WPS). receiver; Press USB on the receiver’s faceplate to select USB input. Wireless Setup ENTER Manual Setup Use your receiver’s remote control to navigate the display... - Page 5 Press Button PIN Code Auto Setup Auto Setup PIN Code: ###### Please select “OK” after pushing WPS button of the Please select “OK” after inputting this PIN Code Access Point. Access Point. For information on the registration process, please refer to the instruction manual provided with your Access Point device.
Need help?
Do you have a question about the UWF-1 and is the answer not in the manual?
Questions and answers