
Related Manuals for Body Flex Sports BODY CHAMP BCB 5860


Summary of Contents for Body Flex Sports BODY CHAMP BCB 5860
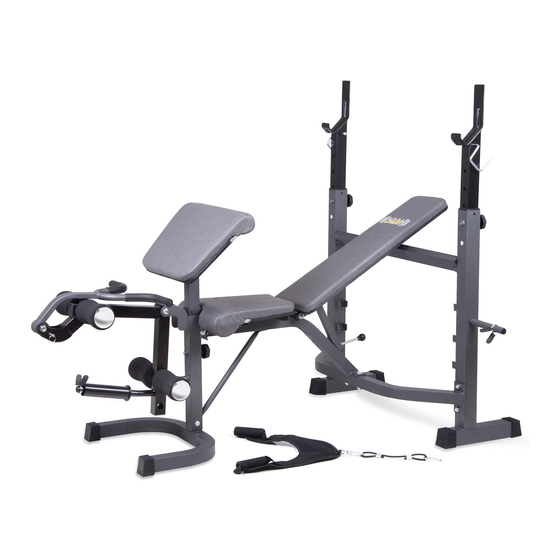
- Page 1 BCB 5860 * This item is for consumer use only and it is not meant for commercial use. OWNER’S MANUA L...
- Page 2 This page intentionally left blank...
-
Page 3: General Information
Please read this manual carefully before commencing the Body Flex Sports warrants your product for assembly of your product or starting to exercise. a period of 1 year for the frame and 90 days on all parts if the item is used for the intended •... -
Page 4: Hardware List
Hardware List The following hardware is used to assemble your unit. Please take a moment to familiarize yourself with these items. Please note some of this hardware is already pre-assembled on the machine. Do not be alarmed if you see parts on this page that are not included in your hardware packet. BOLT #45. -
Page 5: Parts Listing
Parts Listing The following parts list describes all of the parts illustrated on the exploded diagram on the following page. Please note, most of these parts are already pre-assembled on your unit. Description Description Right Upright Square End Cap (50 mm) Left Upright Round End Cap Rear Cross Tube... -
Page 6: Exploded Diagram
Exploded Diagram The following diagram is provided to help you familiarize yourself with the parts and hardware that will be used during the assembly process. Please note that not all of the parts and hardware you see here will be used while you are assembling the machine because some of these items are already pre-installed. - Page 7 Assembly Instructions A s s e m b l y S t e p 1 Hardware Required BOLT A). With the help of an assistant, stand both Right Upright (#01) and Left Upright (#02) on level flooring as illustrated. Attach the Rear Cross Tube (#03) to the Right/Left Uprights (#01/#02) and secure together by inserting #46.
- Page 8 Assembly Instructions A s s e m b l y S t e p 2 A). Remove the two Nylon Nuts (#54) pre-assembled on the Left/Right Safety Hooks (#42/#41). Set them aside nearby for now. On the left side, insert Left Safety Hook (#42) into the hole on top of left Adjustable Upright Tube (#07) as shown. Secure using one Nylon Nut (#54) from the inner side.
- Page 9 Assembly Instructions A s s e m b l y S t e p 3 A). Remove the three Hex Bolts(#52) and three Washers (#56) pre-assembled on the Front Stabilizer (#06). Set them aside nearby for now. Attach the Front Upright (#05) to the Front Stabilizer (#06) and secure by using two Hex Bolts (#52) through two Washers (#56) from each side as illustrated.
- Page 10 Assembly Instructions A s s e m b l y S t e p 4 A). Attach the Leg Developer (#08) by aligning the holes to bracket of Front Upright (#05). Secure together using one Hex Bolt (#47) through one Washer (#55) and an additional Washer (#55) followed by one Nylon Nut (#53) as illustrated. B).
- Page 11 Assembly Instructions A s s e m b l y S t e p 5 Hardware Required BOLT A). Attach the Arm Curl Bar (#16) to the Leg Developer (#08) by aligning the holes on bracket of Leg Developer (#08) and securing them with one Hex Bolt (#47) through one Washer (#55) followed by an additional Washer (#55) and one Nylon Nut (#53) as illustrated.
- Page 12 Assembly Instructions A s s e m b l y S t e p 6 A). With the help of an assistant, insert the two pegs on the sides of the Backrest Cushion Post (#18) into the two side holes located on the inside of both Backrest Supporting Tubes (#10).
- Page 13 Assembly Instructions A s s e m b l y S t e p 7 A). Attach the Backrest Cushion (#19) gently onto the Backrest Supporting Tubes (#10) by inserting and securing four Hex Bolts (#51) through four Washers (#56) from underneath the Backrest Cushion (#19).
- Page 14 FINAL CHECK (Before EACH use) • Make sure all nuts and bolts are tightened (but do not over-tighten). • Check for any loose parts and components and tighten prior to each use. • Check to see if there are any tears or bends in the welding or metal prior to each use. Do NOT use the product if you find any such tears or bends.
- Page 15 Warm-Up Instructions Before use, you must read and understand all instructions & warning stated in this Owner's Manual as well as posted on the equipment. The following flexibility exercises are provided to you as a means to prevent injury while you are exercising. A proper warm-up routine decreases the chance of injuring your muscles while you are exercising.
- Page 16 Warm-Up Instructions Trunk Flexion, Prone 1. Assume the depicted position on your hands and knees. Stretch your hands out in front of you and then slowly start to pull them back in toward your body as you tuck your chin and arch your back upward. 2.
- Page 17 PLEASE KEEP THESE INSTRUCTIONS FOR FUTURE USE & REFERENCE. DO NOT DISCARD. WARNING: SERIOUS INJURIES AND EVEN DEATH CAN OCCUR IF THE PROPER SAFETY PRECAUTIONS ARE NOT FOLLOWED. The diagram below highlights and reviews many of the important Safety and Warning labels also found on the unit.
- Page 18 This page intentionally left blank...
-
Page 19: Proof Of Purchase
Proof of purchase Model Number BCB 5860 version: 12-21-2016... - Page 20 Body Flex Sports, Inc. • 21717 Ferrero Parkway, Walnut, CA 91789 • Telephone: (888) 266 - 6789 • Email: info@bodyflexsports.com Made in China...
Need help?
Do you have a question about the BODY CHAMP BCB 5860 and is the answer not in the manual?
Questions and answers
Missing manual