Table of Contents
Advertisement
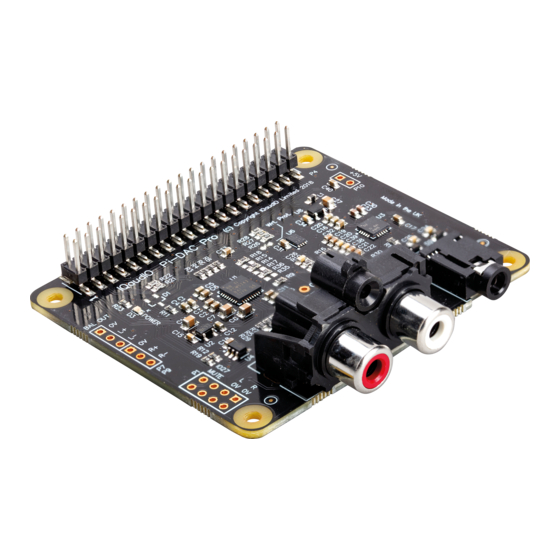
IQaudIO
Product Guide
This document covers the installation, software configuration and
usage of IQaudIO audio accessories with the Raspberry Pi.
If you would like to see additional information within this document please email us at
info@iqaudio.com
For those who simply need the /boot/config.txt
details —> Just jump to section 3
For ROON LABS setup —-> Just jump to section 21
v32
IQaudIO Limited, Company No: 09461908
Advertisement
Table of Contents


Need help?
Do you have a question about the Pi-DAC PRO and is the answer not in the manual?
Questions and answers