Advertisement
Advertisement

Related Manuals for Omega OBO960XTGG


Summary of Contents for Omega OBO960XTGG
- Page 1 Instruction Manual OMEGA 90CM BUILT-IN ELECTRIC OVEN OBO960XTGG OBO960X...
- Page 2 Thank you for purchasing an Omega appliance Tailored for the modern aesthetic and lifestyle of busy people, your new Omega Appliance will make a welcome addition to the family. Omega caters to style-savvy customers who look for balance between stunning form and clever function.
-
Page 3: Table Of Contents
The manufacturer will not be responsible for any damage to property or to persons caused by incorrect installation or improper use of the appliance. Due to continual product development, Omega reserves the right to alter specifications and appearances without notice. -
Page 4: Important Safety Warnings
Important Safety Warnings IMPORTANT: Read the assembly instruction section and safety precautions of this booklet carefully before removing the contents of this carton. This appliance is not intended for use by persons (including children) with reduced physical, sensory or mental capabilities, or lack of experience or knowledge, unless they have been given supervision or instructions concerning the use of the appliance by a person responsible for their safety. -
Page 5: Appliance Details
Appliance Details Electrical Details OBO960XTGG Models OBO960X Voltage Rating 220-240V ~50Hz Power Rating 3600W Supply Connection Hardwired to power supply Dimensions LENGTH (mm) DEPTH (mm) HEIGHT (mm) CAVITY (L) Electrical Connections LOCAL AUTHORITY REQUIREMENTS Installation is only permitted by a licensed electrician, and carried out according to instructions provided by the manufacturer. -
Page 6: Installation Instructions
Installation Instructions The adjacent furniture must be able to withstand a minimum temperature rise of 100°C above the ambient temperature of the room it is located in during periods of use. The power supply to the appliance must be cut off before any adjustments or maintenance work is done on it. PREPARATION FOR INSTALLATION AND USE Manufactured with best quality parts and materials, this modern, functional and practical oven will meet your needs in all respects. - Page 7 Installation Instructions INSTALLATION OF BUILT-IN OVEN Insert the oven into cabinet partly by pushing it forward. Open the oven door and insert 2 screws into the holes on the oven frame. While the product frame touches the wooden surface of the cabinet, tighten the screws.
-
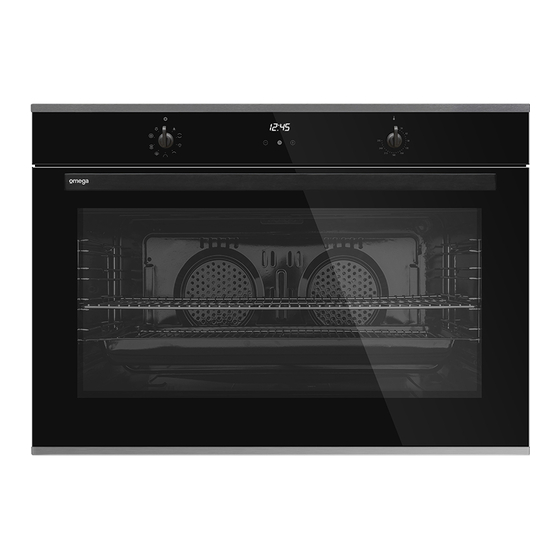
Page 8: Operating Instructions
Operating Instructions Front View Front Views Control Panel. Door. Tray. Handle. Wire Rack. Light (x2). When you first run your oven, a certain smell will be emanated arising from the insulation materials and the heater elements. For this reason, before using your oven, run it empty at maximum temperature for 45 minutes. - Page 9 Operating Instructions OVEN FUNCTION CONTROL The oven function control is used to select the different functions. Each is explained in detail further in the manual. To select a function, turn the control knob to the desired oven function and then set the temperature with the thermostat control.
- Page 10 Operating Instructions TIME OF DAY ADJUSMENT When first turned on (or power has reset), the automatic cooking status icon will flash, indicating the time of day must be set for the oven to run correctly. Turn off oven functions. Press the plus and minus buttons simultaneously for 3 seconds until the digits flash.
- Page 11 Operating Instructions OVEN FUNCTION CONTROL CHART Note: Oven shelves are numbered from 4 at the top down to 1 at the bottom. During heated oven functions a cooling fan in the top of the oven will operate in order to cool down the oven door and kitchen cabinet as well as reducing condensation in the oven.
- Page 12 Operating Instructions Oven Function Controls Defrost Function You can start the defrost operation by putting the frozen food into oven and bringing the function control knob to the indicated mark. This function will not cook/bake the food; it only helps to defrost it within a short time.
- Page 13 Operating Instructions Oven Function Controls Maxi-Grill Function This function is used for faster grilling and for grills with a lot of food. Adjust the function control knob so it indicates the Maxi-Grill function symbol. Set the oven’s thermostat control knob to the required temperature.
- Page 14 Operating Instructions Oven Function Controls Fan Forced Function This Fan Forced function uses the turbo heater (located in the back of the oven) to evenly disperse the heat in the oven. This function is suitable for cooking multiple dishes on various oven shelves.
-
Page 15: Cleaning
Cleaning NOTE: Cleaning and maintenance operations must only be carried out when the oven is cool. The appliance should be disconnected from the power outlet or turned off at your isolation switch before commencing any cleaning process. Cleaning the oven exterior: Before starting to clean your oven, be sure that all control buttons are off and your appliance has cooled. -
Page 16: Australian & New Zealand Product Warranty Statements Of Standard Warranty Conditions
The Damage which occurs during delivery or installation. product will be repaired or replaced at the option of Omega, and 10. Claims to product surface coating due to liquid or solid all costs of installation, removal, cartage, freight travelling spill-overs, accidental damage or damage caused from expenses and insurance are to be paid by the customer.
Need help?
Do you have a question about the OBO960XTGG and is the answer not in the manual?
Questions and answers