Table of Contents
Advertisement
Quick Links
Advertisement
Table of Contents

Related Manuals for Russell Hobbs SmartGlide PRo


Summary of Contents for Russell Hobbs SmartGlide PRo
- Page 1 instructions...
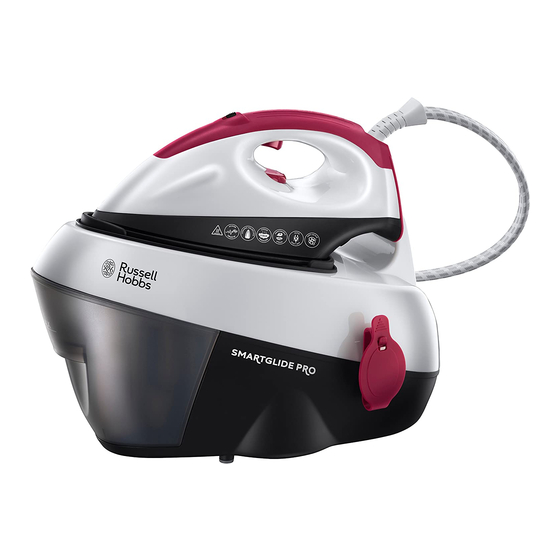
- Page 2 steam trigger catch temperature thermostat light control anti-scale cable and cartridge steam pipe mark water cable tidy reservoir grip base unit cable and steam pipe steam buttons standby low water button temperature light medium high control steam ready light mark Read the instructions, keep them safe, pass them on if you pass the iron on.
- Page 3 2 Sit the base unit on a stable, level, heat-resistant surface, preferably a purpose-built “steam generator” type ironing board. 3 Rest the iron only on the base unit. 4 Use the iron only on a stable surface. 5 Don’t leave the iron unattended while plugged in or standing on the ironing board.
- Page 4 8 Pour water into the front hole in the top of the reservoir, up to, but not over max. 9 Replace the reservoir: d) slide the reservoir into the base unit e) check that the catch on the reservoir clicks into place in the base unit f) prime the iron before use –...
- Page 5 C SET THE TEMPERATURE 27 Turn the temperature control to bring the setting you require next to the mark. temperature setting guide label marking temperature setting cool – nylon, acrylics, polyester • warm – wool, polyester mixtures • • hot – cotton, linen •...
- Page 6 C NO WATER 44 When the water level gets low, the low water light will glow. 45 Fill the reservoir (see “filling”, on page 4), then prime the iron again. C AFTER USE 46 Sit the iron on top of the base unit and turn the temperature control to •. 47 Press the 2 button.
- Page 7 69 It’s best to do this on top of a towel on the work surface in the kitchen, as you’re likely to spill a bit, and you’ll need access to water and a sink (or a basin). 70 Remove the reservoir (you’re going to turn the base unit upside down). 71 Set the iron down on the work surface –...
- Page 8 ENVIRONMENTAL PROTECTION To avoid environmental and health problems due to hazardous substances in electrical and electronic goods, appliances marked with this symbol mustn’t be disposed of with unsorted municipal waste, but recovered, reused, or recycled. S SERVICE If you ring Customer Service, please have the Model No. to hand, as we won’t be able to help you without it.
Need help?
Do you have a question about the SmartGlide PRo and is the answer not in the manual?
Questions and answers