Table of Contents
Advertisement
Available languages
Available languages
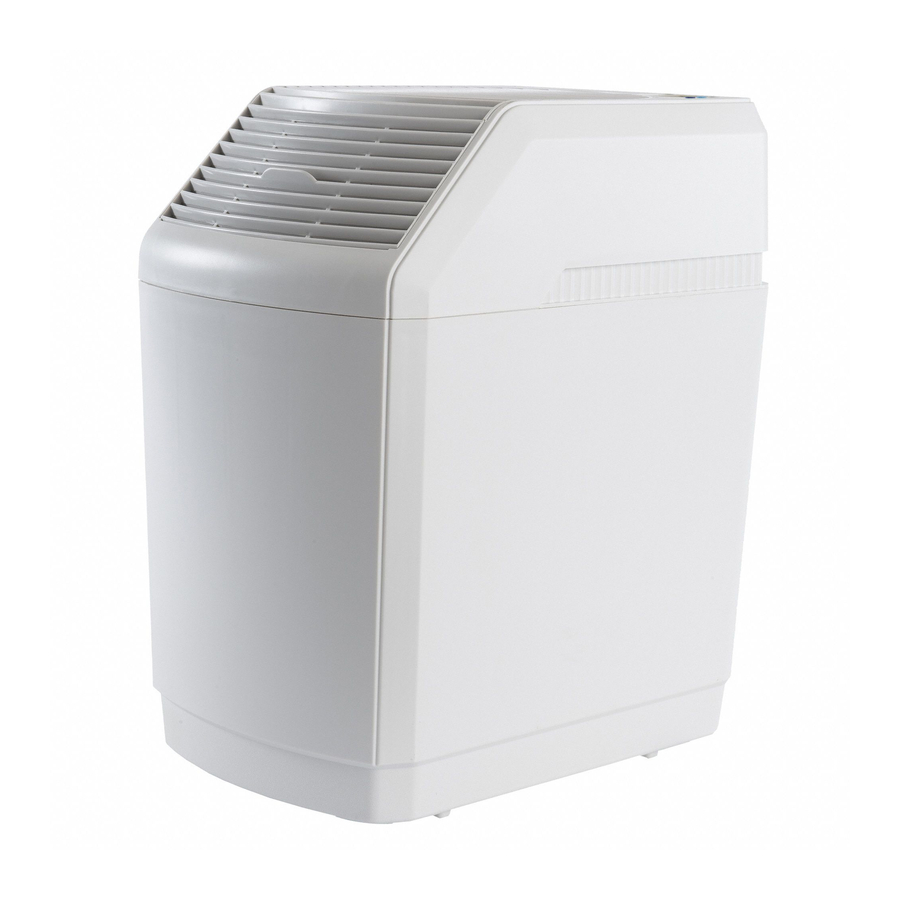
Space Saver Series
Models 836000HB(CN) & 831000(CN)
set up guide and owner's manual
•
•
•
•
Your Serial Number:
table of contents
Humidifier Quick Set Up..................................... 2 & 3
Read Before Using .................................................. 4
General Information:
How Evaporative Humidifiers Work ................. 5
Get the Most from your Humidifier .................. 5
Wick Performance ............................................ 5
Cautions Regarding Water Additives .............. 5
Detailed set up:
Unpack and Assemble the Unit ........................ 6
Install Components .......................................... 7
Assemble Chassis and Base ............................ 7
Fill Reservoir ..................................................... 7
1B73178
Pour-in fill design
6-gallon reservoir
Three speed control
Auto shutoff
9/2019
PRINTED IN CHINA
Locate Place for Humidifier .................................... 7
Operation: ............................................................... 8
Model 836000HB ............................................8
Model 831000 ..................................................8
Common to all models .....................................8
Maintenance ...........................................................9
How to Care for Your Humidifier ......................9
General Cleaning .............................................9
Disinfecting Unit ..............................................10
Replacement parts and Accessories .......................11
Troubleshooting .. ...................................................12
Warranty ................................................................. 13
Pour Française,
voir page 13
Para Español,
ver pagina 29
Advertisement
Chapters
Table of Contents

Related Manuals for Aircare Space Saver Series


Summary of Contents for Aircare Space Saver Series
- Page 1 Pour Française, voir page 13 Para Español, ver pagina 29 Space Saver Series Models 836000HB(CN) & 831000(CN) set up guide and owner’s manual • Pour-in fill design • 6-gallon reservoir • Three speed control • Auto shutoff Your Serial Number: table of contents Locate Place for Humidifier ........
- Page 2 HUMIDIFIER QUICK SET UP Use these basic instructions for setting up your unit. Use the “Detailed Set Up” on page 6 for additional set up and operational information. NOTE: To simplify instructions, model 836000HB is featured in most illustrations. Images of the 831000 unit are included where needed. UNPACK HUMIDIFIER a.
- Page 3 INSTALL WICK IN BASE FRONT FRONT OF WICK COMPLETED FACES INSTALLATION FRONT OF BASE (CURVED EDGE) LEVEL ASSEMBLE CHASSIS AND BASE PLACE CHASSIS FLOAT ROD MUST MAKE CONTACT ON BASE WITH METAL SWITCH SOME DETAILS OMITTED FOR CLARITY FILLING UNIT POSITION HUMIDISTAT FILL ONLY...
- Page 4 READ BEFORE USING YOUR HUMIDIFIER WARNING: means if the safety information is not followed someone could be seri- ously injured or killed. CAUTION: means if the safety information is not followed someone may be injured. READ AND SAVE THESE INSTRUCTIONS To reduce the risk of fire or shock hazard, this humidifier has a polarized plug (one blade is wider than the other).
- Page 5 GENERAL INFORMATION How Evaporative Humidifiers Work Your new humidifier adds humidity to your home by drawing dry air into the humidifier though the large top grille, then moisturizing it as it passes through the saturated wick. The air becomes hu- midified, while any dust and hard water minerals remain in the wick.
- Page 6 DETAILED SET UP Unpack and Assemble the Unit Open the box, revealing the chassis. Remove any packaged literature on top. REMOVE PACKING FROM Lift the chassis up and out of the carton. AROUND FLOAT ROD Carefully pull the cardboard packing away from around the float rod.
- Page 7 Assemble Chassis and Base 13. Align the chassis to the base. Starting at the back, bring the two sections together. IMPORTANT NOTE: The float rod must make contact with the metal switch in order for the unit to operate SOME DETAILS OMITTED FOR CLARITY Fill Reservoir...
- Page 8 OPERATION: Model 836000HB (analog controls with digital display screen) Turn On and Set Controls Press the fan/power knob once to turn the unit on. Two dashes (--) will appear on the display. Rotate the fan knob clockwise to set the fan level.
- Page 9 MAINTENANCE How to Care for Your Humidifier Performance Tips CAUTION Turn the unit off and disconnect the power before attempting any maintenance. • Wicks should be replaced at least once each season, and Wick Replacement (Uses 1043 Superwick) after every 30 to 60 days of 1.
- Page 10 5. Rinse the base thoroughly with fresh water to remove Tips for Humidity scale and cleaning solution before disinfection. Setting 6. Prepare unit for use by filling the base with cool, • To start, set the humidity clean water. level between 45-50%. Adjust to desired level CAUTION DO NOT OVERFILL, AS LEAKING MAY OCCUR.
- Page 11 REPLACEMENT PARTS AND ACCESSORIES Note Chassis illustration is for reference only and is not You may also be intended to re- interested in: flect a particular model. BACTERIOSTAT PART # 1970 Reduces bacterial growth in humidifier. Extends life of wick. 32 oz HYGROMETER PART # 1990 Reads and displays room...
- Page 12 TROUBLESHOOTING PROBLEM PROBABLE CAUSE SOLUTION Unit does not operate on • No power to unit. • Ensure polarized plug is fully inserted in wall any speed setting • Unit has run out of water and outlet. turned off automatically. • Refill reservoir. •...
- Page 13 HUMIDIFIER TWO YEAR LIMITED WARRANTY POLICY SALES RECEIPT REQUIRED AS PROOF OF PURCHASE FOR ALL WARRANTY CLAIMS. This warranty is extended only to the original purchaser of this humidifier when the unit is installed and used under normal conditions against defects in workmanship and materials as follows: •...
- Page 14 THIS PAGE INTENTIONALLY LEFT BLANK...
-
Page 15: Table Of Contents
For English, see page 1 Para Es- pañol, ver pagina 29 Serie de’ Spacesaver Modèle: 836000HB(CN) & 831000(CN) guide d’installation et manuel du propriétaire • Jusqu’à 69,7 couverture en mètres carrés • Réservoir de 22.7 Liter (6 gallons) • Moteur à trois vitesses •... -
Page 16: Installation Rapide De L'humidificateur
INSTALL ATION RAPIDE DE L’HUMIDIFICATEUR Utilisez ces instructions de base pour configurer rapidement votre appareil. Utilisez les «In- structions de configuration détaillées» à la page 20 pour plus d’informations sur la configu- ration et le fonctionnement. REMARQUE: Pour simplifier les instructions, le modèle 836000HB est présenté dans la plupart des illustrations. - Page 17 INSTALLER LA MÈCHE DANS LA BASE FRONT L’AVANT DE LA INSTALLATION MÈCHE SE PLACE TERMINÉE SUR L’AVANT DE LA BASE (BORD INCURVÉ) NIVELER ASSEMBLER LE CHÂSSIS ET LA BASE L’UNITÉ LA TIGE DU FLOTTEUR DOIT ÊTRE EN PLACEZ LE CHÂSSIS SUR CONTACT AVEC LE COMMUTATEUR EN MÉTAL LA BASE POSITION...
-
Page 18: Li Re Avant D'utiliser
LIRE AVANT D’UTILISER VOTRE HUMIDIFICATEUR AVERTISSEMENT : signifie que si les consignes de sécurité ne sont pas respectées, quelqu’un risque d’être gravement blessé ou tué. PRUDENCE : signifie que si les consignes de sécurité ne sont pas respectées, quelqu’un sera peut-être blessé. LIRE ET CONSERVER LES INSTRUCTIONS Pour réduire le risque d’incendie ou de choc électrique, cet humidificateur possède une fiche polarisée (une broche est plus large que l’autre). -
Page 19: Informations Générales
INFORMATIONS GÉNÉRALES Mode de fonctionnement des humidificateurs à évaporation Votre nouvel humidificateur ajoute une humidité invisible à votre maison en faisant passer l’air sec à travers une mèche saturée. L’air sec est aspiré dans l’humidificateur par le dos et hydraté lorsqu’il passe à travers la mèche saturée. -
Page 20: Configuration Détaillées
CONFIGURATION DÉTAILLÉE Déballage et assemblage Ouvrez la boîte puis retirez le matériel d’em- ballage. Enlevez toute documentation emballée sur le ENLEVER L’EMBALLAGE AUT- dessus. OUR DE LA TIGE DE FLOTTEUR Soulevez le châssis vers le haut et sortez-la du carton. Enlever l’emballage et retirer la base du carton. -
Page 21: Assemblez Le Châssis Et La Base
Assemblez le châssis et la base 13. Alignez le châssis sur la base et, à partir de l’arrière, rassemblez les deux section. NOTE IMPORTANTE : la tige du flotteur doit être en contact avec le commutateur en métal pour que l’appareil fonctionne correctement CERTAINS DÉTAILS ONT ÉTÉ... -
Page 22: Utilisation
UTILISATION Modèle 836000HB (commandes analogiques avec écran d’affichage numérique) Mise en route et réglage des contrôles. Appuyez une fois sur le bouton du ventilateur/d’alimentation pour allumer l’appareil. Deux tirets apparaissent à l’écran. Tournez le bouton du ventilateur dans le sens des aiguilles d’une montre pour régler le niveau du ventilateur. -
Page 23: Entrien
ENTRETIEN Conseils de performance Comment prendre soin de votre humidificateur • Les mèches doivent être rem- MISE EN GARDE : éteignez l’appareil puis débranchez-le avant de procéder à toute opération d’entretien. placées au moins une fois par saison et tous les 30 à 60 jours Remplacement de mèche (utilisez la 1043 Superwick) d’utilisation. -
Page 24: Désinfection De L'appareil
Humidifiez un chiffon doux avec du vinaigre blanc non dilué et essuyez le réservoir pour Conseils de réglage de éliminer le tartre. l’humidificateur Rincez soigneusement le réservoir avec de l’eau fraîche pour éliminer le tartre et la solu- • Pour commencer, réglez le tion de nettoyage avant la désinfection. -
Page 25: Pièces De Rechange
PIÈCES DE RECHANGE ET ACCESSOIRES Remarque: L’illus- tration du châssis est fournie à titre indicatif unique- Vous pouvez également ment et n’est pas être intéressé par : destinée à refléter BACTÉRIOSTATIQUE un modèle partic- Pièce N 1970 ulier. Réduit la croissance bac- térienne dans l’humidifi- cateur. -
Page 26: Deppanage
DEPANNAGE PROBLÈME CAUSE SOLUTION L’appareil ne fonctionne pas • L’appareil n’est pas alimenté. • Assurez-vous que la fiche polarisée est quel que soit le réglage de la • L’appareil est à court d’eau complètement insérée dans la prise vitesse - le ventilateur ne fonctionne murale. -
Page 27: Garantae
GARANTIE LIMITÉE À DEUX ANS FACTURE REQUISE COMME PREUVE D’ACHAT POUR TOUTE RÉCLAMATION VISANT À FAIRE VALOIR LA GARANTIE. Cette garantie est accordée uniquement à l’acheteur original du présent humidificateur lorsque l’appareil est installé et utilisé dans des conditions normales, contre les défauts de matériaux et de fabrication comme suit: •... - Page 28 Si tiene preguntas o problemas con su unidad, contáctenos de inmediato. Nos pueden contactar de lunes a viernes, de 7:30 am a 5:30 pm CST. También puede enviarnos un correo electrónico a info@essickair.com.
- Page 29 For English, see page 1 Pour Française, voir page 15 SPACESAVER Modelo 836000(CN) & 831000(CN) Guía de configuración y manual del usuario • Diseño de fácil entrada • Depósito de 6 galones • Control de tres velocidades • Apagado automático Su número de serie: tabla de contenido Configuración rápida del humidificador ....30 &31...
-
Page 30: Configuración Rápida Del Humidificador
C ONFIGURACIÓN RÁPIDA DEL HUMIDIFICADOR Use estas instrucciones básicas para configurar la unidad. Utilice las “Instrucciones Detal- ladas De Configuración” en pagina 34 para obtener información adicional de configura- ción y operación. NOTA: Para simplificar las instrucciones, el modelo 836000HB aparece en la mayoría de las ilustraciones. - Page 31 INSTALE LA MECHA EN LA BASE FRONT EL FRENTE DE INSTALACIÓN LA MECHA SE COMPLETA COLOCA EN EL FRENTE DE LA BASE (BORDE CURVO) NIVELAR ENSAMBLE EL CHASIS Y LA BASE COLOQUE EL CHASIS EN LA VARILLA DEL FLOTADOR DEBE LA BASE TOCAR EL INTERRUPTOR DE METAL ALGUNOS...
-
Page 32: Léa Antes De Usar
LÉA ANTES DE USAR SU HUMIDIFICADOR PRECAUCIÓN: significa que si no se respeta la información de seguridad, algui- en podría resultar seriamente herido o muerto. ADVERTENCIA: significa que si no se respeta la información de seguridad, alguien podría resultar herido. LEE Y GUARDA ESTAS INSTRUCCIONES 1. -
Page 33: Información General
INFORMACIÓN GENERAL Cómo funcionan los humidificadores por evaporación Su nuevo humidificador aporta humedad invisible a su hogar haciendo pasar el aire entrante seco por una mecha saturada. El aire seco entra en el humidificador por la gran parrilla superiory se hidrata al pasar por la mecha saturada. El aire se humidifica, y la mecha retiene el polvo y los mi- nerales del agua dura. -
Page 34: Configuración Detallada
DETALLADAS DE CONFIGURACIÓN Desempaque y ensamble el humidificador Abra la caja para ver el chasis. Retire todos los folletos que se encuentren arriba. Levante el chasis para sacarlo de la caja. EXTRAIGA LA VARILLA DEL FLOTADOR DEL EMBALAJE Con cuidado, retire el embalaje de cartón que rodea la varilla del flotante. - Page 35 Ensamble el chasis y la base 13. Alinee el chasis con la base y, comenzando por la parte posterior, una las dos secciones. NOTA IMPORTANTE: La varilla del flotador debe tocar el interruptor de metal para que la unidad funcione. ALGUNOS DET- ALLES OMITIDOS POR CLARIDAD...
-
Page 36: Determine Una Ubicación Para El Humidificador
OPERACIÓN Modelo 836000HB (controles analógicos con pantalla digital) Encender y establecer los controles. Presione la perilla de ventilador/encendido una vez para encender la uni- dad. Se mostrarán dos rayas (--) en la pantalla. Gire la perilla del ventilador en sentido horario para establecer el nivel del ventilador. -
Page 37: Mainteniento
MANTENIMIENTO Consejos de Cómo cuidar su humidificador rendimiento ADVERTENCIA: Apague la unidad completamente y de- sconéctela del tomacorriente • Las mechas deben cambiarse Reemplazo de mecha (usa la supermecha 1043) por lo menos una vez por 1. Cuando sea necesario reemplazar las mechas, deje estación y cada 30 a 60 días funcionar en seco la unidad para que la de uso. -
Page 38: Piezas De Repuesto Y Accesorio
PRECAUCIÓN: NO LLENE EN EXCESO, YA QUE PUEDEN PRODUCIRSE FUGAS. 7. Instale la nueva mecha en el retenedor de la mecha. Ver Reemplazo de la mecha en la página 35. 8. Vuelva a colocar el retenedor de la mecha en la base, tal como se describe en la página seis. -
Page 39: Solución De Problemas
SOLUCIÓN DE PROBLEMAS PROBLEMA CAUSA PROBABLE SOLUCIÓN La unidad no funciona en • No hay alimentación a la • Asegúrese de que el enchufe polarizado ningún ajuste de velocidad unidad. está completamente insertado en el • La unidad se ha quedado tomacorriente. -
Page 40: Garantía
POLÍTICA DE GARANTÍA LIMITADA DE DOS AÑOS PARA CUALQUIER RECLAMO RELACIONADO CON LA GARANTÍA ES NECESARIO PRESENTAR EL RECIBO COMO PRUEBA DE COMPRA LEE Y GUARDA ESTAS INSTRUCCIONES Esta garantía se extiende solo al comprador original de este humidificador, siempre y cuando la unidad sea instalada y utilizada en condiciones normales, contra defectos de fabricación y materiales como se detalla a continuación: •...
Need help?
Do you have a question about the Space Saver Series and is the answer not in the manual?
Questions and answers