
Subscribe to Our Youtube Channel
Related Manuals for Thule TO 9200


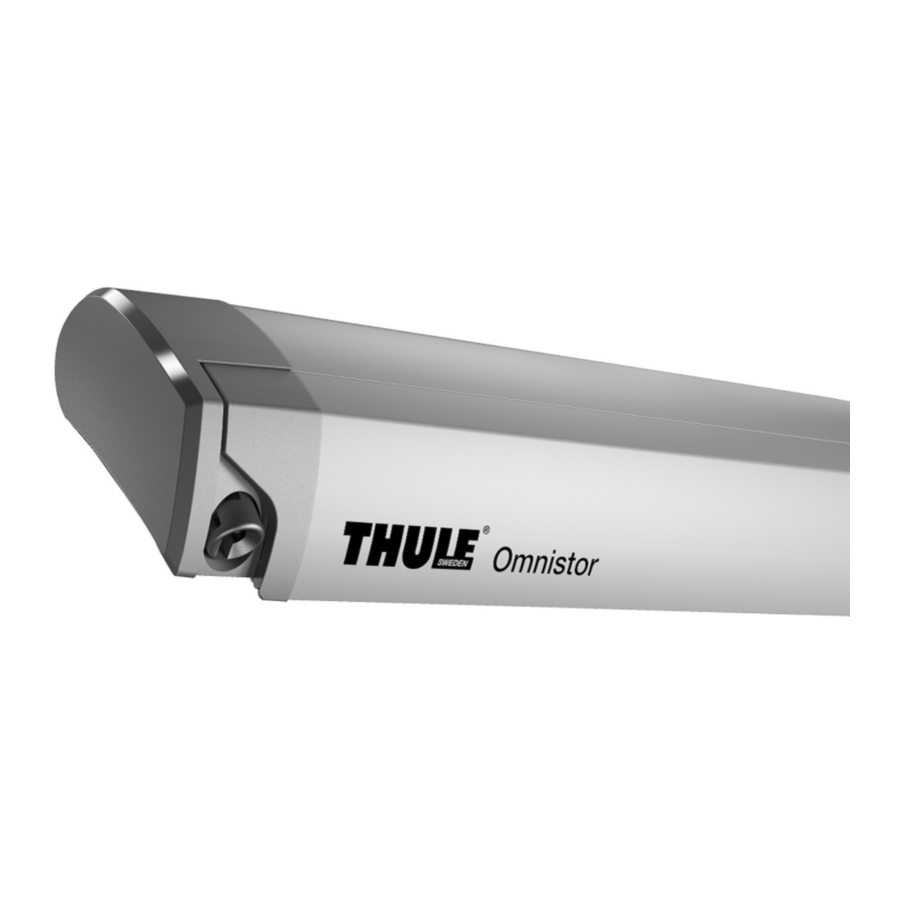
Summary of Contents for Thule TO 9200
- Page 1 ® Motor Kit 230V for TO 9200 Instructions 306772 / 306773 / 306774 Bring your life 6AC908-01 | 3380046600 thule.com 2017-09-12...
- Page 2 ® Motor Kit 230V for TO 9200 Instructions 306772 | 306773 | 306774 6AC901-03 | 3380032200 Bring your life 2017-07-13 thule.com ® Motor Kit 230V for TO 9200 Instructions 306772 | 306773 | 306774 6AC901-03 | 3380032200 Bring your life 2017-07-13 thule.com...
- Page 3 Disassembly MAX. 1m MAX. 3m 6AC908-01...
- Page 4 6AC908-01...
- Page 5 6AC908-01...
- Page 6 Assembly 6AC908-01...
- Page 7 Relay OMRON MY2 12V DC 12V+ blue battery 220V AC ignition switch DASHBOARD brown Relay OMRON MY2 12V DC output 220V A Inverter 300W 12V+ battery black blue ignition switch DASHBOARD brown 6AC908-01...
-
Page 8: Manual Override
Manual Override Motor 230V for Thule Omnistor 9200 Check the back of the awning to see if it’s the right one! ! OTHER PROCEDURE ! Read manual 6AC900-02 | 3380032200 Manual Override Motor 230V 6AC908-01... - Page 9 Electric connection You always have to connect to the 230V supply. If there is no 230V supply available, then you should use an inverter to convert the voltage. Connection of the inverter, see further on. Connect the wires as shown on the diagram fig. 1-2. Place an electric cable 2 x 0.75 mm²...
- Page 10 Elektrische aansluiting De aansluiting gebeurt steeds op het 230V-net. Als er geen 230V-net voorhanden is, kan gebruik gemaakt worden van een invertor om 230V wisselspanning te produceren. Voor de aansluiting van de invertor, zie verder. Sluit de elektrische bedrading aan zoals op het schema (fig. 1-2). Gebruik hiervoor elek-trische kabels 2x 0,75mm²...
- Page 11 Elektrischer anschluss Der Anschluss muss immer an ein 230V-Netz erfolgen. Im Mobilbetrieb wird ein optionaler Wechselrichter der eine den Technischen Angaben des Motors entsprechende Leistung liefert, genutzt um 230V Wechselspannung zu produzieren. Für der Anschluss den Wechselrichter siehe weiter. Verbinden Sie nun die Stromkabel, wie im Schaltplan Bild 1-2 angegeben. Legen Sie ein Kabel (3 x 0,75mm²) von der Stromversorgung (Netzumschalter oder Wechselrichter) zum Motor.
- Page 12 Branchement electrique Le branchement se fait toujours sur un réseau 230V. Si il n’y a pas d’installation 230V, vous pouvez utiliser un convertisseur afin de produire du courant alternatif en 230V. Pour le branchement du convertisseur, voir ci-dessous. Connectez les fils comme indiqué sur le schéma fig. 1-2. Placez un câble électrique 2 x 0,75mm²...
- Page 13 Collegament o elettrico Utilizzare un’alimentazione a 230 V oppure, se questa non fosse disponibile, utilizzare un inverter per convertire la tensione. Per informazioni sul collegamento dell’inverter, vedere le sezioni di seguito. Collegare i fili come mostrato nello schema della fig. 1-2. Collocare un cavo elettrico 2 x 0,75 mm²...
- Page 14 Elektrisk anslutning Du kan alltid ansluta till 230V. Om det inte finns någon 230V anslutning tillgänglig, bör du använda en inverter för att omvandla spänningen. Anslutning av omriktaren, se vid-are. Anslut kablarna som visas på bilden Bild. 1-2. Placera en elektrisk kabel 2 x 0,75 mm + jord. Placera en 6A säkring i ledaren.
- Page 15 Sähköinen kytkent a huomio! Sähkökytkennän saa tehdä vain valtuudet omaava sähkömies! Liitäntä on aina tehtävä 230 V virtalähteeseen. Jos sitä ei ole saatavilla, on mahdollista käyttää inverteriä jännitteen aikaansaamiseksi. Liitäntä inverteriin, katso kohta 5. Kytke johtimet, kuten kuvassa 1-2. Kytke sähköjohto 2 x 0.75 mm² + suojamaadoitus. Asenna 6A sulake johtoihin.
- Page 16 Elektrisk tilslutning Tilslut altid til en 230V strømforsyning. Hvis der ikke findes en 230V strømforsyning, kan en omformer bruges til at producere 230V AC. For at tilslutte omformeren, læs videre. Tilslut de elektriske ledninger som vist i diagrammet (fig. 1-2). Brug elektriske ledninger, 2 x 0,75 mm²...
- Page 17 Thule Warranty The warranty for the THULE awning to the original buyer is two years from date of invoice. The warranty covers replacement of parts arising from defects and from the inability of the awning to perform its intended function.
- Page 18 Garantien gleich welcher Art, und schliesst ausdrücklich jegliche Haftung aus. La Garantie Thule Le store THULE est garanti pendant 2 ans, à dater du jour de la facture, pourvu qu’il reste en po session de l’acheteur initial. La garantie couvre tous les vices de fabrication et de matière. Elle s’étend aux frais de pièces s’y rapportant.
- Page 19 Thule Garanti Garantin för THULE s markis är på två år från inköpsdatum och gäller för personen som stod för inköpet. Garantin täcker ersättning av delar som är trasiga eller som inte fungerar.
- Page 20 Tämä takuu korvaa kaikki aiemmin voimassa olleet takuut ja täten irtisanoudumme kaikesta muuta vastuusta. Thule Garanti Køberen har 2 års garanti på Thule-markisen, regnet fra fakturadato. Garantien gælder for udskiftning af dele med defekter eller mangler, og for fejlfunktion af markisen.
- Page 21 Quick start guide Note for reading this Guide • In this Quick Start Guide, the numbering of the figures is separate and does not cor- Era Mat T respond to the numbering cited in the tubular motor for complete manual. • This guide does not awnings substitute the complete manual.
- Page 22 Snelgids Opmerking met betrekking tot raadpleging • In deze Snelgids wordt een autonome numme- ring van de afbeeldingen gehanteerd, die niet Era Mat T overeenkomt met de nummering in de tekst buismotor voor van de volledige handleiding. • Deze gids is zonnescherme geen vervanging van de volledige handleiding.
- Page 23 +LQZHLVs,QGLHVHU6FKQHOODQO Kurzanleitung HLWXQJLVWGLH Nummerierung der Abbildungen eigen-VWÁQGLJ XQG HQWVSULFKW QLFKW GHU Era Mat T LP 7H[W des vollständigen Handbuchs Rohrförmiger Motor aufgeführten Nummerierung. • Diese für Markisen Schnellanleitung ersetzt nicht das ausführliche Handbuch. 1 - Elektrische Anschlüsse - siehe Kapitel 4 Kabel Farbe Anschluss Weiß-Orange...
- Page 24 Guide rapide Note pour la consultation • Dans ce guide rapide la numérotation de figure est autonome et ne correspond pas à Era Mat T la numération indiquée dans le manuel moteur tubulaire complet. • Ce guide ne remplace pas le pour stores manuel complet.
Need help?
Do you have a question about the TO 9200 and is the answer not in the manual?
Questions and answers