
Related Manuals for Crosley CRH12RW


Summary of Contents for Crosley CRH12RW
- Page 1 USER INSTRUCTION FROST FREE REFRIGERATOR CRH12RW CRH12RB CRH12RS CRHS12RW CRHS12RB CRHS12RS...
-
Page 2: Important Safety Warnings
1. IMPORTANT SAFETY WARNINGS R600a WARNING CONCERNING REFRIGERANT DANGER - RISK OF FIRE OR EXPLOSION. FLAMMABLE REFRIGERANT USED. DO NOT PUNCTURE REFRIGERANT TUBING. DANGER - RISK OF FIRE OR EXPLOSION. FLAMMABLE REFRIGERANT USED. THE UNIT IS TO BE REPAIRED ONLY BY TRAINED SERVICE PERSONNEL. DO NOT PUNCTURE REFRIGERANT TUBING. CAUTION - RISK OF FIRE OR EXPLOSION. - Page 3 IMPORTANT SAFETY INSTRUCTIONS (continued) If the power cord is damaged, it must be replaced by the manufacturer, its service center or a qualified electrician to avoid incidents. Please dispose of the appliance according to local regulations since the appliance uses flammable refrigerant and gas.
-
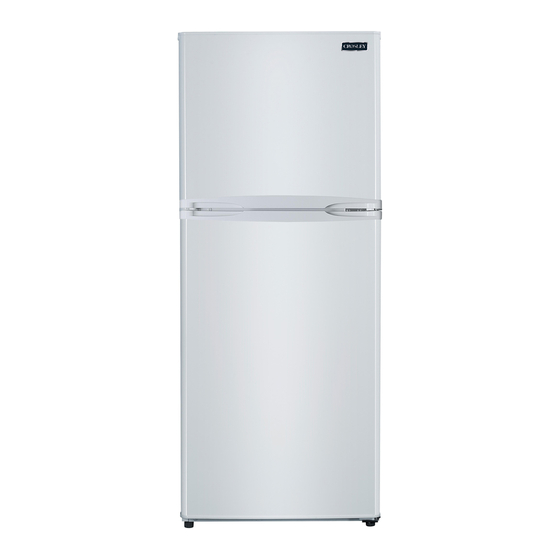
Page 4: Product Overview
2. PRODUCT OVERVIEW All images appearing in this instructions manual are for referential purposes only. For more detailed information, please refer to your appliance Freezer Shelf Freezer Temperature Control Panel Adjustable TemperatureControl Interior Light Light Switch Full-Width Glass Shelves Clear Crisper Leveling Legs Freezer Door Bins Small Door Bins... -
Page 5: Installation Instructions
3. INSTALLATION INSTRUCTIONS RECOMMANDATIONS WARNING BEFORE CONNECTING THE APPLIANCE You should make sure that you have a properly grounded outlet that is compatible with the 3-prong plug on this appliance. BEFORE STARTING THE APPLIANCE We recommend that you wait at least two (2) hours before connecting the unit to allow the refrigerant to flow back to the compressor. - Page 6 INSTALLATION INSTRUCTIONS (continued) 3.1 Positioning When selecting a position for your unit, you should make sure the floor is flat and solid so as to support the load and that the room is well ventilated. Avoid locating your unit near a heat source, e.g. stove, boiler or radiator. Also avoid direct sunlight as it may increase the electrical consumption.
-
Page 7: Reversing The Doors
4. REVERSING THE DOORS Tool required: Philips screwdriver, flat bladed screwdriver, hexagonal spanner. Ensure the unit is unplugged and empty. To take the door off, it is necessary to tilt the unit backwards. You should rest the unit on something solid, so that it will not slip during the door reversing process. - Page 8 4. REVERSING THE DOORS (continued) REVERSING THE DOOR SWING (continued) 5. Move the hinge hole covers from left side to right side. 6. After removing the refrigerator door hinge, remove the screw cover from the upper left side of refrigerator door frame, then insert the cover into the hinge hole on the right of door frame. 7.
-
Page 9: Operation
5. OPERATION Keys Operation The keys in the display layout are referred to in the following figure: 5.1 Display and description SET button: Press to change the refrigerator setting from 1 (cold) to 3 (coldest). LED indicator lights: Light up to show the current refrigerator setting. 5.2 Refrigerator Temperature Controls Your refrigerator will automatically maintain the temperature level you select. -
Page 10: Maintenance
6. CLEANING 6.1 Defrosting This appliance does not require defrosting as it is specially equipped with a ‘Frost-free’ type cooling system. The defrost water is routed into a pan located near the compressor where it then evaporates. 6.2 Cleaning the Interior and the Exterior of the Unit Remove all the shelves and the produce bins. -
Page 11: Warranty
8. WARRANTY Your appliance is covered by a one (1) year limited warranty. For one year from your original date of delivery, Corbeil Electrique Inc. will repair or replace any part of this appliance that proves to be defective in materials or workmanship when such appliance is installed, used and maintained in accordance with the provided instructions. -
Page 12: Troubleshooting
9. TROUBLE SHOOTING The following issues can be handled by the user. Please call the after-sale service department only if they are not resolved. Check if the appliance is plugged and connected to power; Non operational Low voltage; Failure power or tripping circuit. Odorous foods should properly wrapped;...
Need help?
Do you have a question about the CRH12RW and is the answer not in the manual?
Questions and answers