Advertisement
Quick Links
Repair Instructions
Replacing and Installing a New Elevation Motor
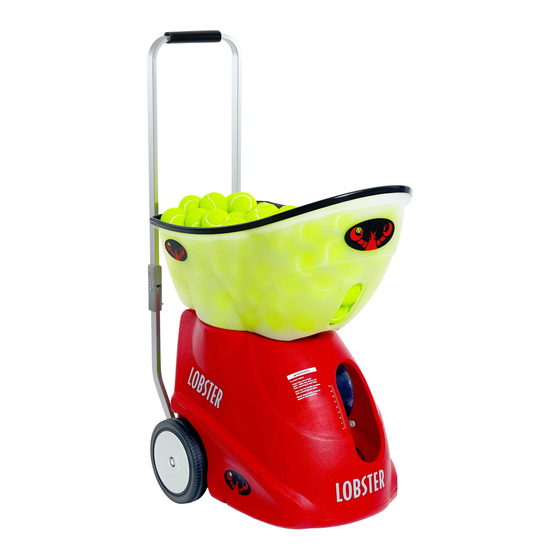
Elite Models that Apply: EL01-3
Step
Description
Step 1.) Unscrew the (6) phillips-head screws along the
bottom of the red case where it attaches to the chassis of
the machine. (2-front, 2-rear, one on each side)
Step 2.) Unscrew the 4 black panel screws on the top left,
right, and bottom left, right sections of the panel. Pull the
panel out away from the case, and un-plug the Feed tab
(J23), and the positive and negative XLR wires coming from
the XLR Jack. Unscrew the ground wire coming from the Ball
1
Guide, to the control panel. Take this wire and wrap it
around the Deflector wire to keep it from touching the
control board.
Step 3.) Lift the red case off the chassis and set it aside.
(Make sure to not allow the Ground Wire from the case to
touch the Green control board and panel- this could fry the
ground wire.)
Step 1.) Take off your server wheels by unscrewing the set
screw, and sliding the wheels off of the server motor shafts.
Step 2.) With the front end of the machine facing you (the
pointer closest to you, and the handle furthest from you),
remove both of the server wheels.
Step 3.) Passing through the center of the Yoke and the
2
davit assembly is the Yoke Bolt. (This bolt has a nut holding
it on the end of the Davit Right). Using a Crescent Wrench
and a 9/16" Wrench, unscrew and remove the Yoke Bolt,
the Small and Larger Spacer, and the 3 to 5 washers.
Carefully set these in separate safe location for later
*(
use.
)*
Removing The Case
Removing The Yoke Assembly
Tools
Picture
Case Screws (Front & Rear)
Phillips
Screw
Driver
Case Screws (Side)
Case Removed
1/8" Allen
Crescent
The Server wheels.
Wrench
9/16"
Wrench
The Yoke Bolt being removed.
Advertisement

Related Manuals for LOBSTER SPORTS Elite Series


Summary of Contents for LOBSTER SPORTS Elite Series
- Page 1 Repair Instructions Replacing and Installing a New Elevation Motor Elite Models that Apply: EL01-3 Step Description Tools Picture Removing The Case Step 1.) Unscrew the (6) phillips-head screws along the bottom of the red case where it attaches to the chassis of the machine.
- Page 2 Repair Instructions Replacing and Installing a New Elevation Motor Step 4.) Cut all the zip ties holding the wires together and then CAREFULLY remove the Yoke Assembly off of the Davit Assembly and set it aside. Step 5.) Turn your control panel on, and adjust your Elevation Pin location (Vertical).
- Page 3 Repair Instructions Replacing and Installing a New Elevation Motor Davit Center with New Elevation motor installed. Installing the Elevation Link Step 1.) Plug your new elevation motor into the Elevation motor tab (J24). After it is plugged in- turn the Power button on, and move your elevation until the pin sized hole in the shaft is vertical.
- Page 4 Repair Instructions Replacing and Installing a New Elevation Motor (Elite 2&3) Step 3.) Hammer the Spring Pin down over the top hole of the Elevation Link until it is flush with the link top and bottom. Step 4.) Turn your power button back on, and adjust the elevation so that the link is no longer horizontal (Match the diagram below).
- Page 5 Repair Instructions Replacing and Installing a New Elevation Motor will not move.) Step 3.) Use the nut and bolt you set aside from earlier to attach the elevation link to either location shown below. (The location differs from Elite model 1 to model 2&3.) (Elite 1 elevation link to yoke connection spot) (Elite 2&3 elevation link to yoke connection spot)
- Page 6 Repair Instructions Replacing and Installing a New Elevation Motor Case Removed Putting The Case Back On The Machine Step 1.) Lift the case over the unit, and guide it over until the yoke pointer is facing the ball exit, and the back panel is facing the handle assembly.